Are children's shoes all suffering from not being able to draw glass and not being able to draw glass? I learned this tutorial and let you draw works praised by everyone!
We need: HB pencil, 5B pencil, ruler, eraser
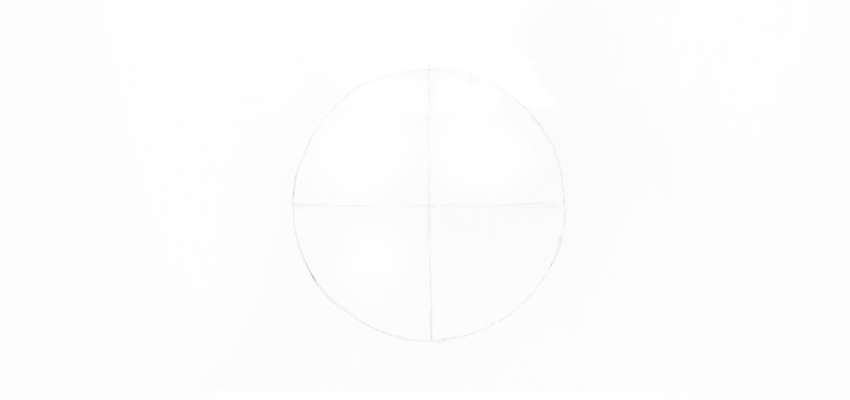
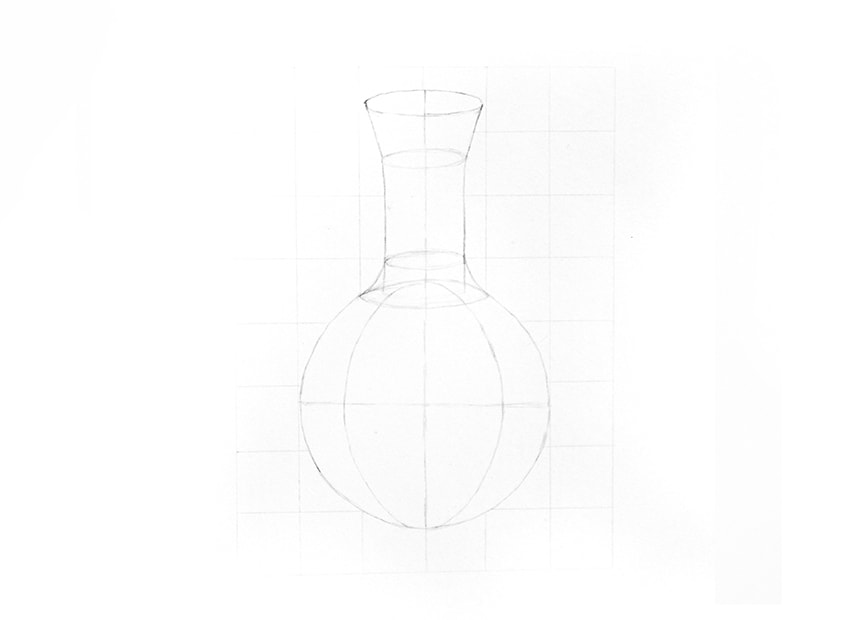
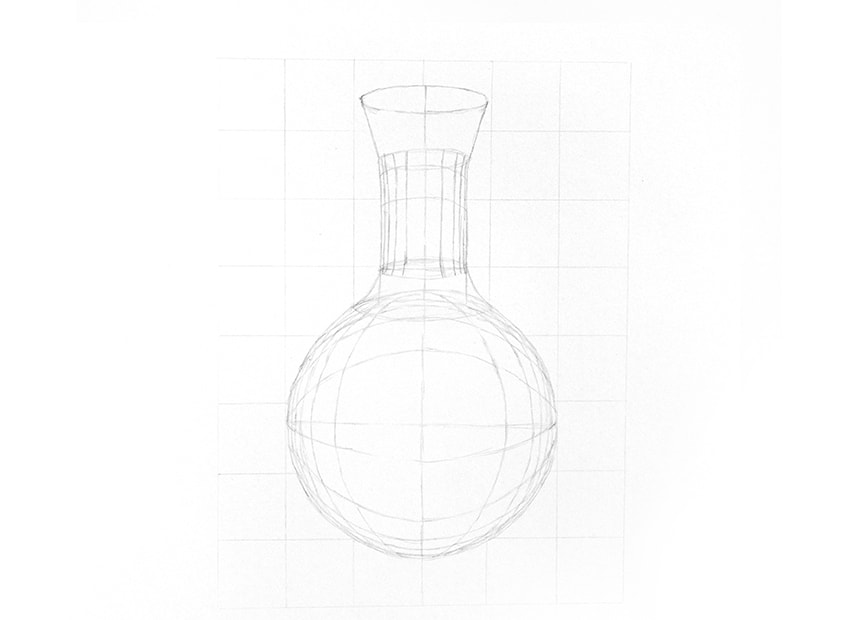
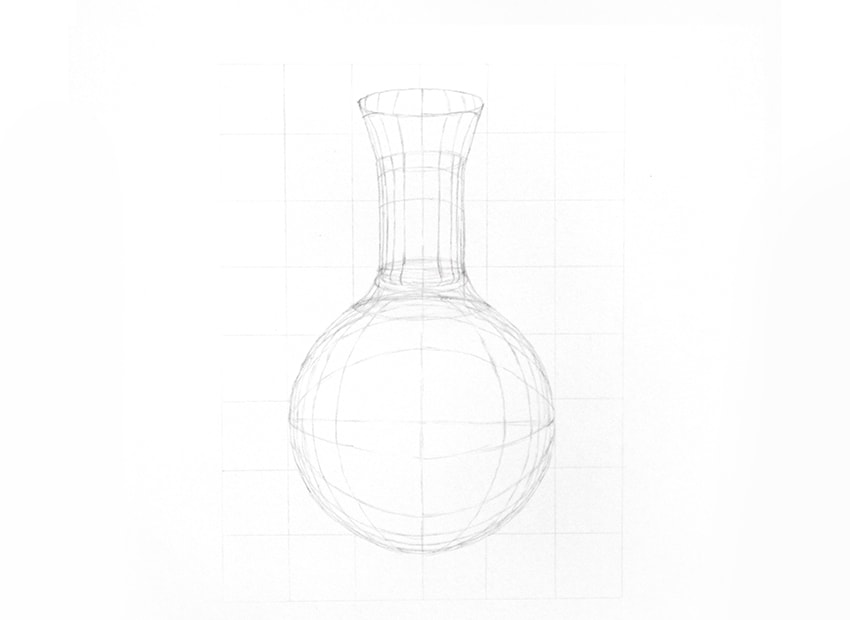
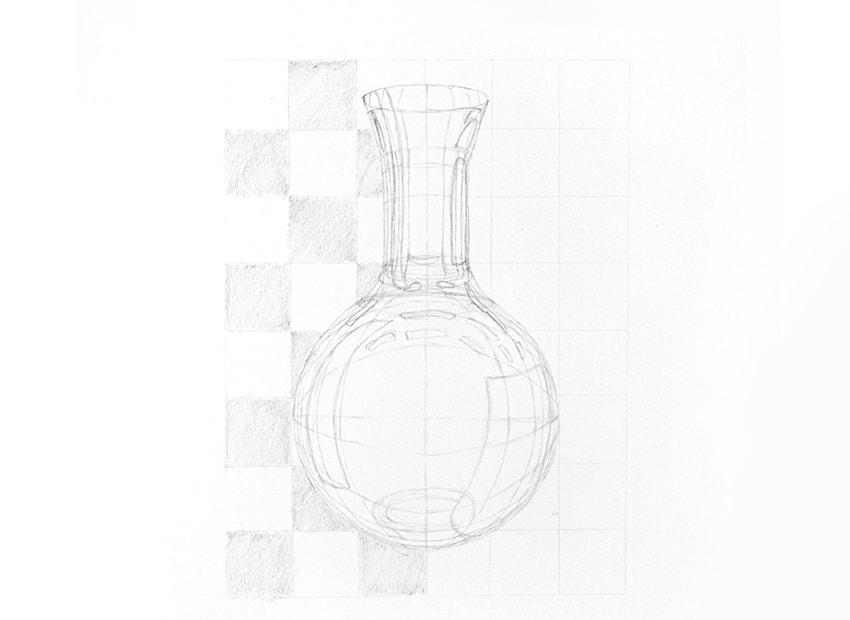
First, draw a circle with HB pencil. The circle drawn with the cross auxiliary line is more perfect. Pay attention to the lighter color to be painted, which is conducive to the cleanliness of the picture.
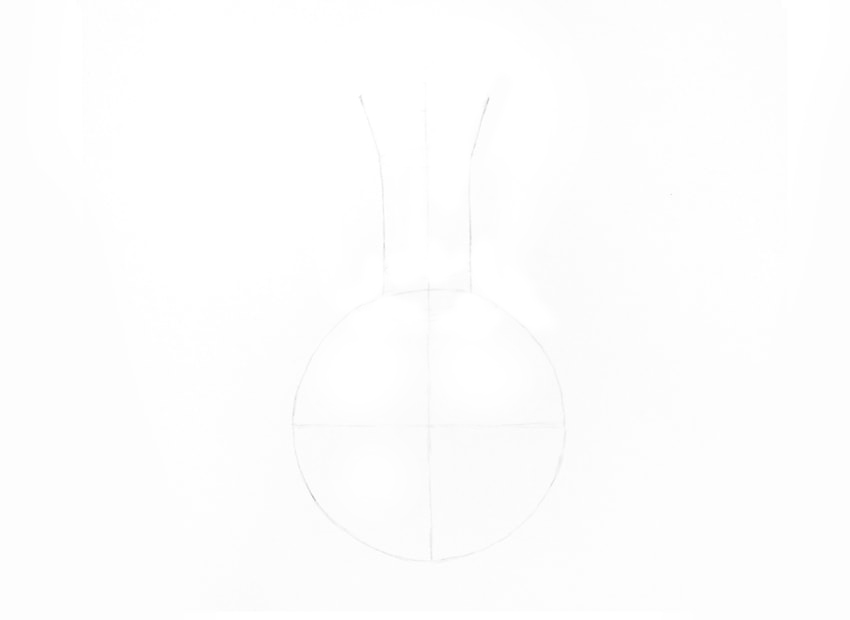
Extend the curves on both sides of the circle and draw the bottleneck.
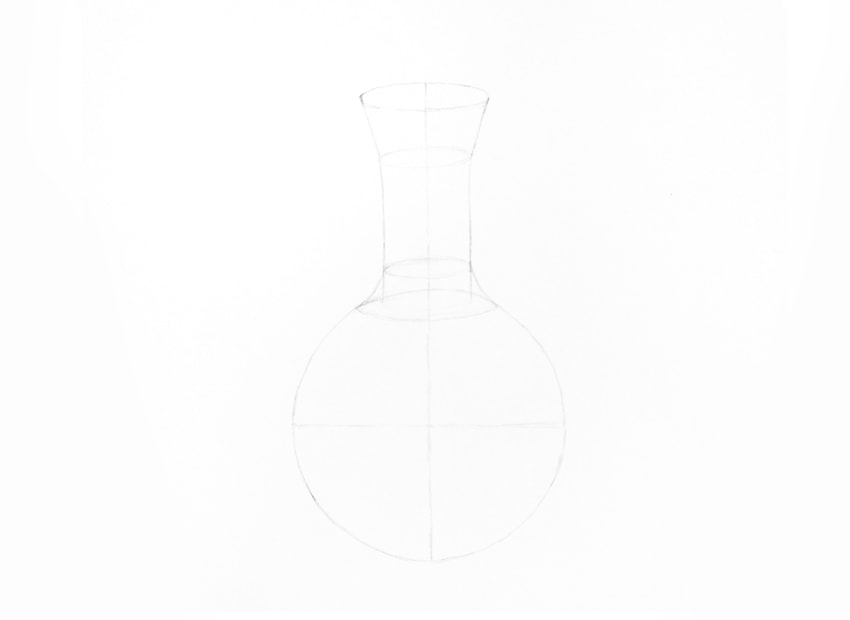
Add an auxiliary thread to make it a long-necked bottle.
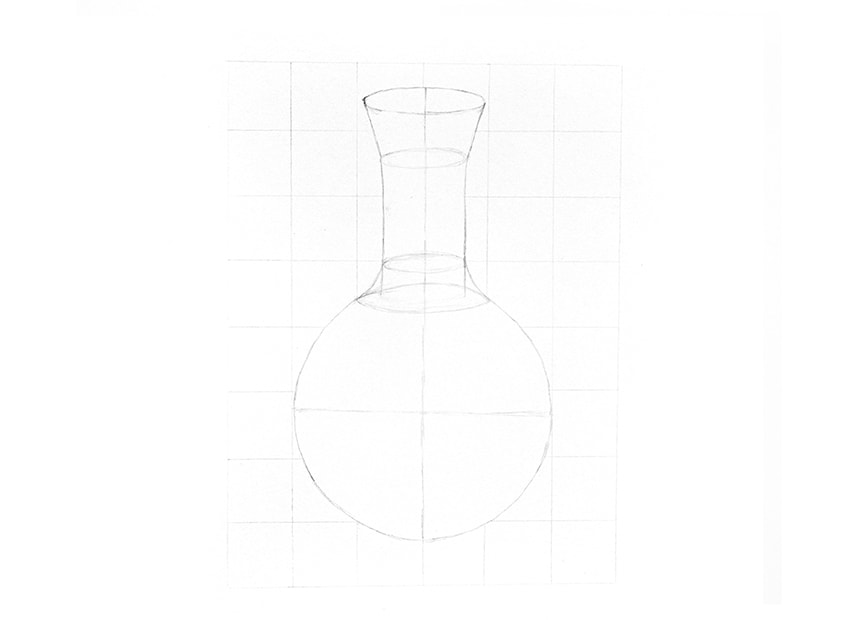
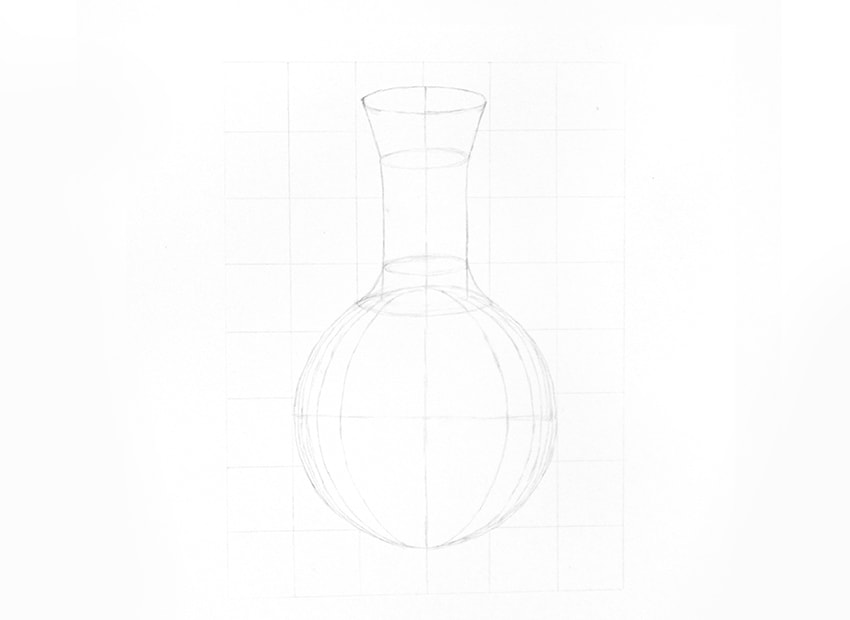
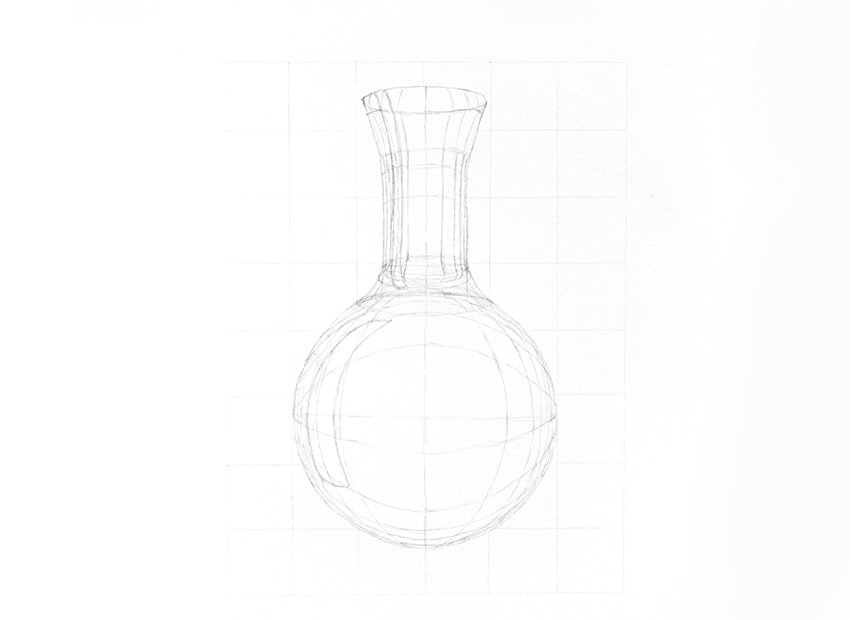
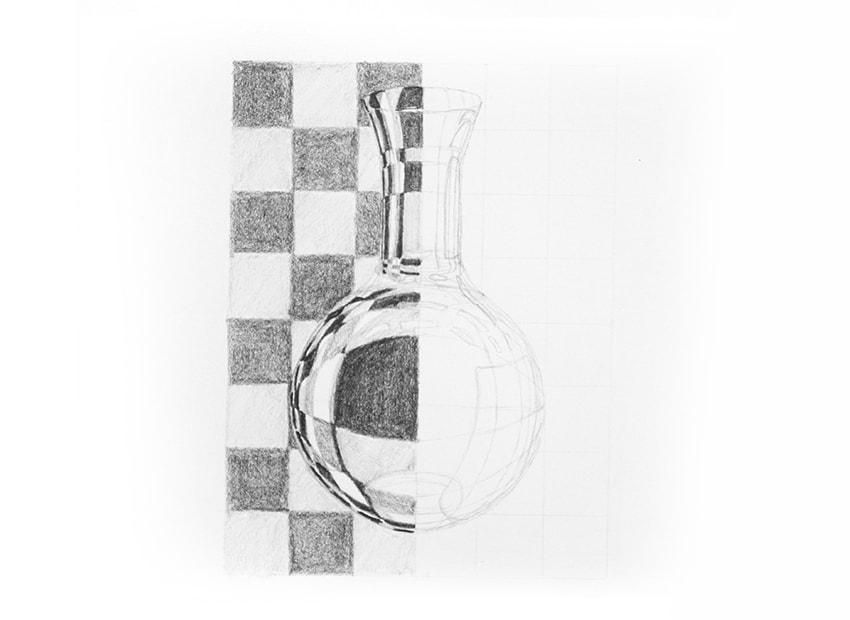
Draw the checkerboard-shaped background with a ruler. We can draw the texture of the glass by drawing how the glass is twisted to change the background checkerboard.
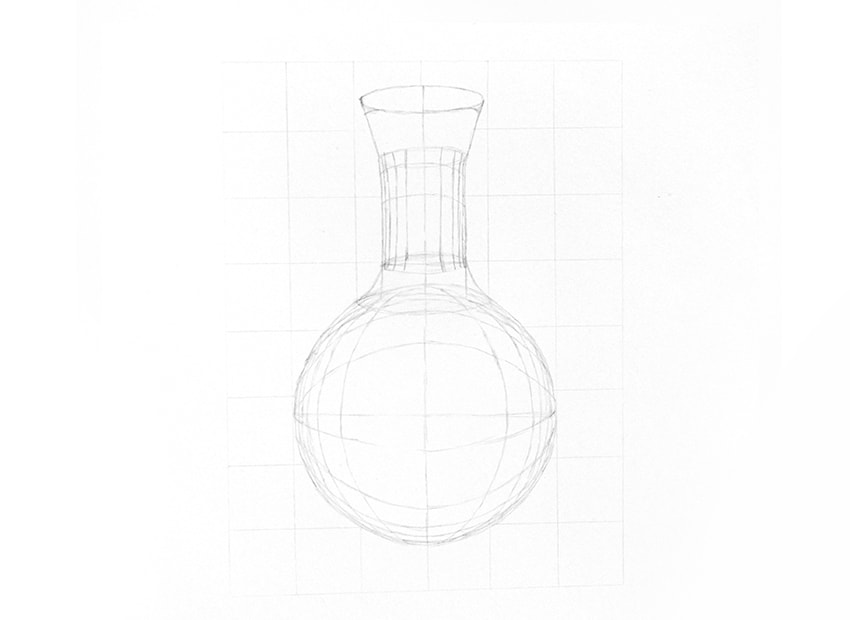
The belly of the spherical bottle is like a convex lens, which means that we need to twist the straight line on the glass to become a curve. As shown above, draw an ellipse in the vertical direction in the middle of the bottle belly.
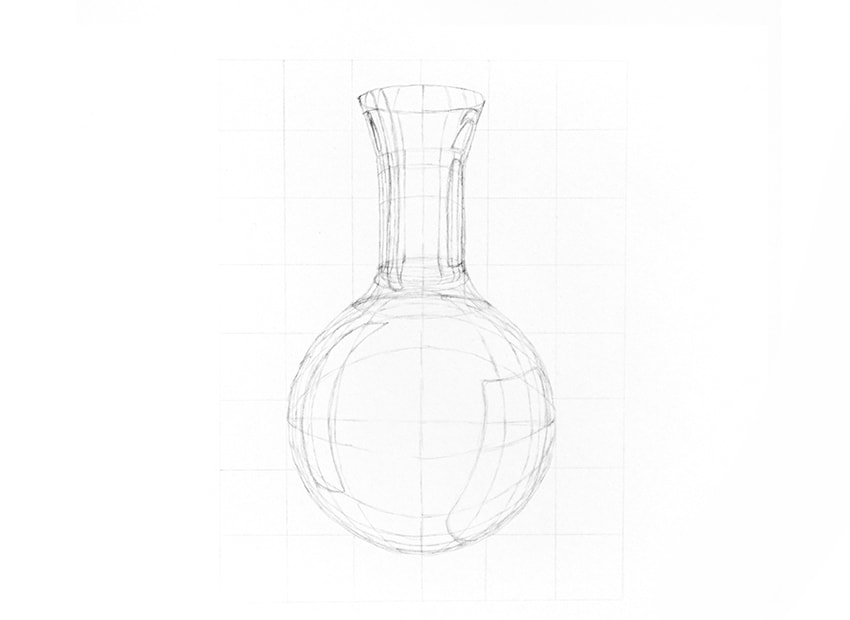
Then, continue to draw a slightly larger and similar ellipse on the outer layer until it is close to the contour line.
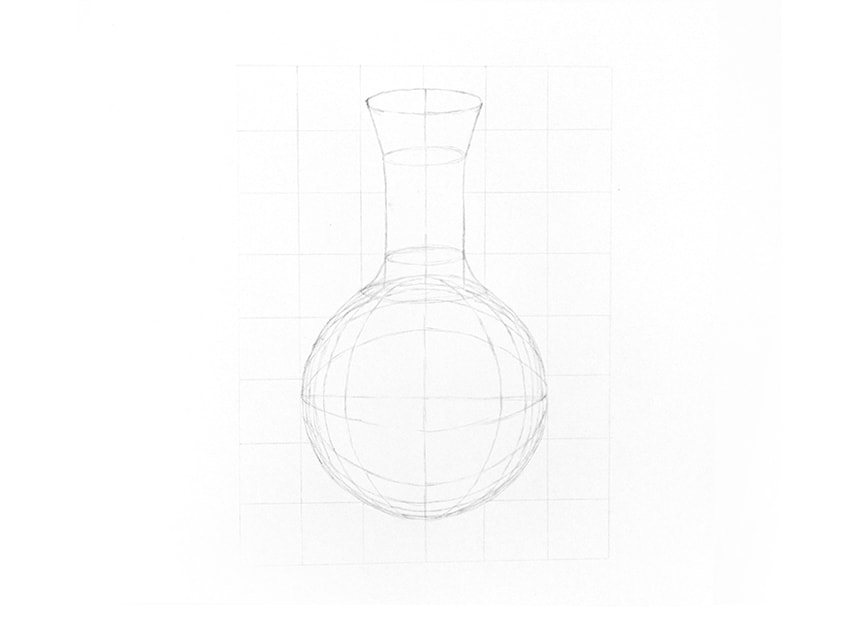
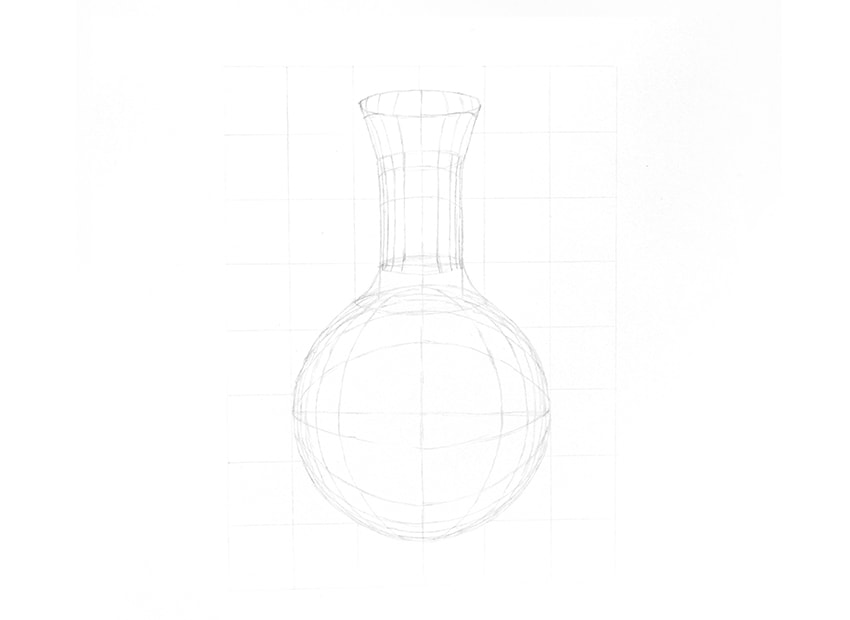
Draw the ellipse in the same way in the horizontal direction.
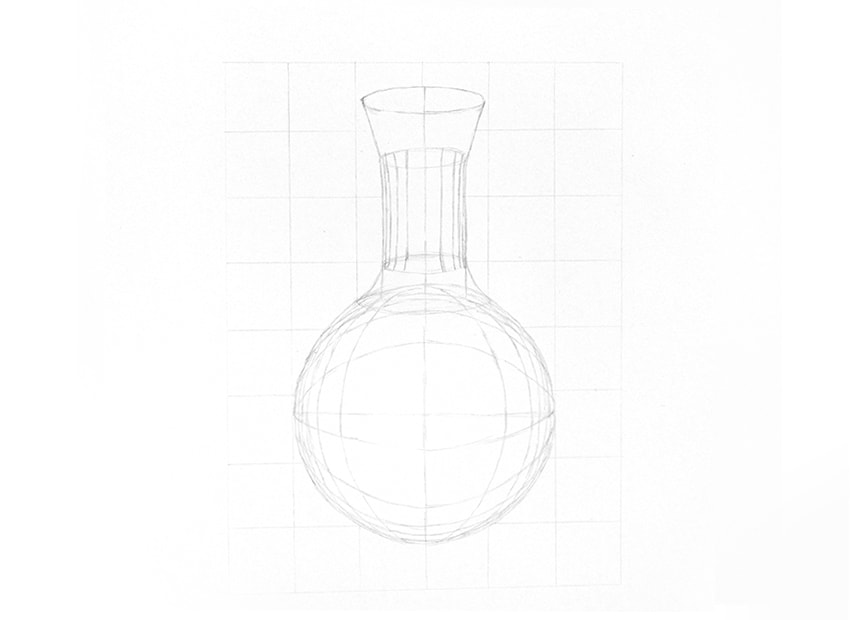
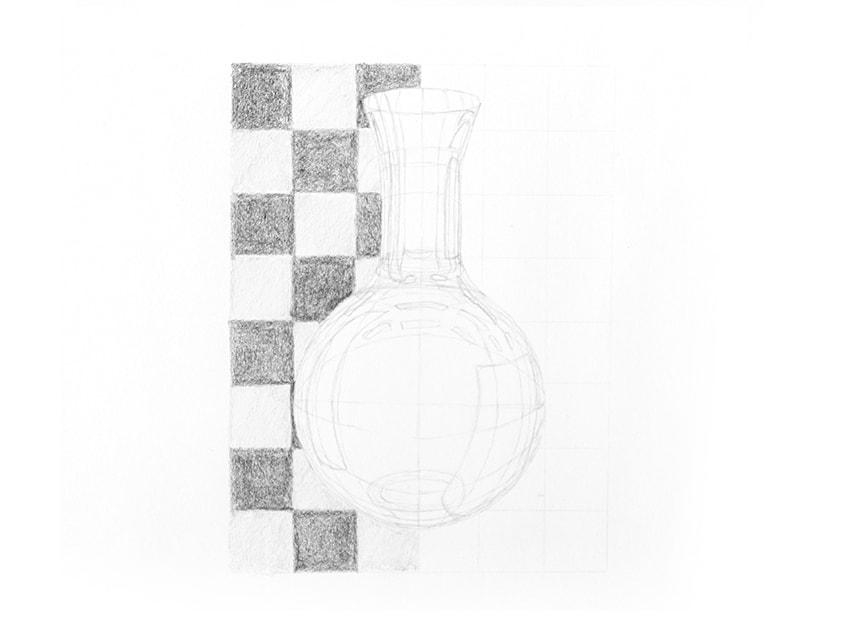
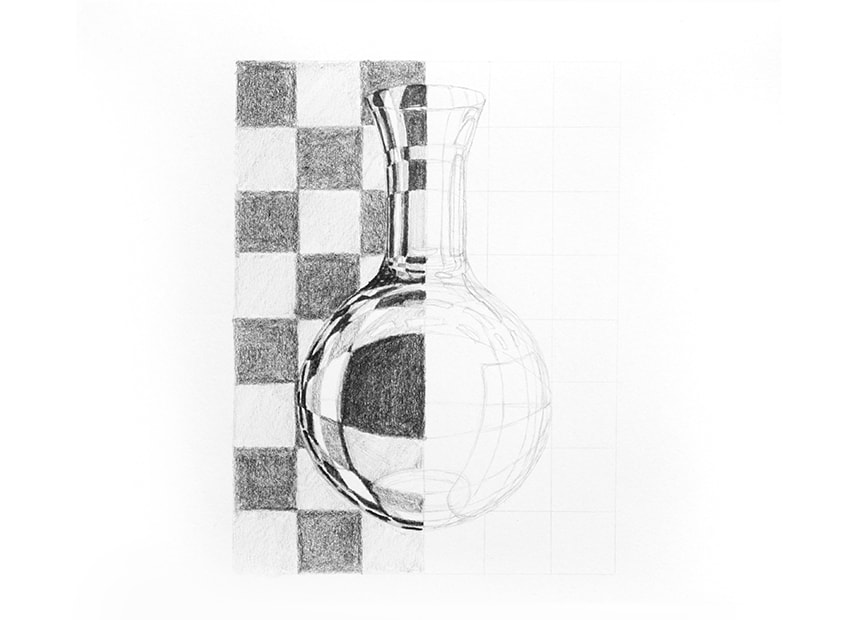
Similar drawing is also used on the bottleneck. The difference is that the bottleneck is cylindrical, and the mapping of the background chessboard on the glass is a straight line.
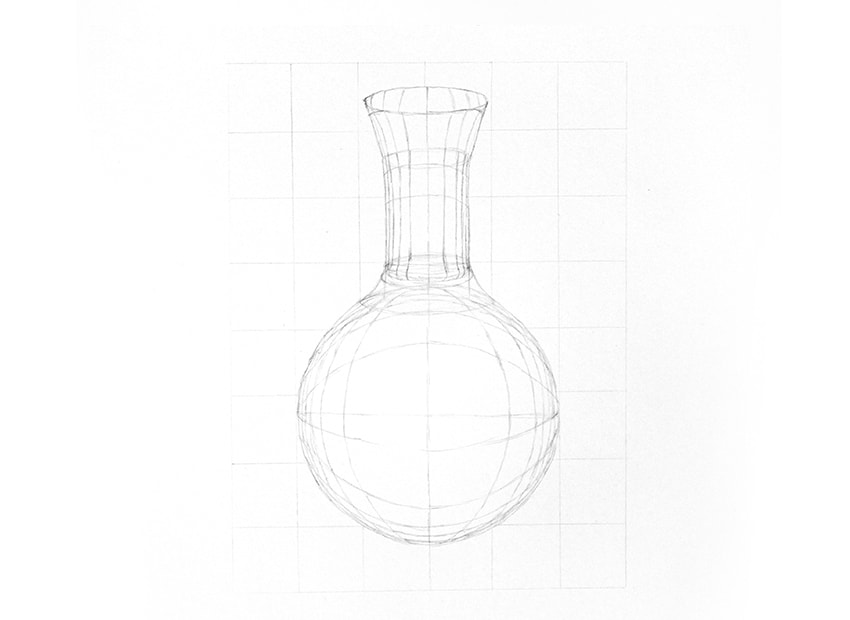
The mapping on the glass can be more natural instead of being so symmetrical!
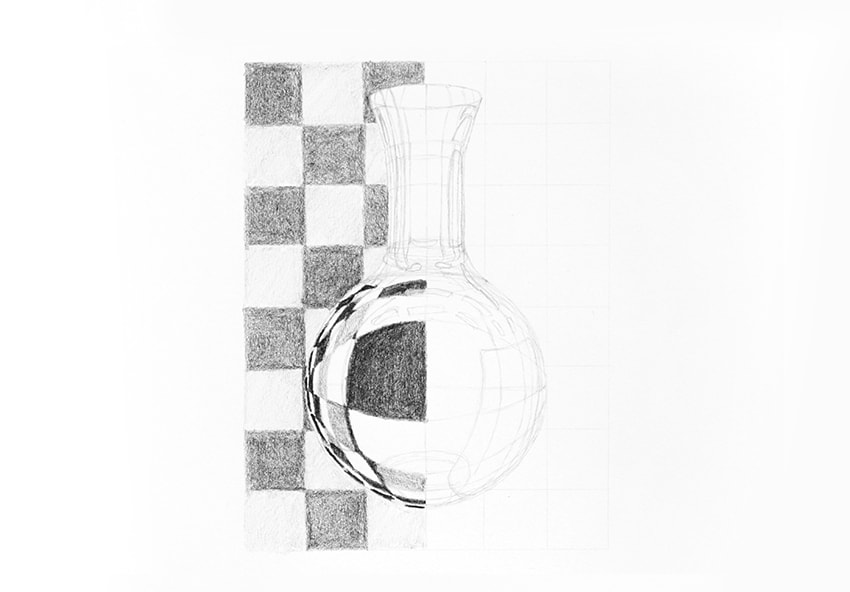
The bottom and mouth of the bottle are the most difficult places. The glass in these two places is thick and irregular. You can choose not to draw, but if you overcome difficulties, the bottle you draw will become very real.
Create a rectangular light reflection at the top left of the bottle, and draw a larger rectangular light refraction at the bottom right. Draw a smaller rectangular light at the junction of the bottle belly bottleneck, and don't forget the reflection at the bottom of the bottle!
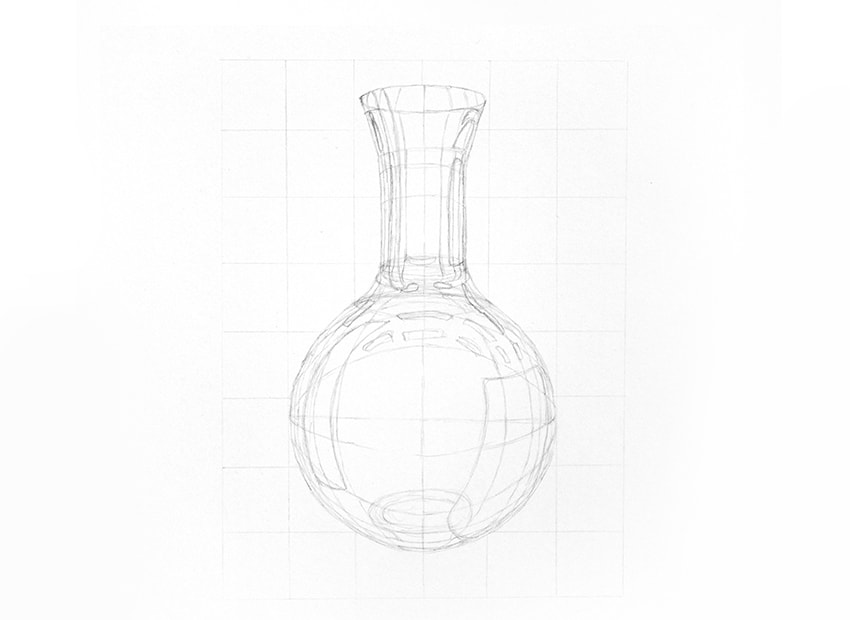
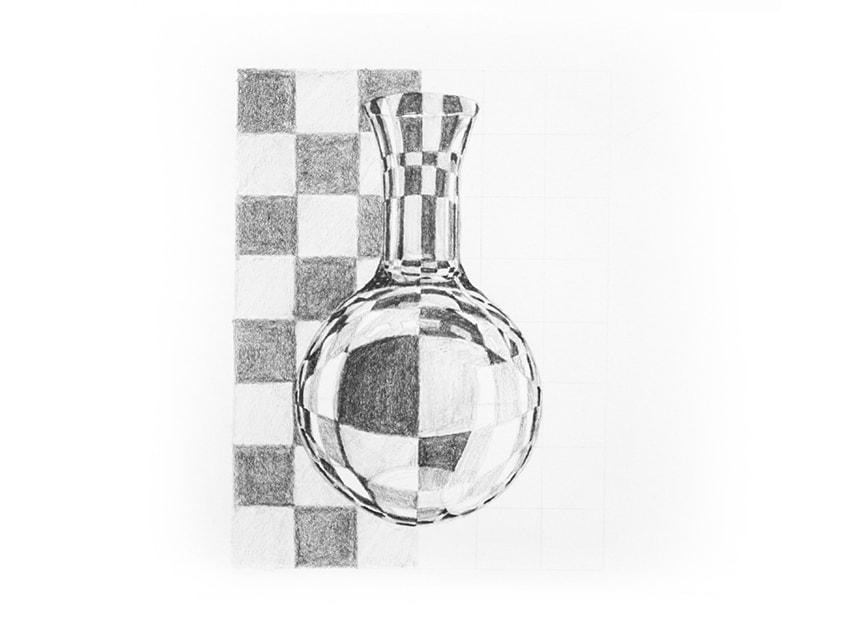
The next step is very simple, as shown in the figure, use HB pencil to fill in the color on the background chessboard.
Use a 5B pencil to fill in other grids, not very deep, to form a contrast between light and dark.
Now, paint the irregular grid on the bottle according to the previous method.
Note: Fill in the reflection area with a light-colored pencil!
As for places where the glass is thick or irregular, draw the chessboard there as small as possible and then fill it with a dark pencil. If your glass bottle is originally colored, it will be the place where this hand-painted painting best reflects the true color of glass.
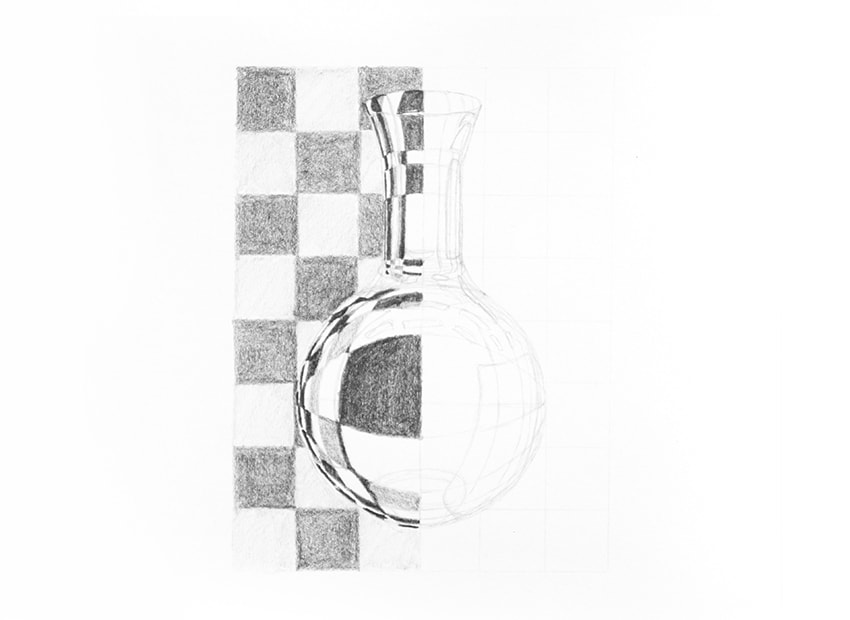
Draw the other half in the same way.
Use an eraser to wipe out the highlights and outline the outline. A glittering and translucent glass bottle will appear on the paper!


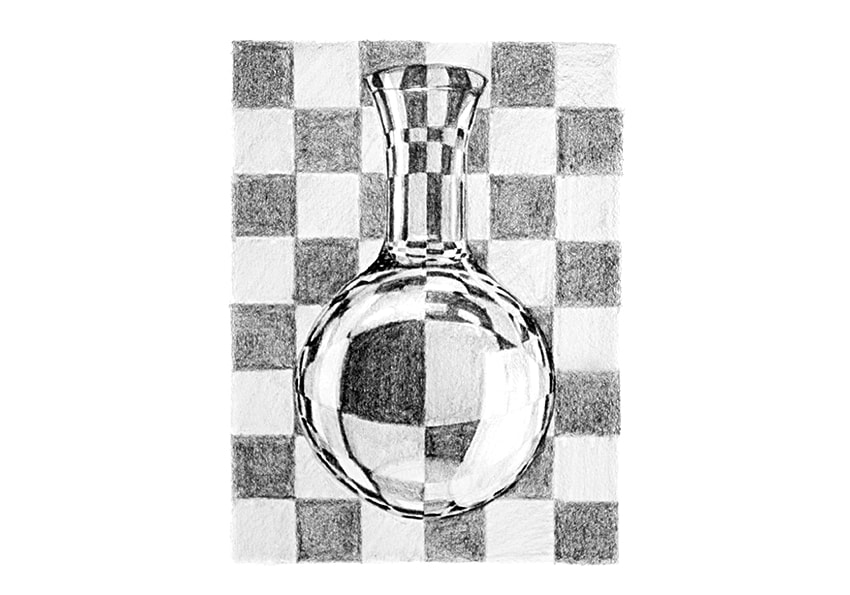


Great
That's amazing.
Ha, ha, ha, ha, this tutorial is very stupid, I like it
Learned