I just want to make a coat for my watch charger when I am idle. Start!
Time: 2024.11.30 - 2024.12.13
Designer: horse, horse
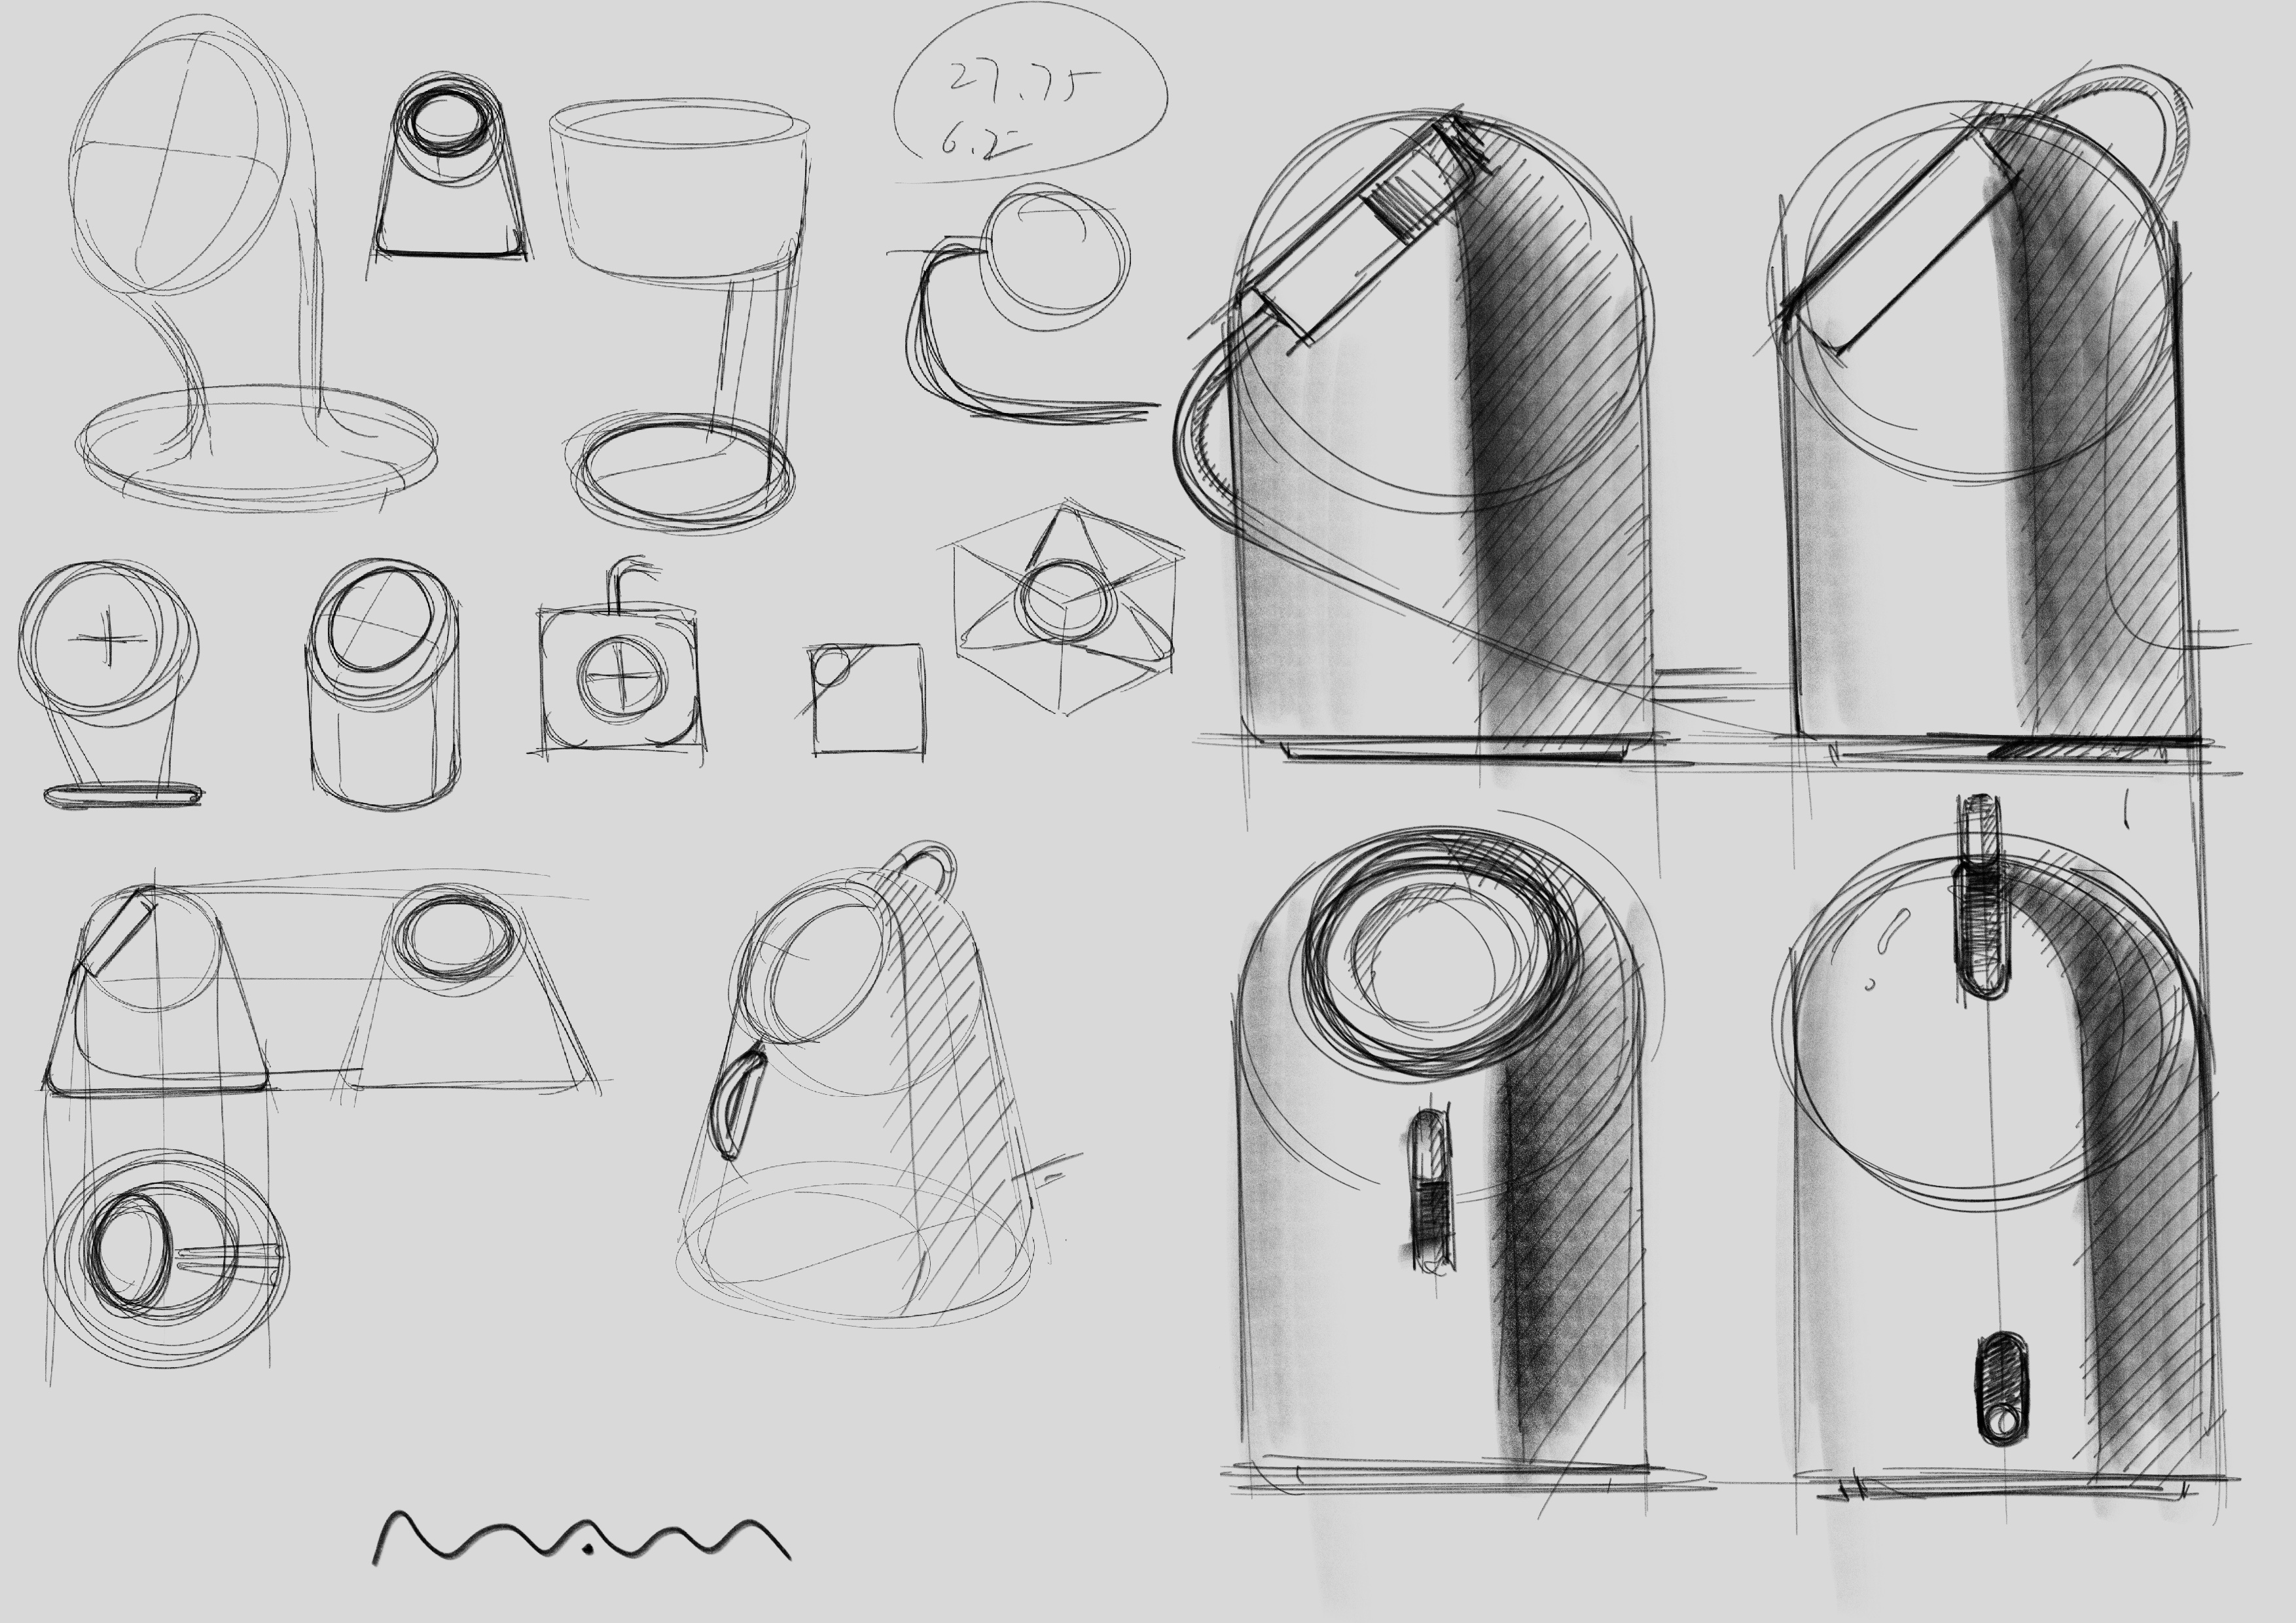
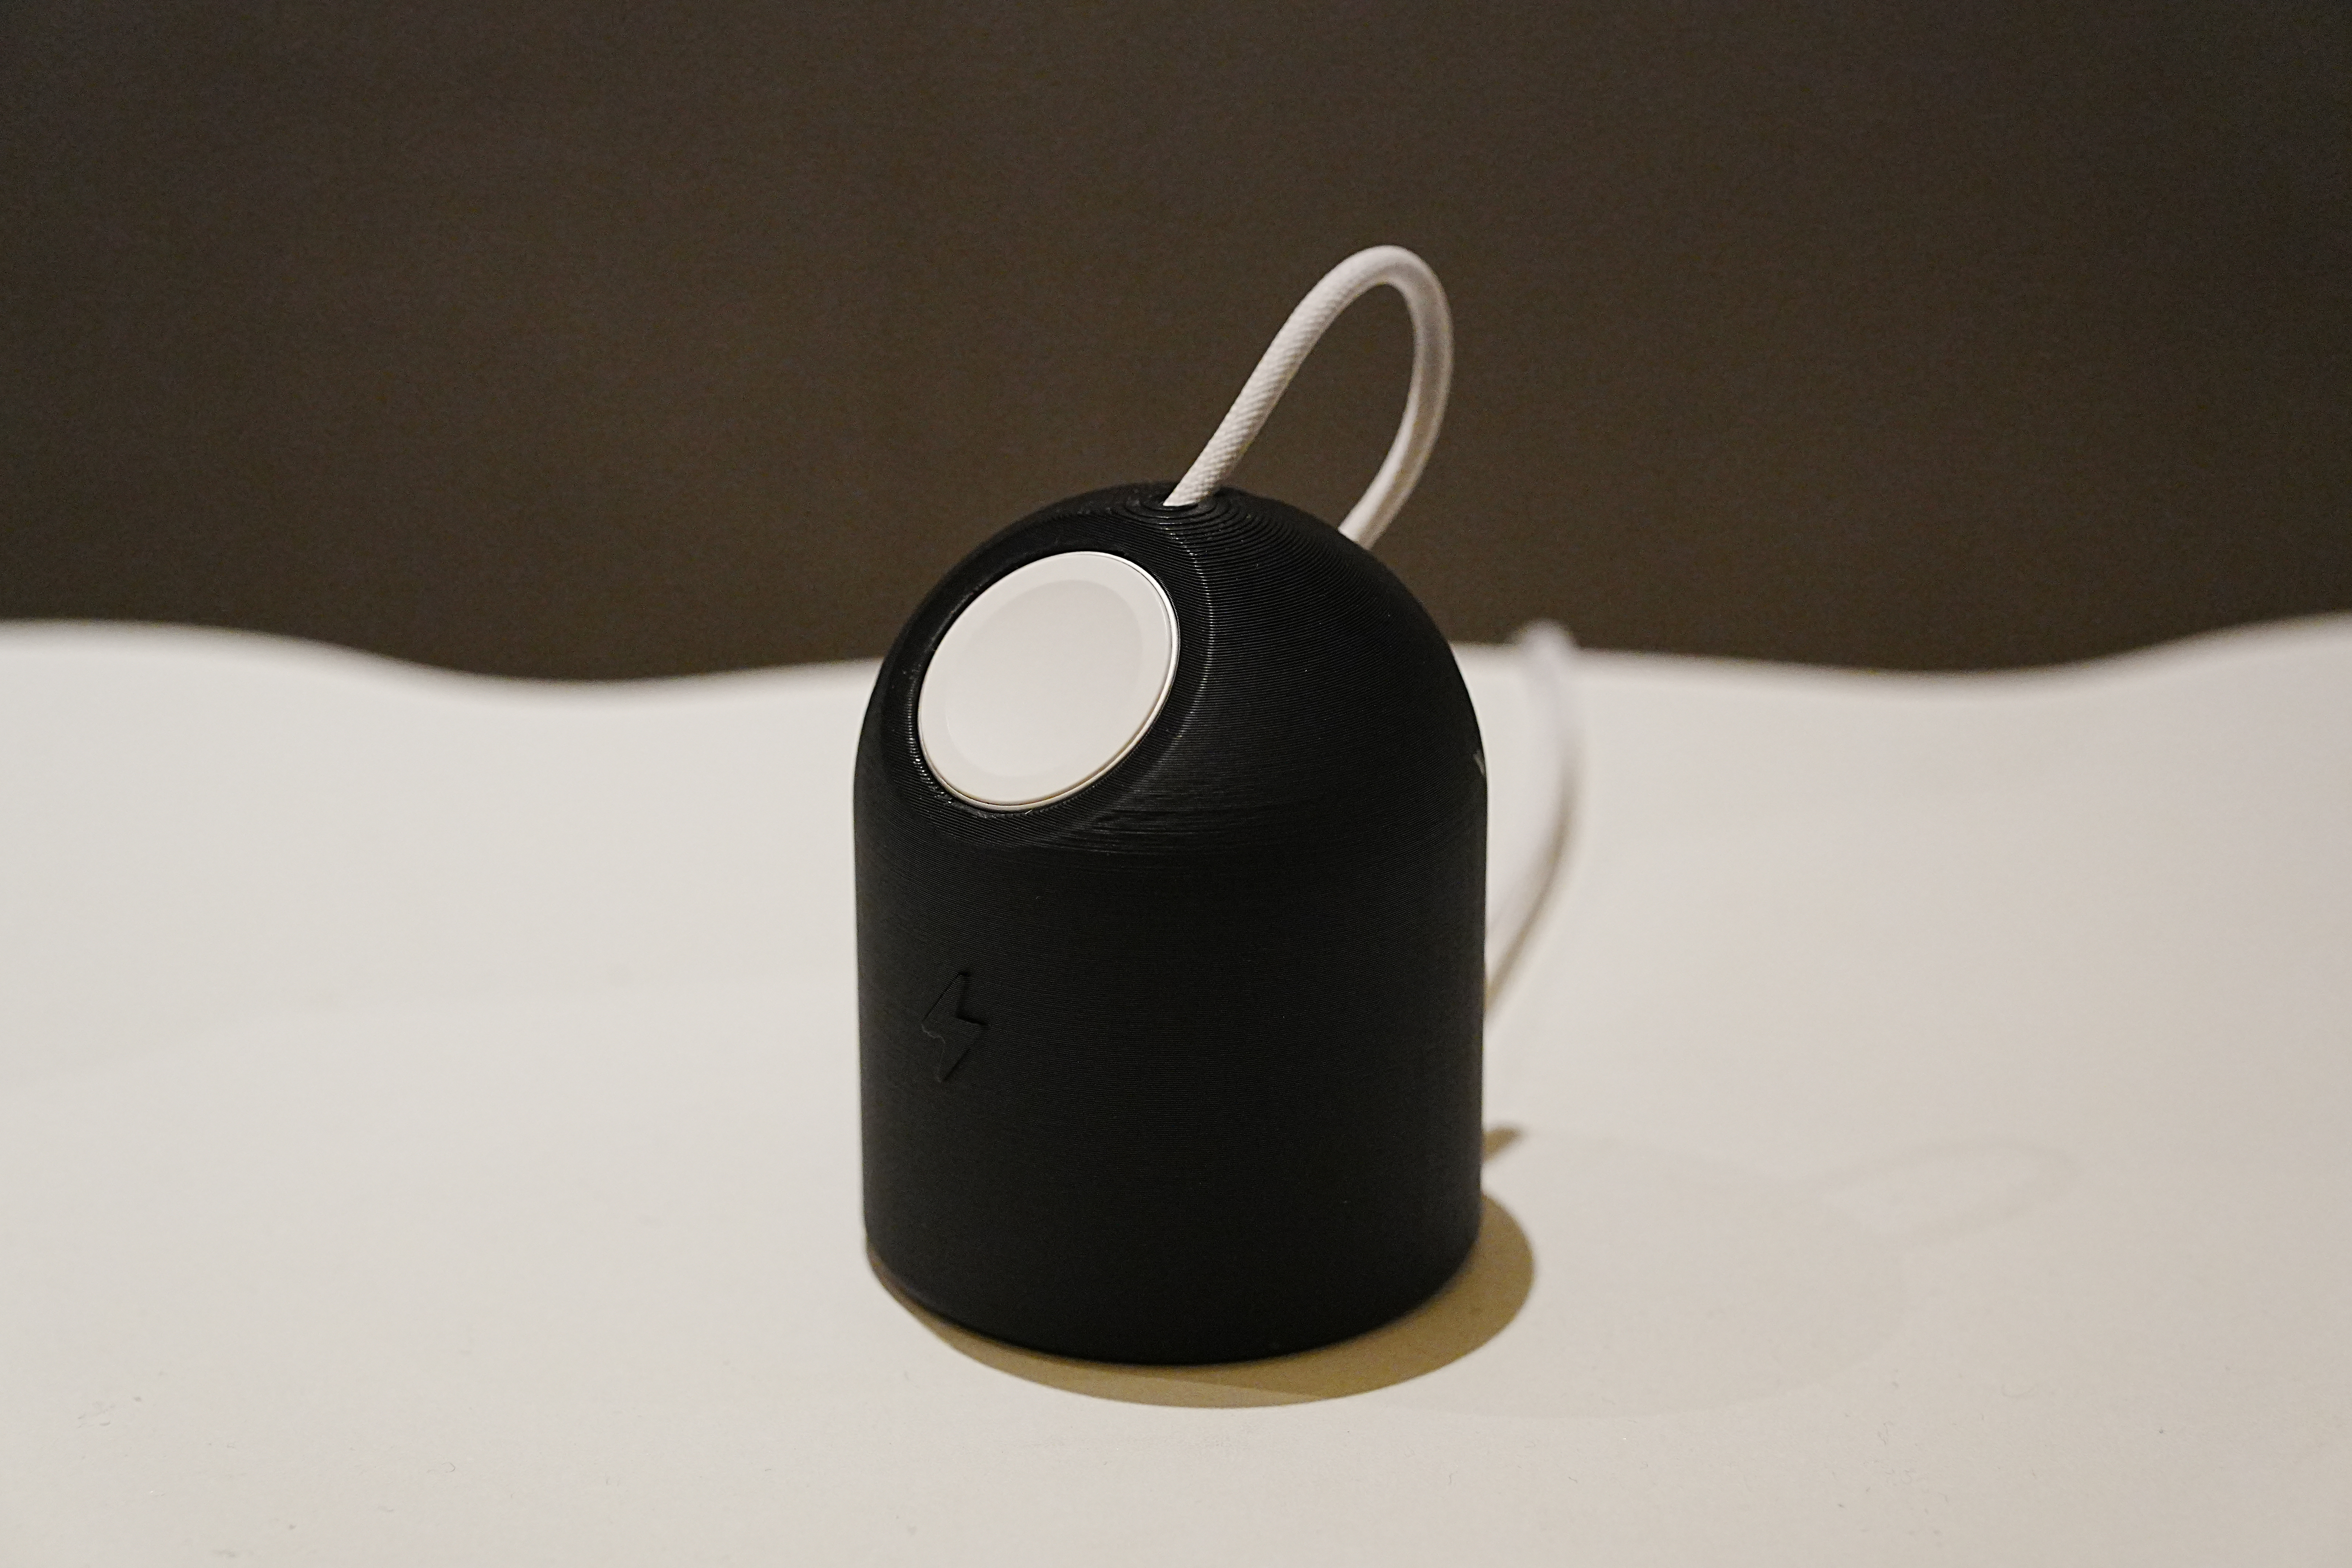
The sketch first came up with a general idea. What I want is to make the charging line itself part of the design.
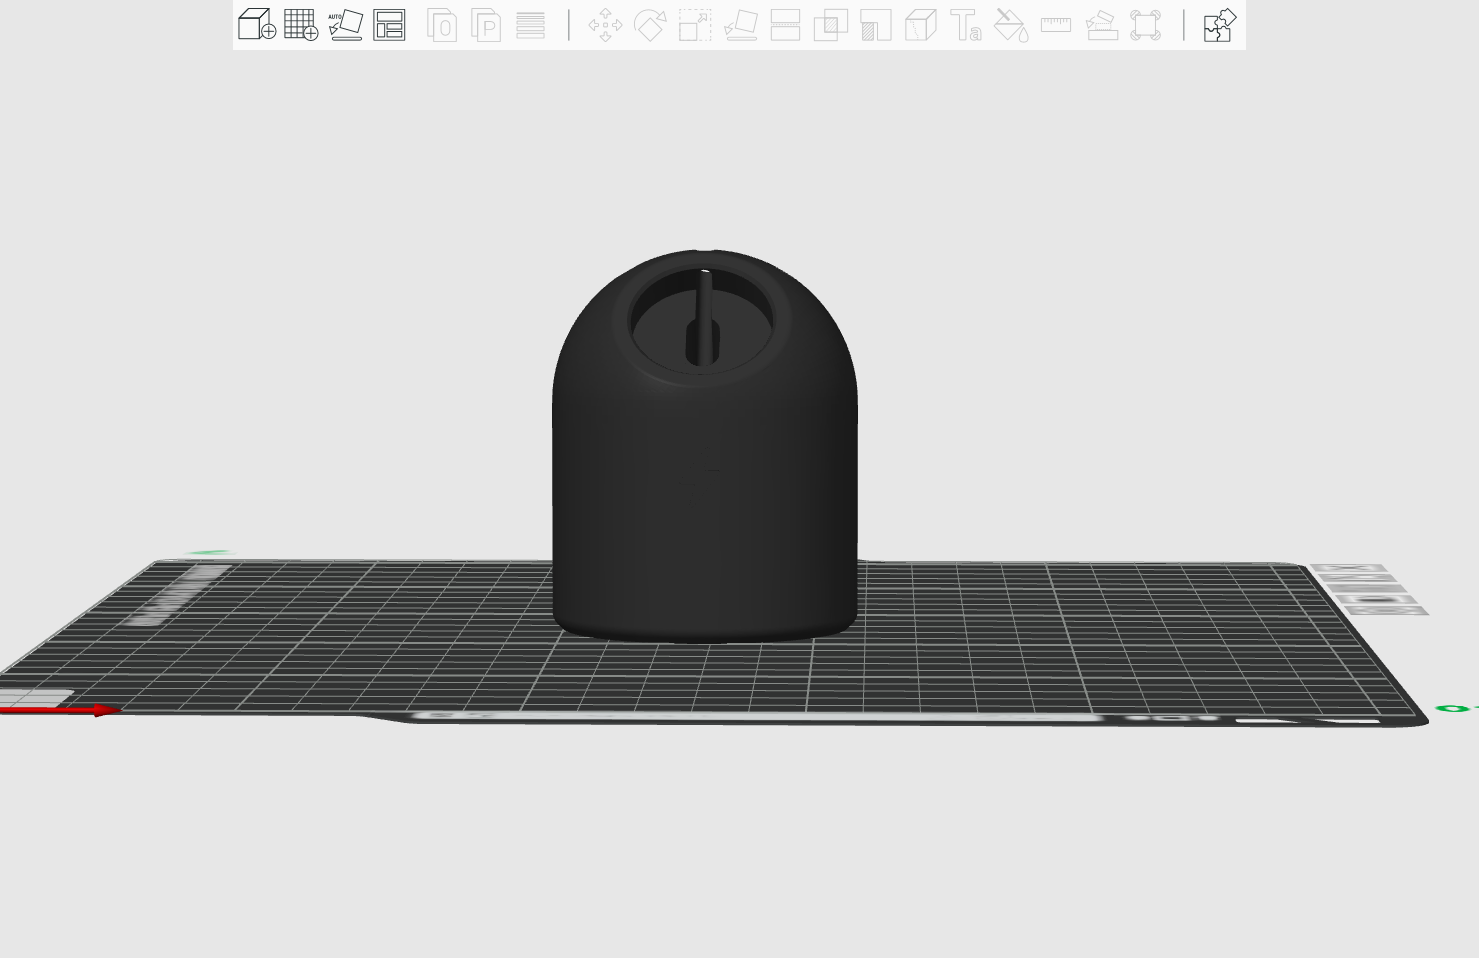
After the model is made, it is led into the sharp3D and visualized to see the approximate proportion.
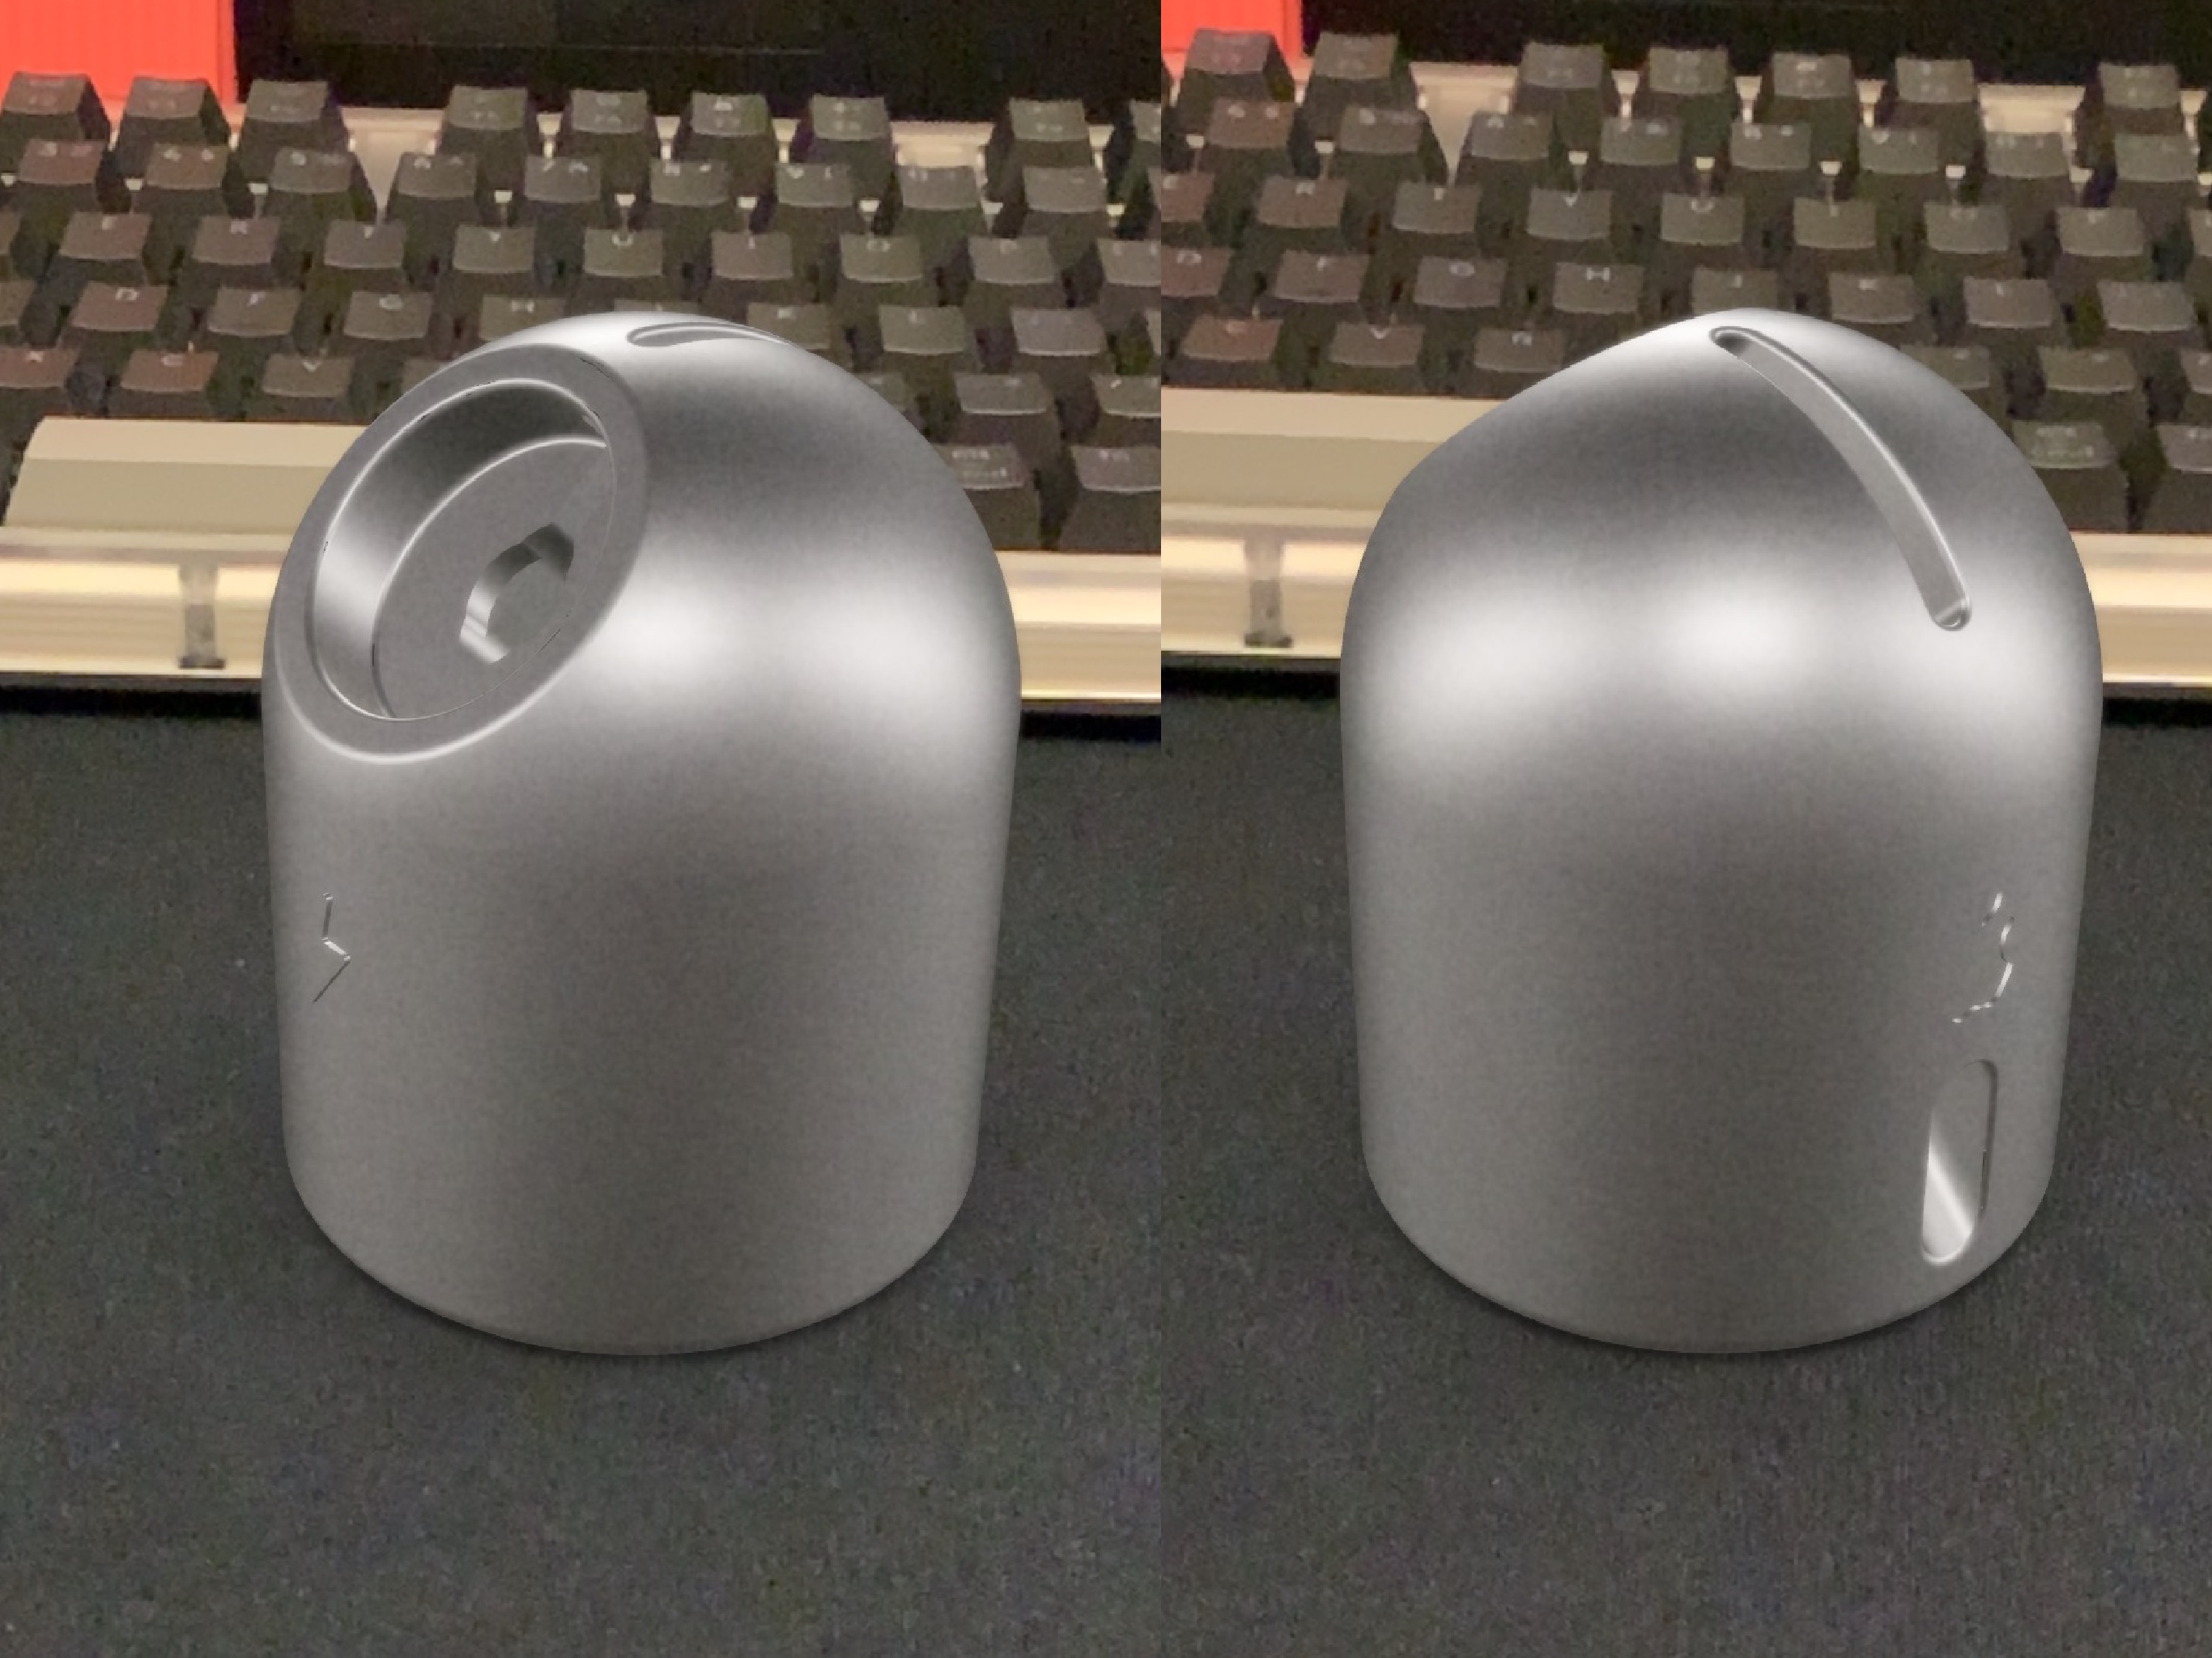
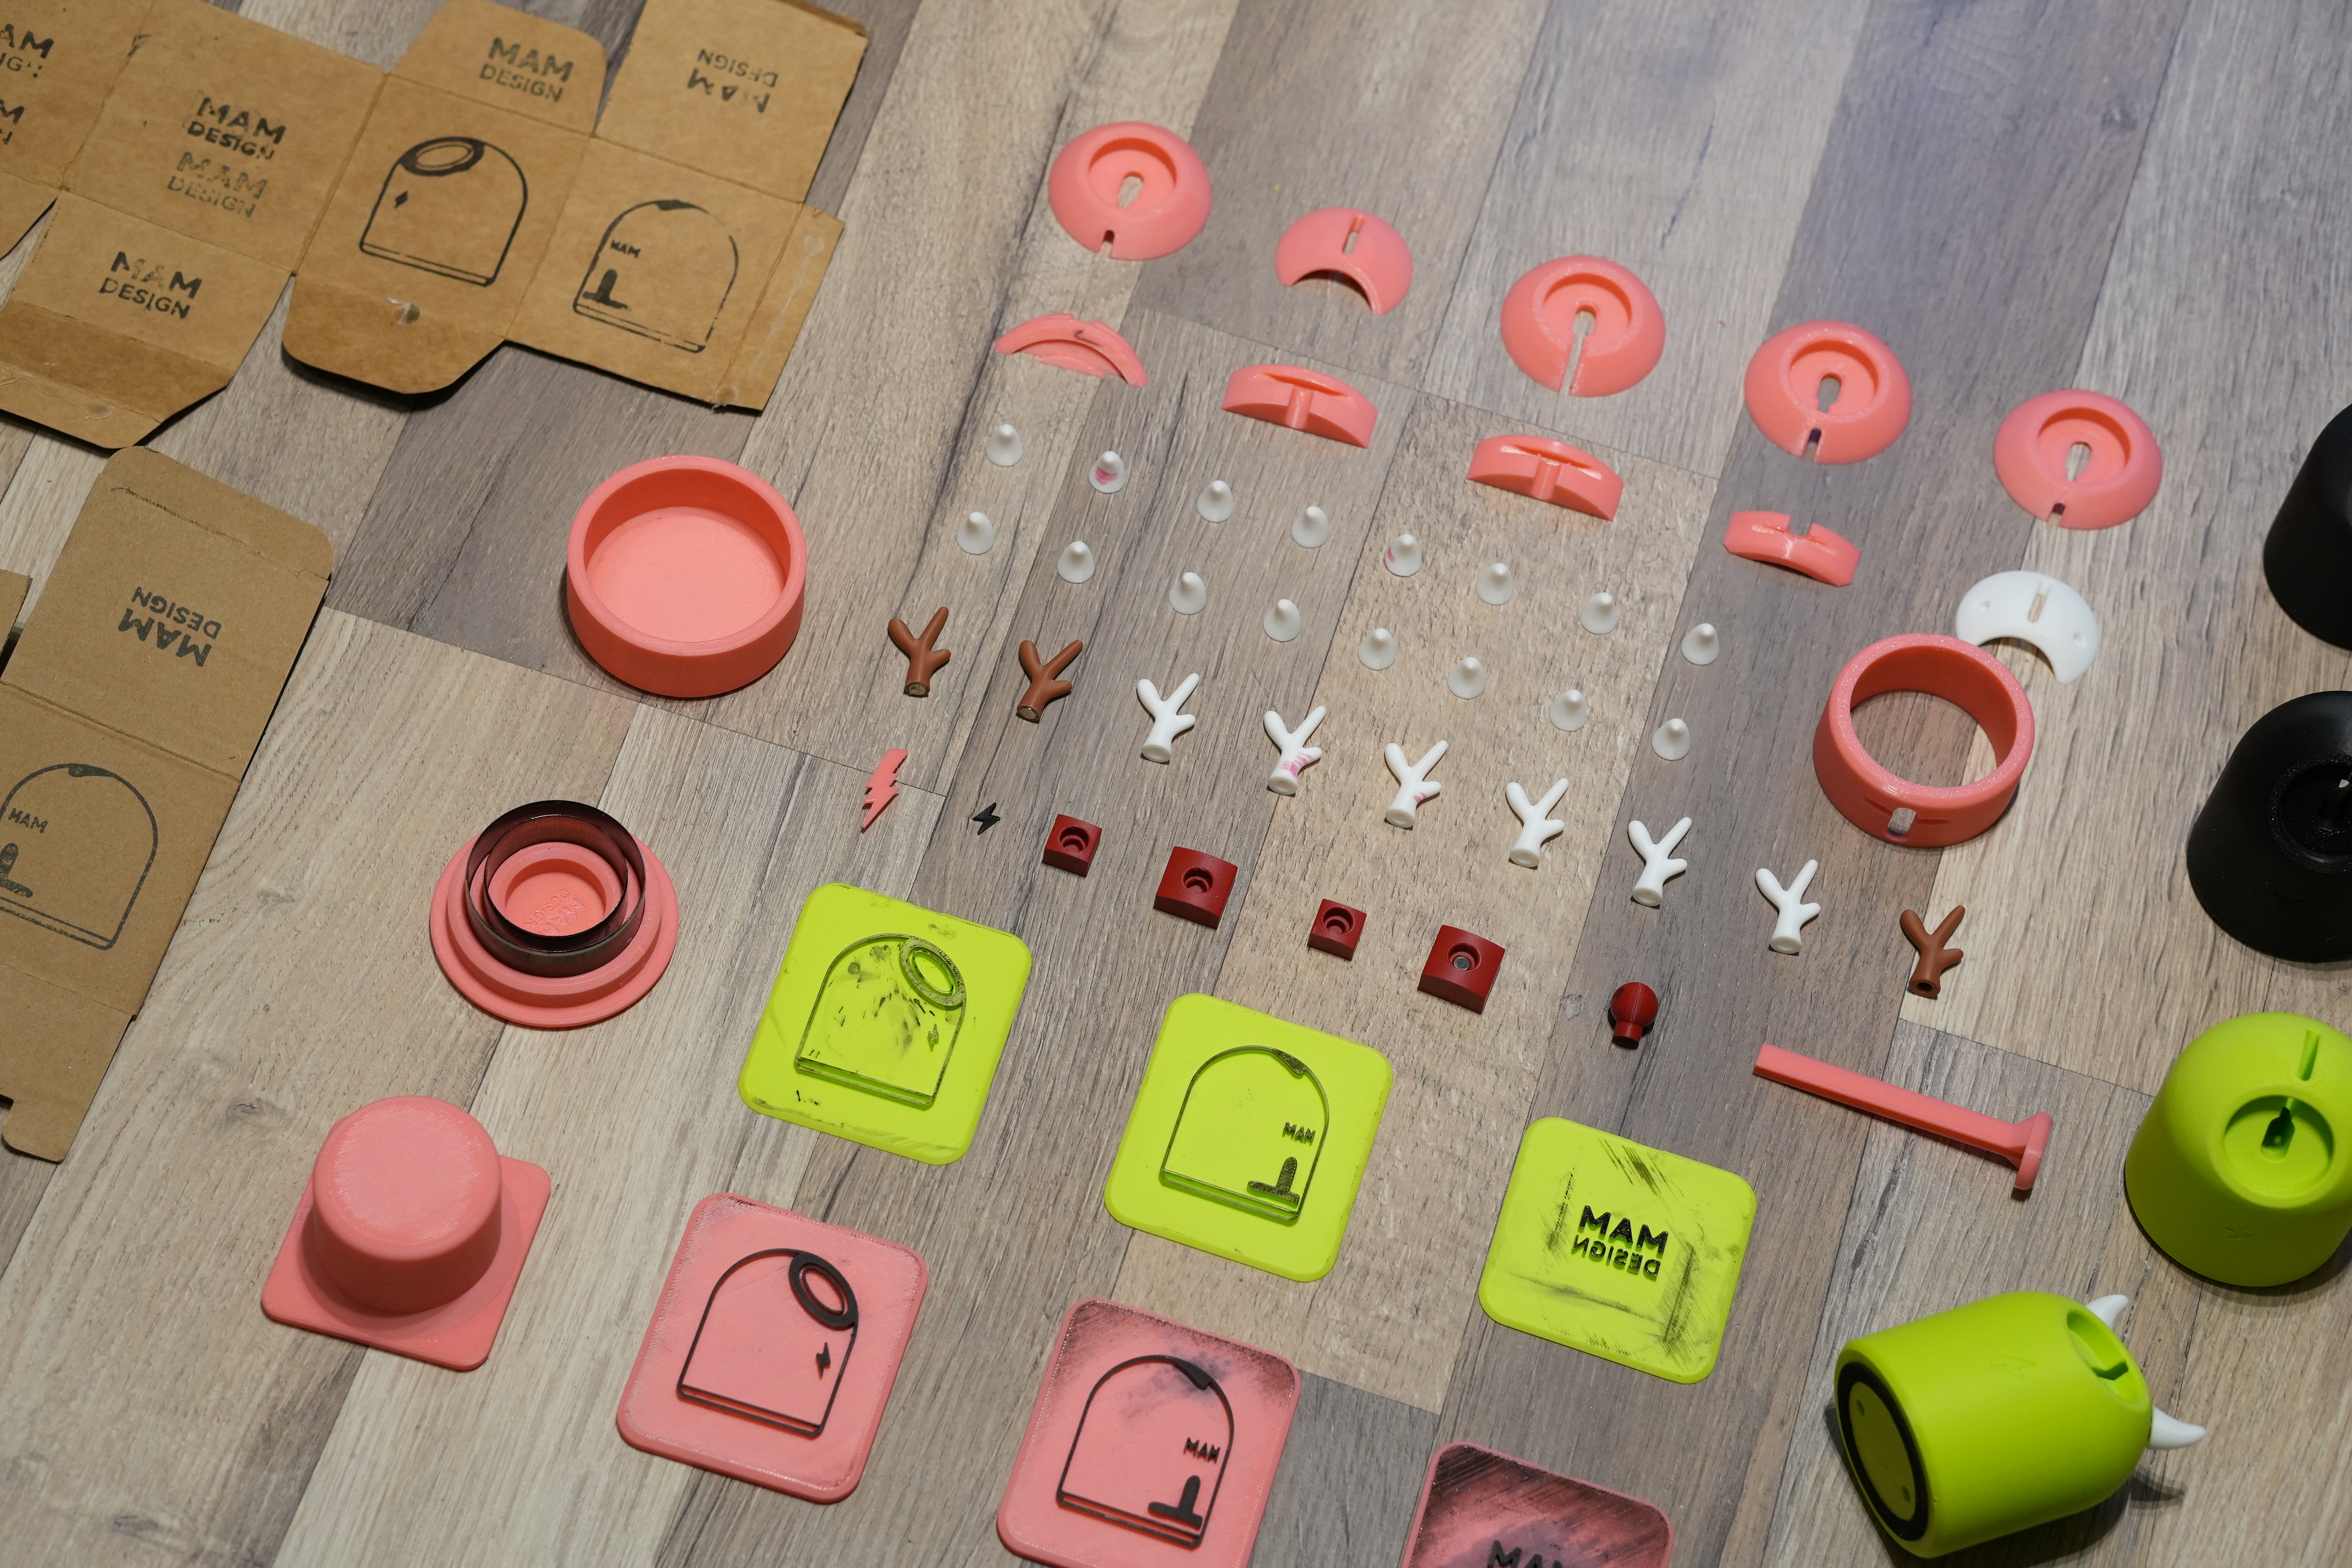
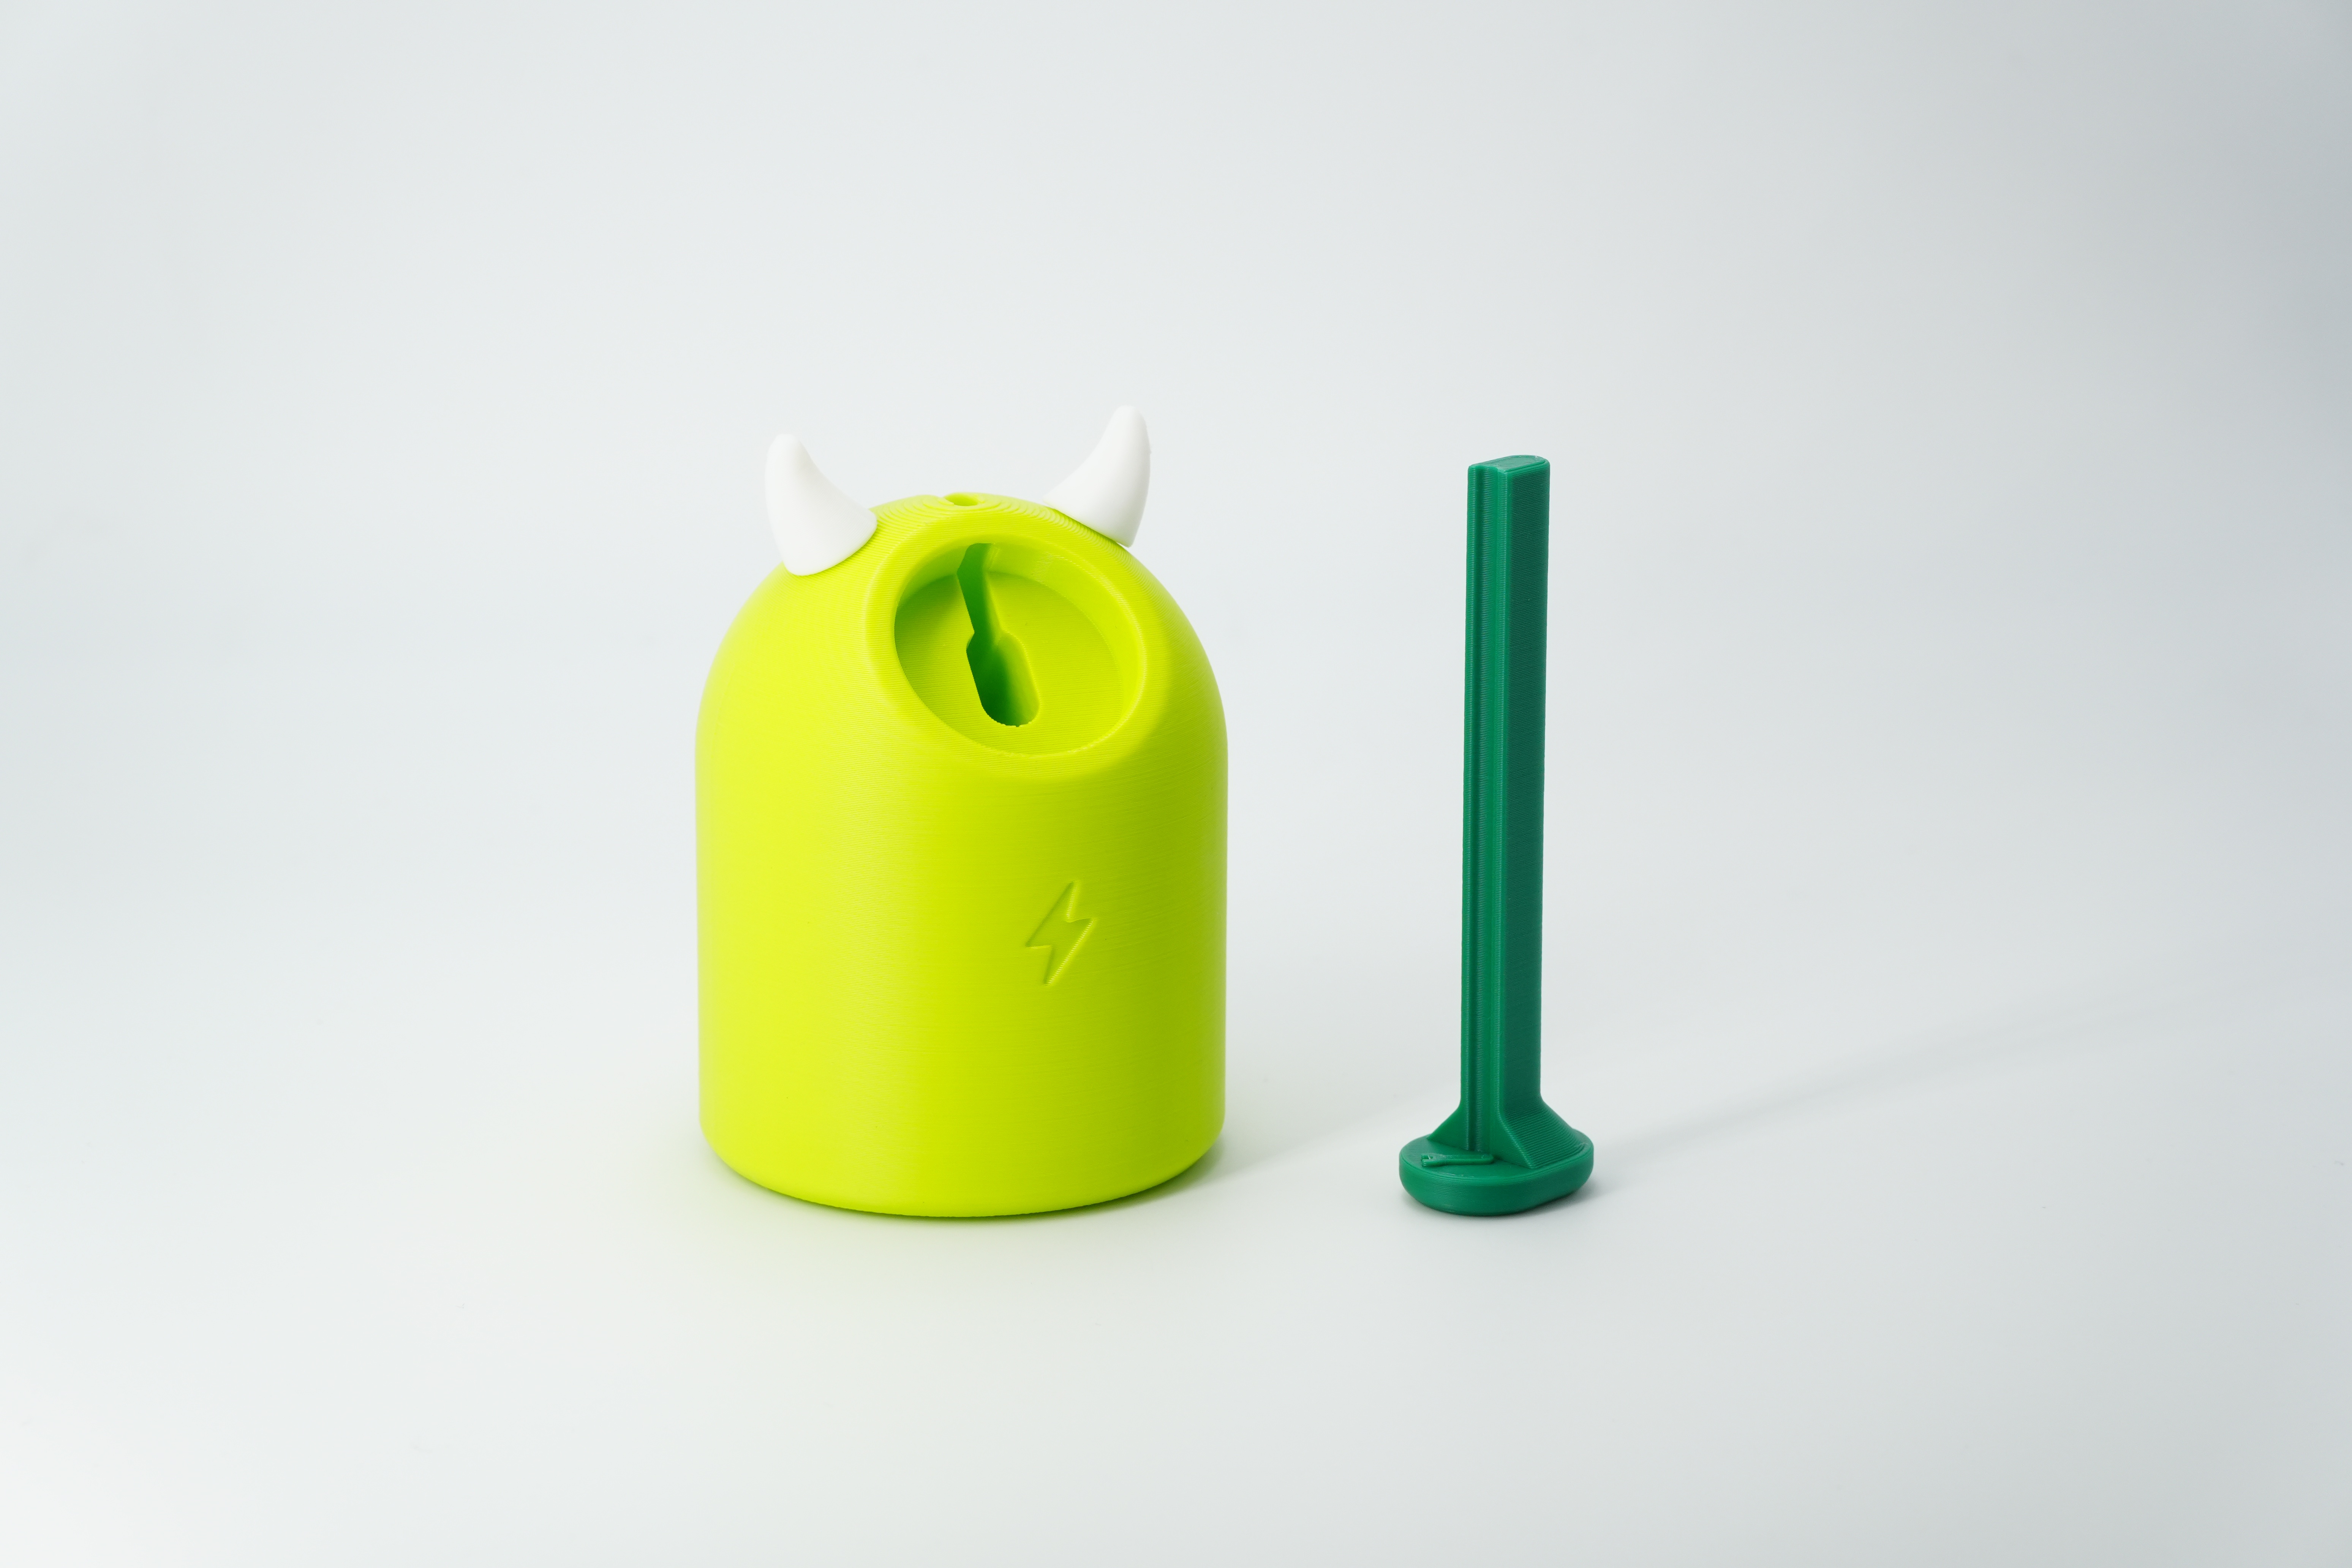
Print * 1
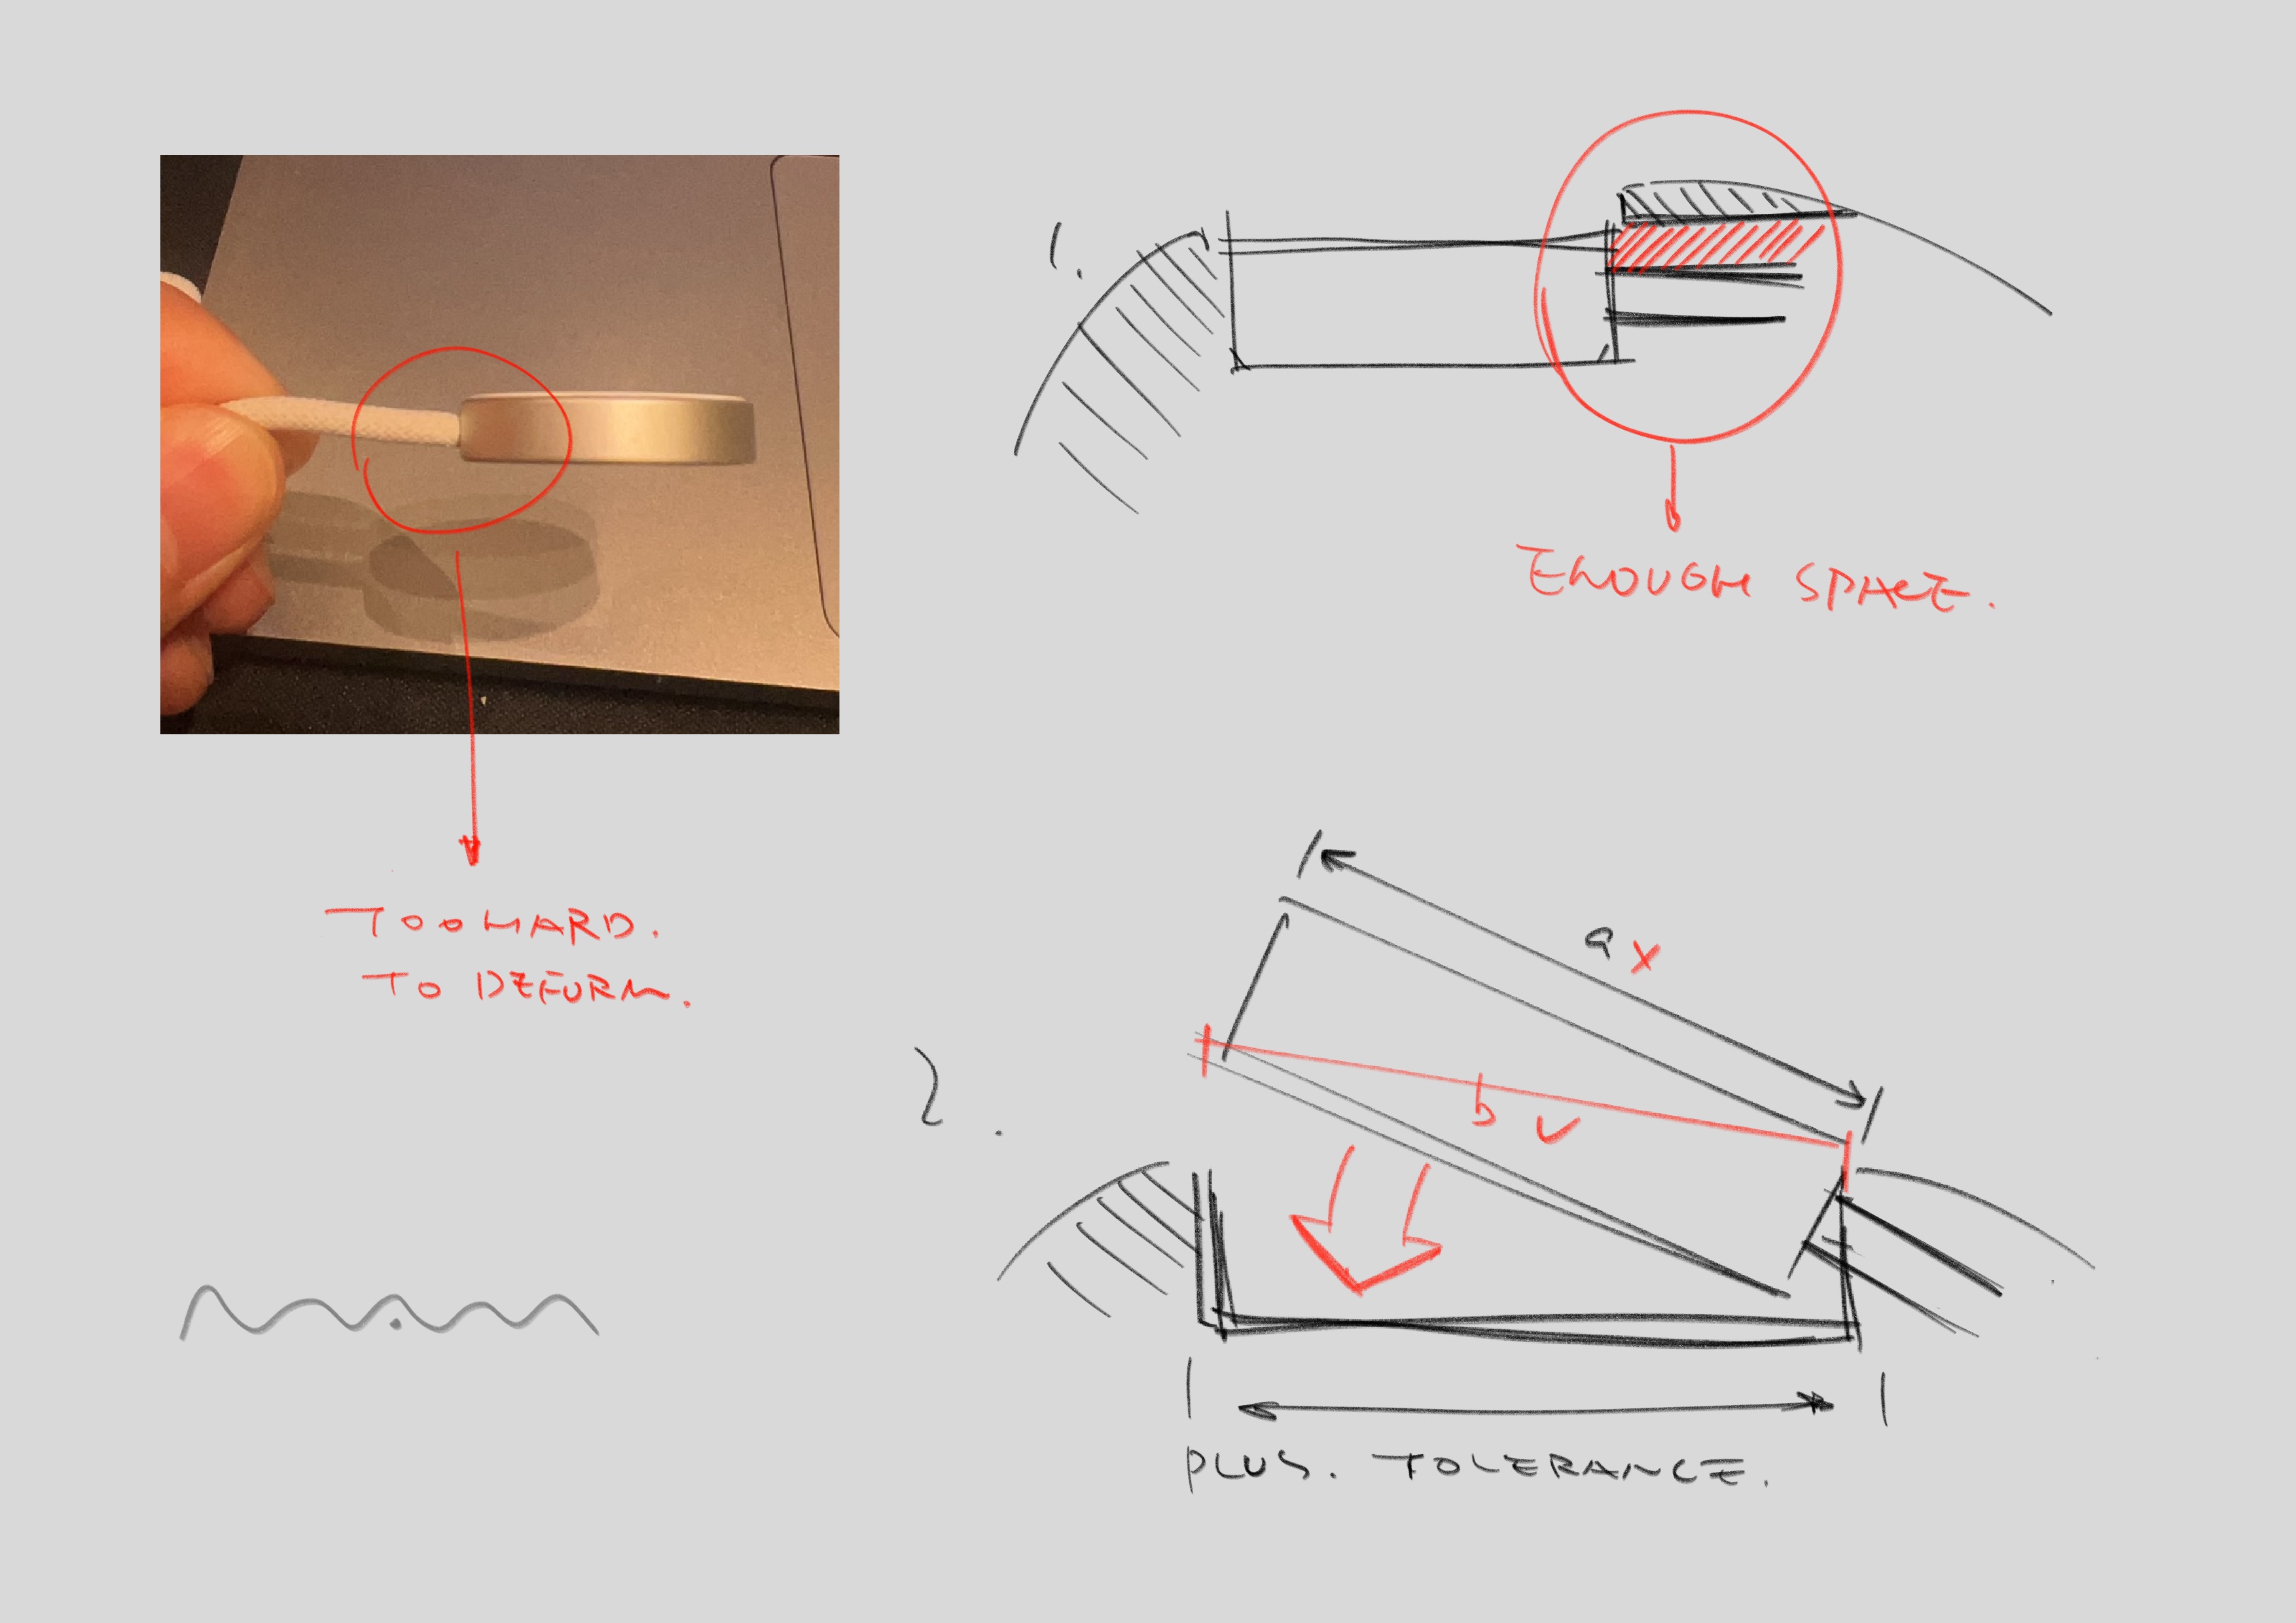
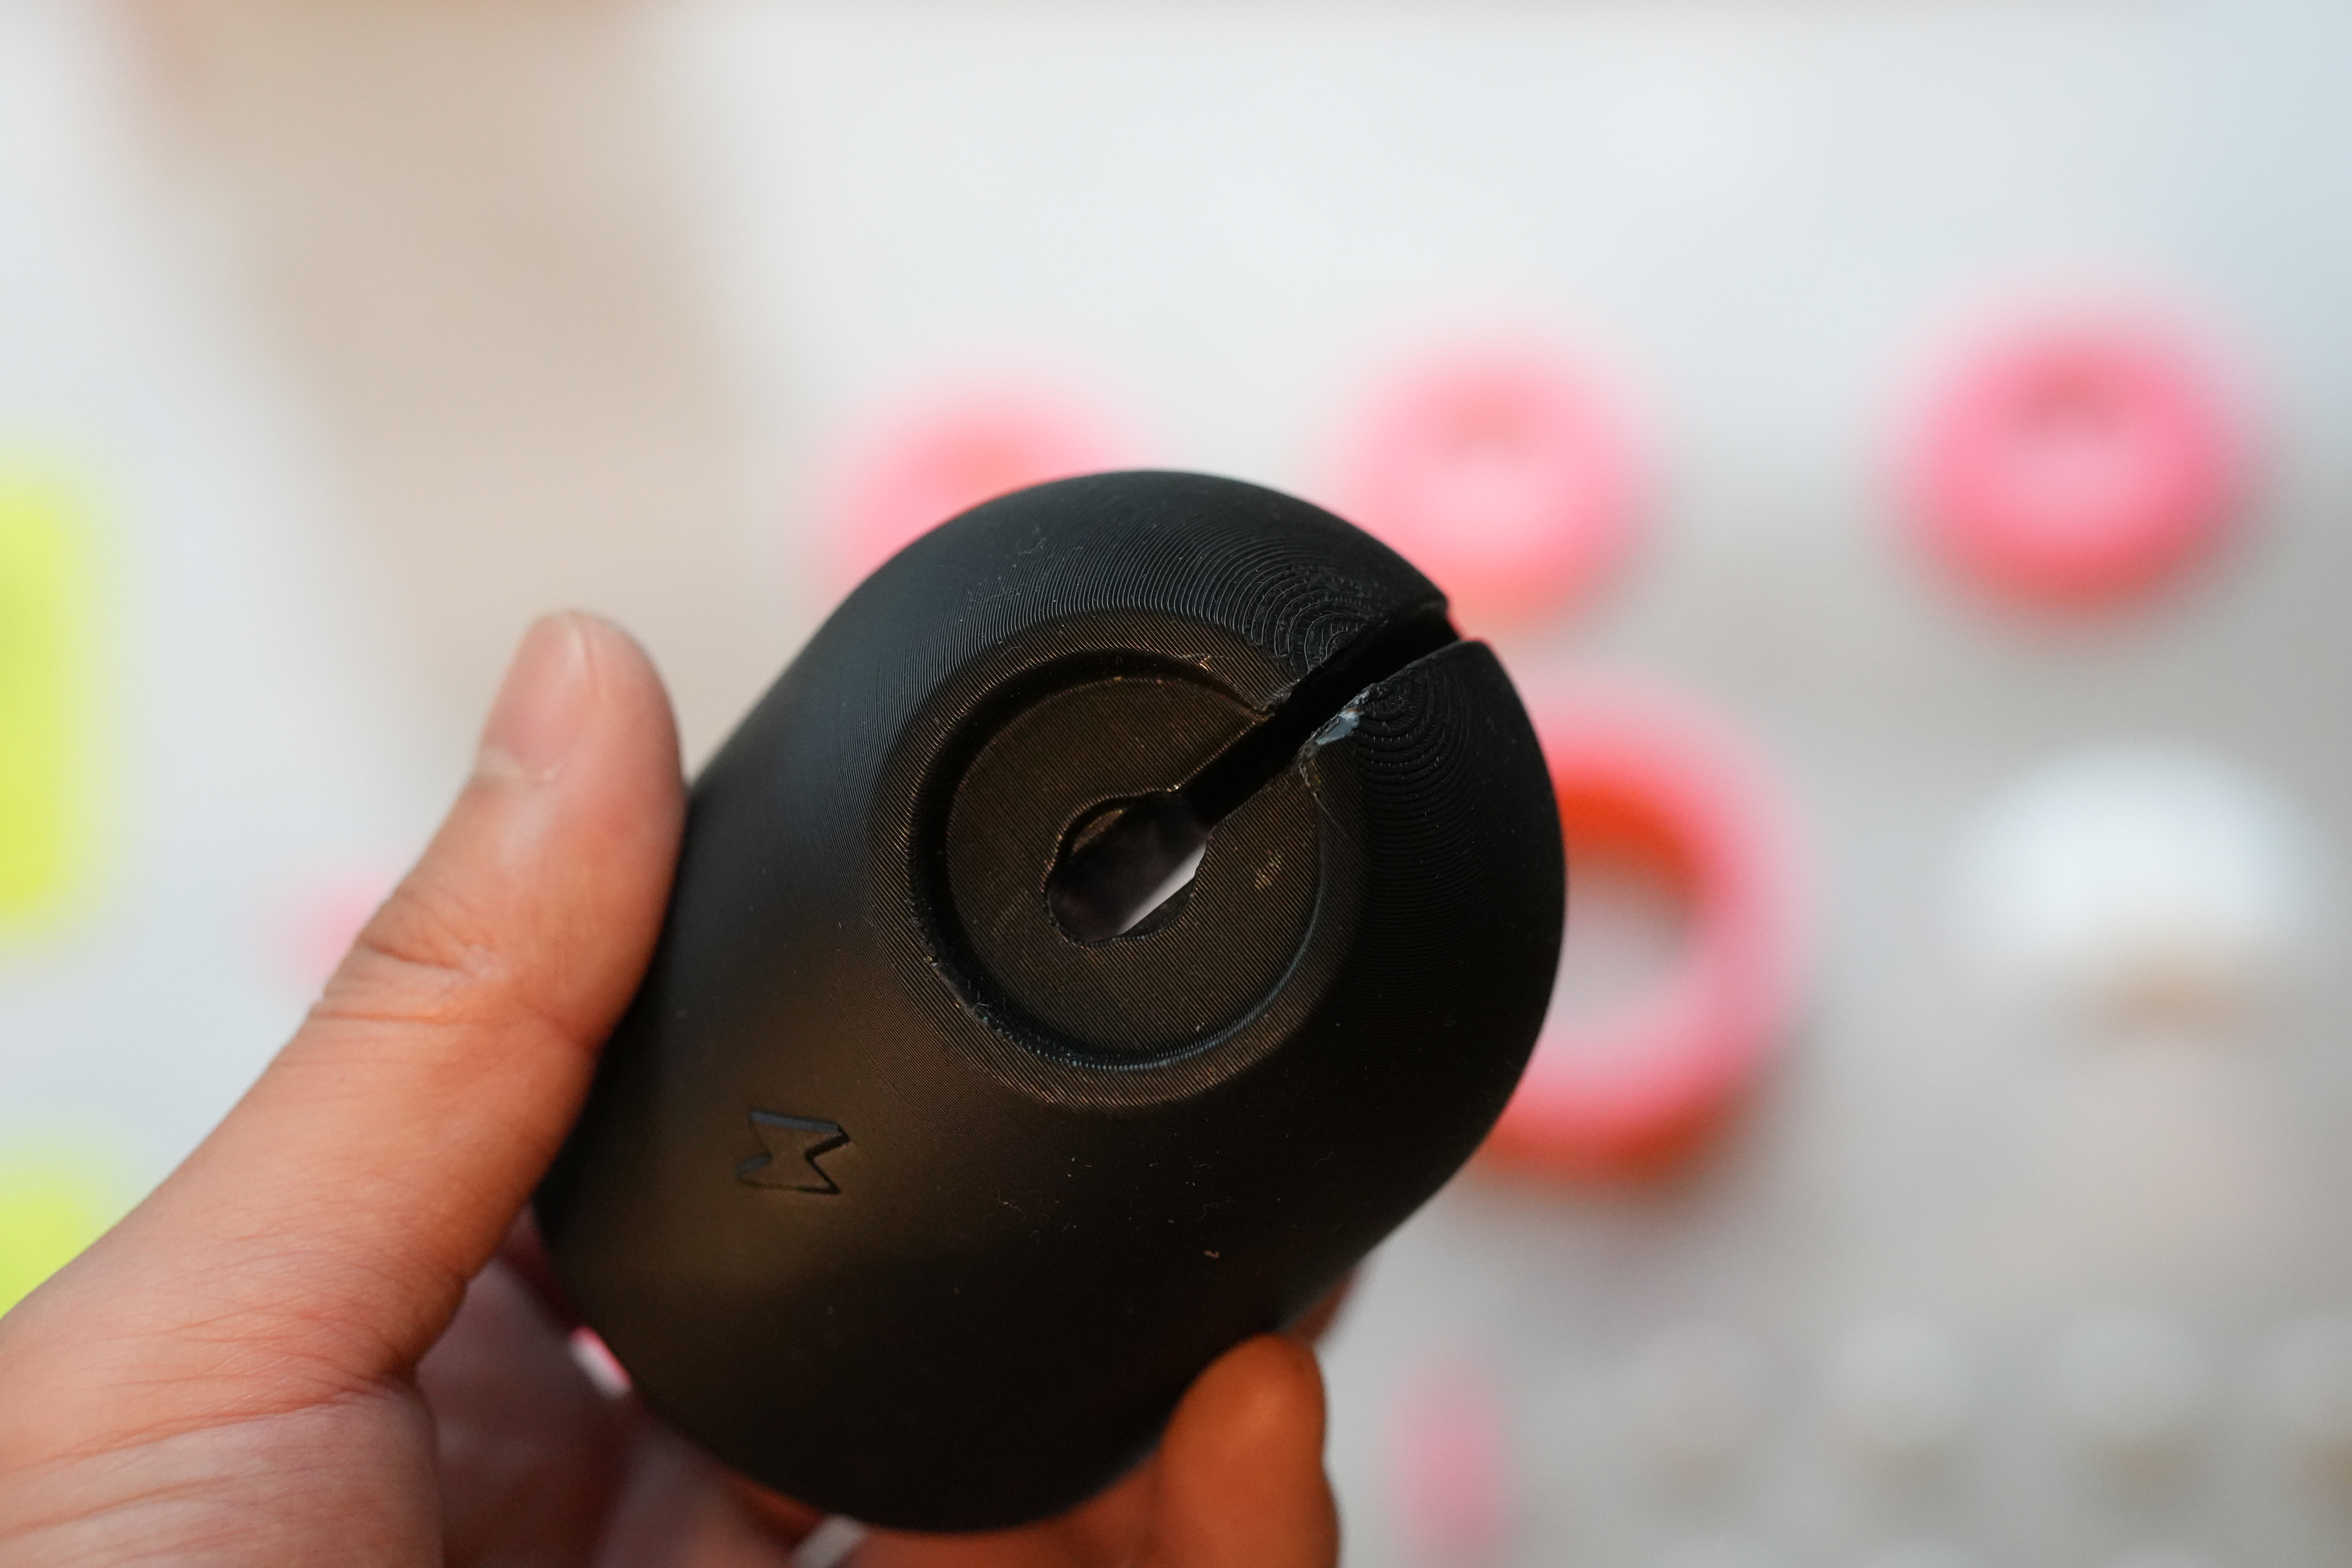
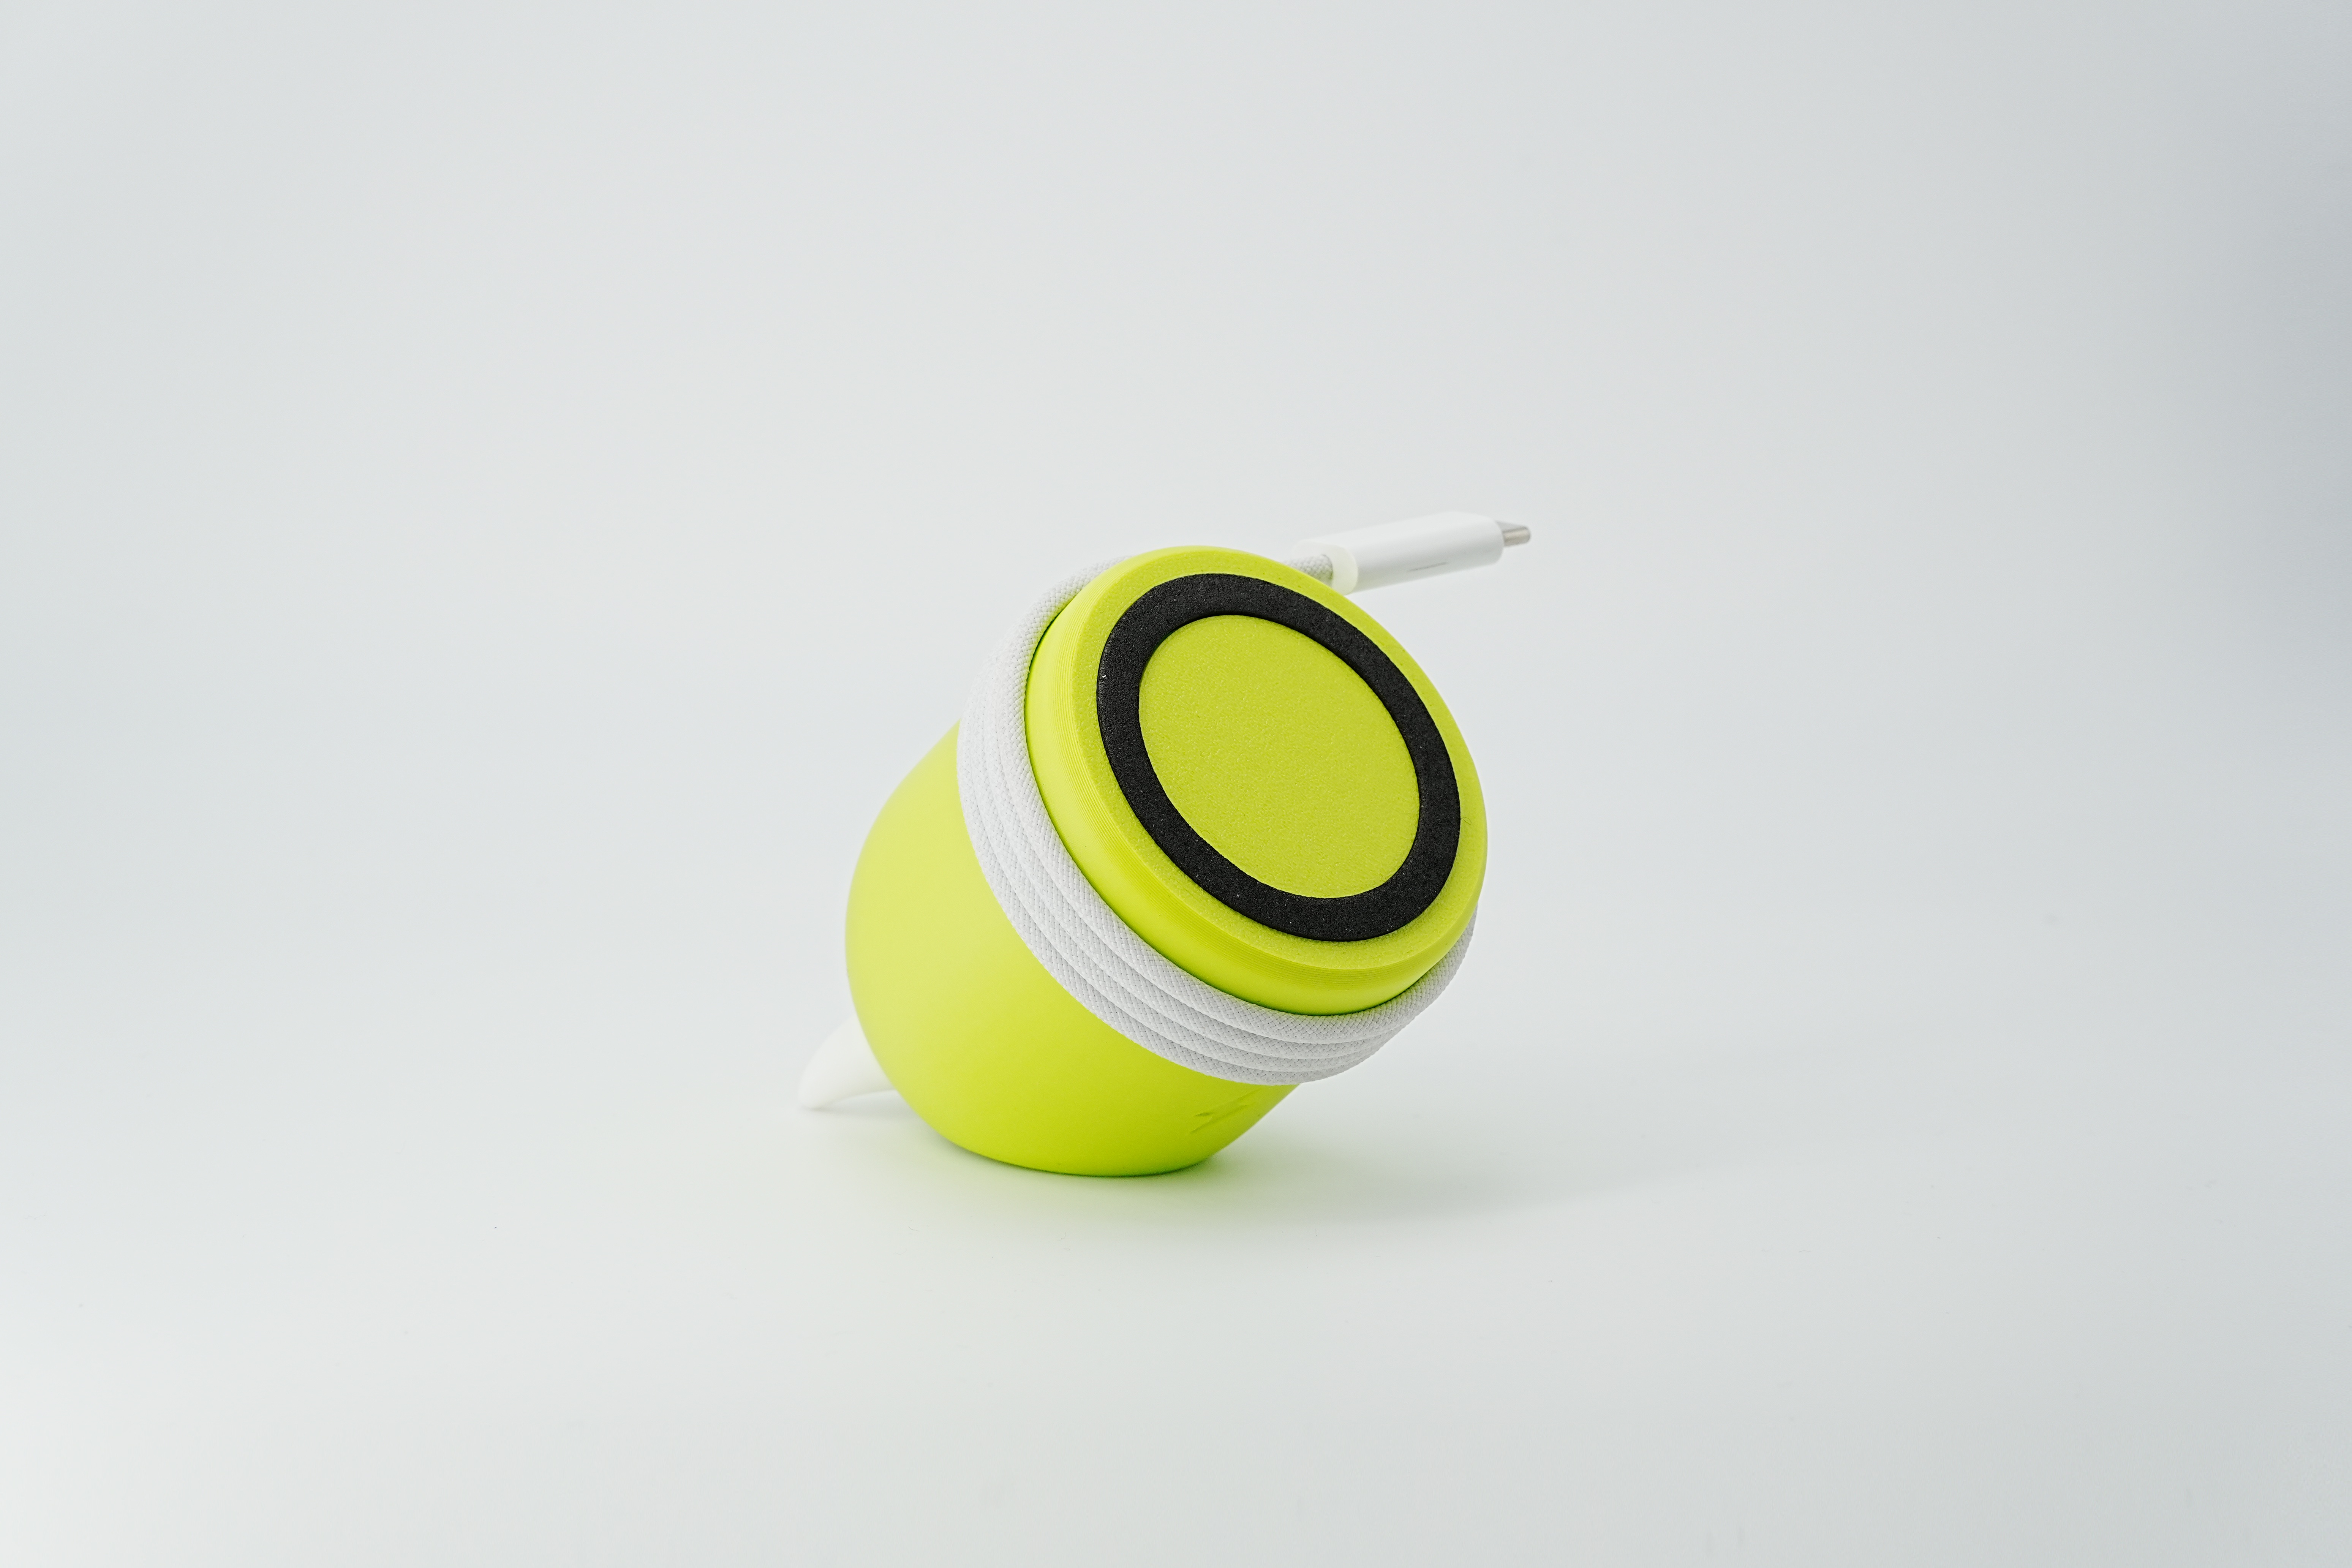
Here comes the problem: the connection part between the charging line and the aluminum alloy shell is quite hard, and the deformation that can be generated is very limited. however, I only reserved regular tolerance here, which was offset by a large probability after 3D printing. in addition, the charger needs to be rotated and pressed into the groove of the base with the connection part of the charger shell wire as the center during installation. the arc radius here should be the diagonal length of the maximum cross-section rectangle of the charger disc, when the two buff are stacked together, the charger cannot be plugged in at all and is directly ground (the main grinding groove here is the position where the metal shell and the charging line are connected. Finally, it is found that if there is enough space here, the charger can be pressed into the groove of the base).
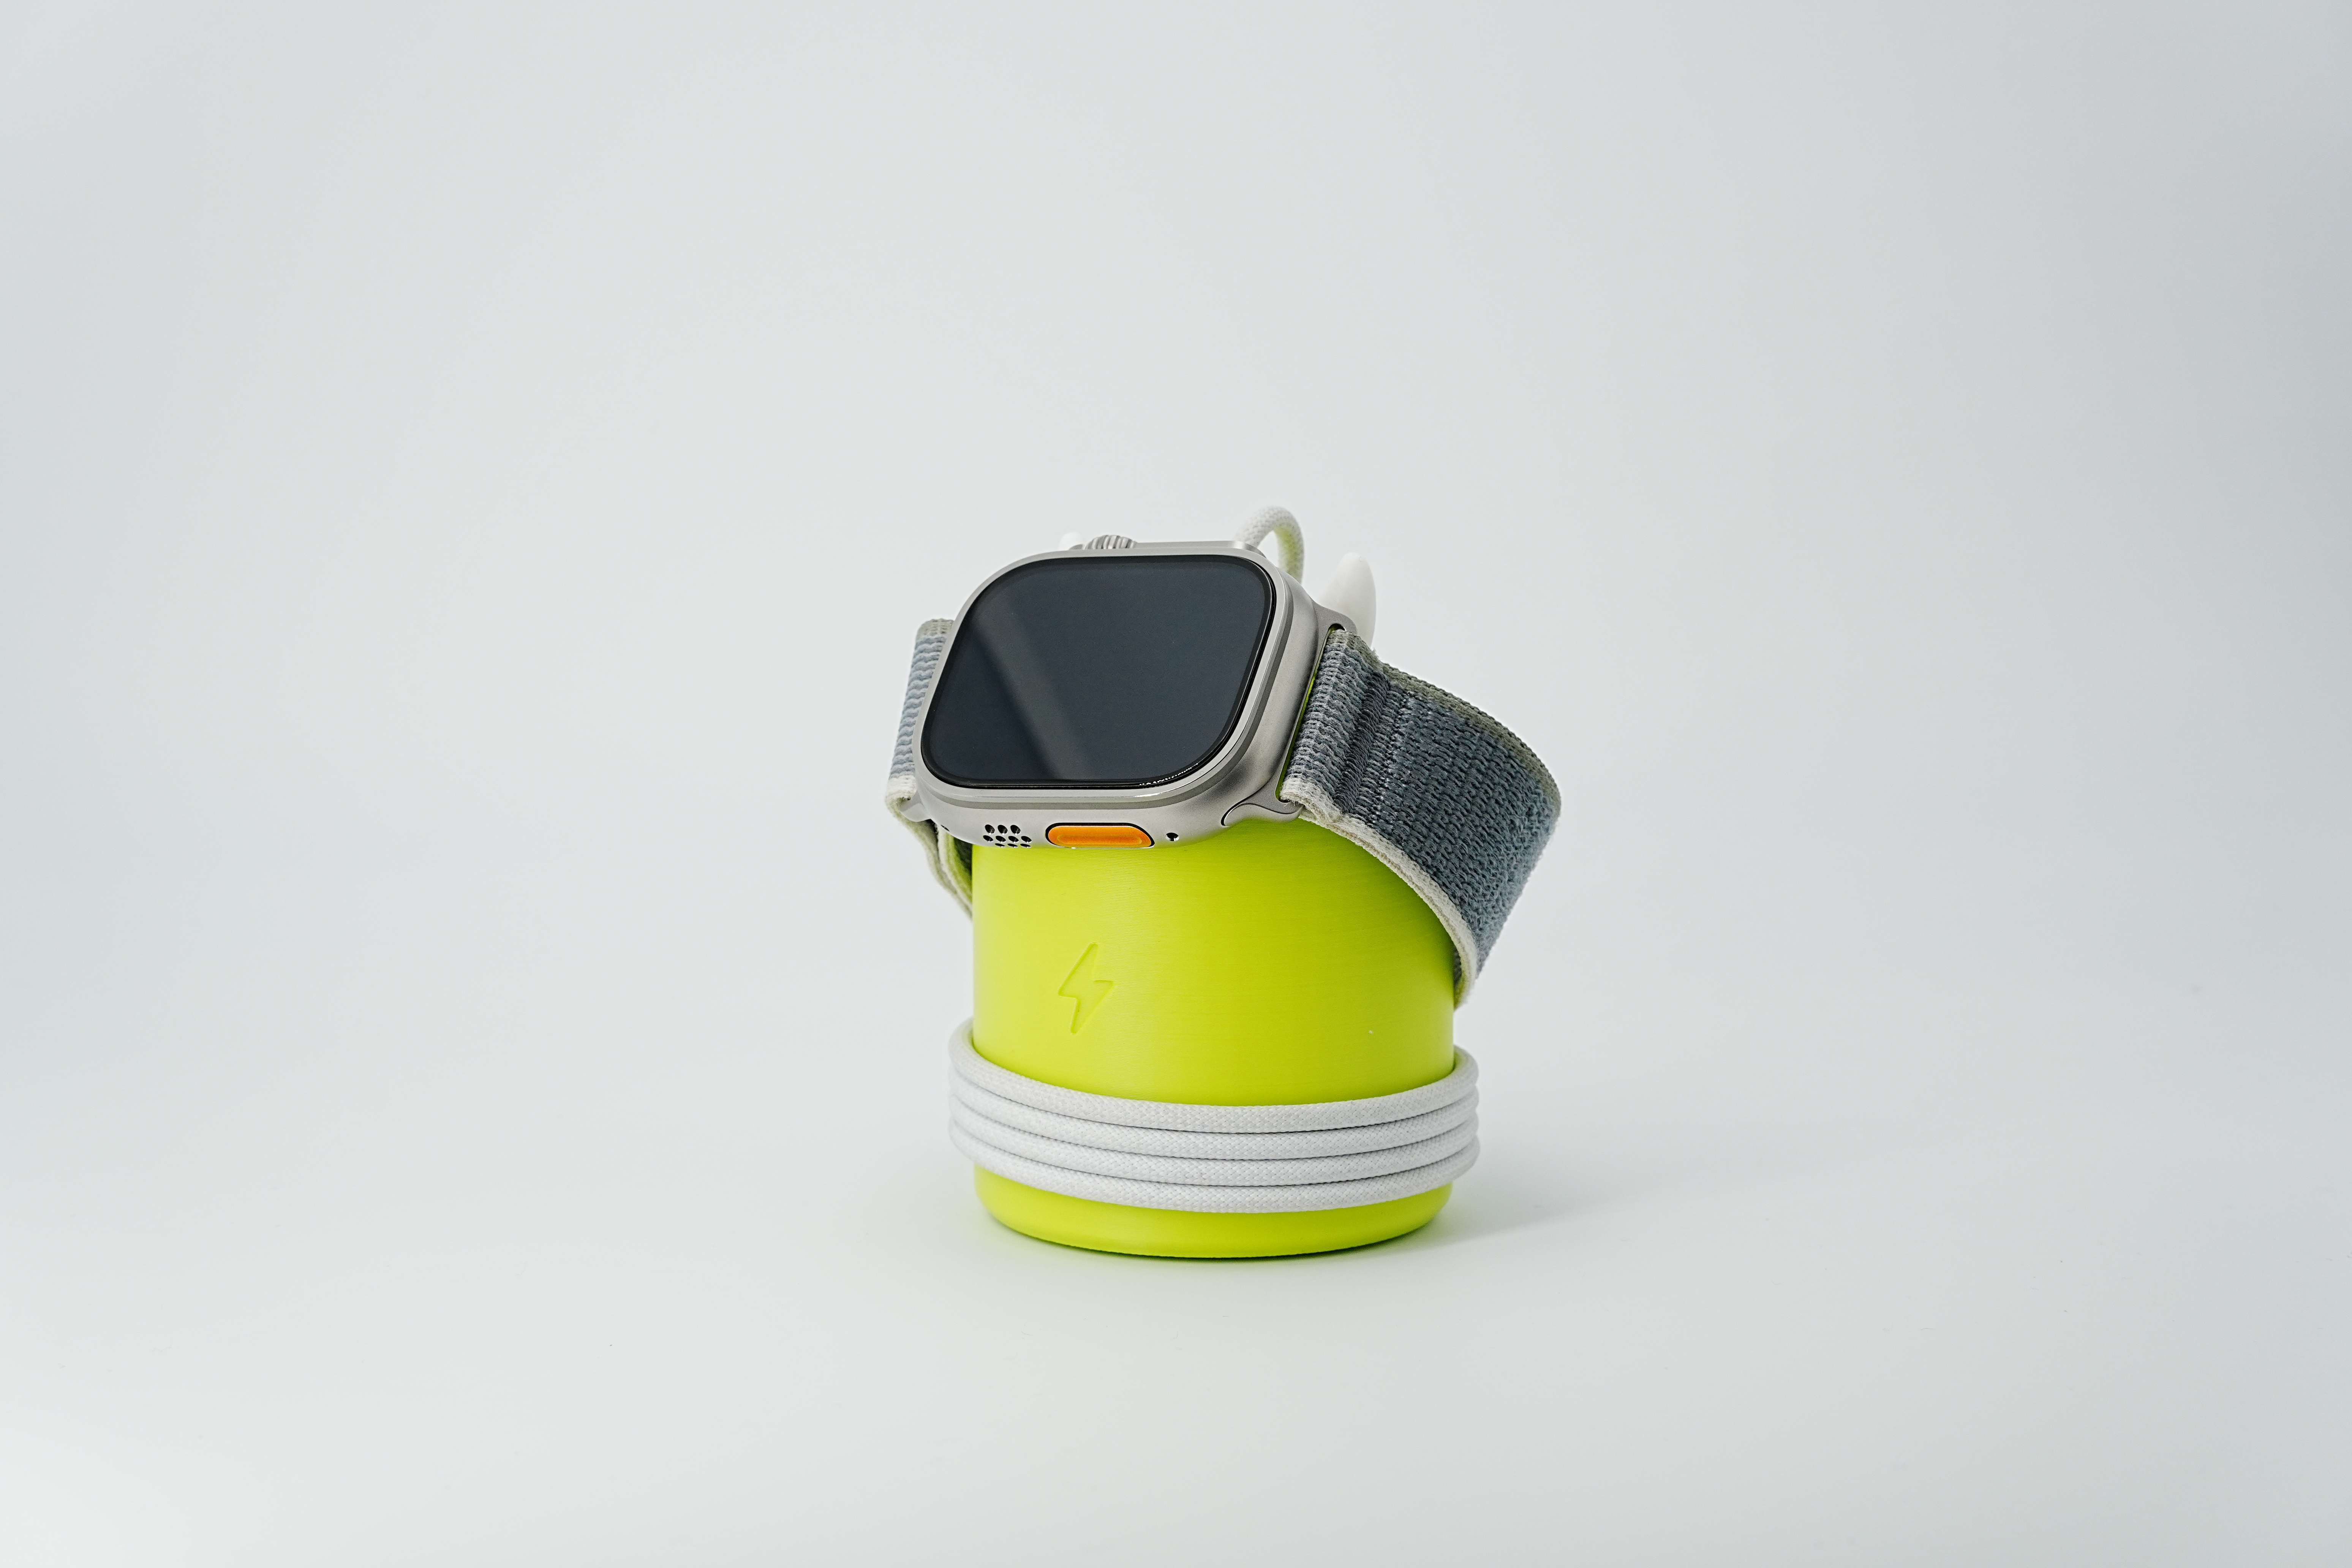
Thousands of grinding, finally put the charger!
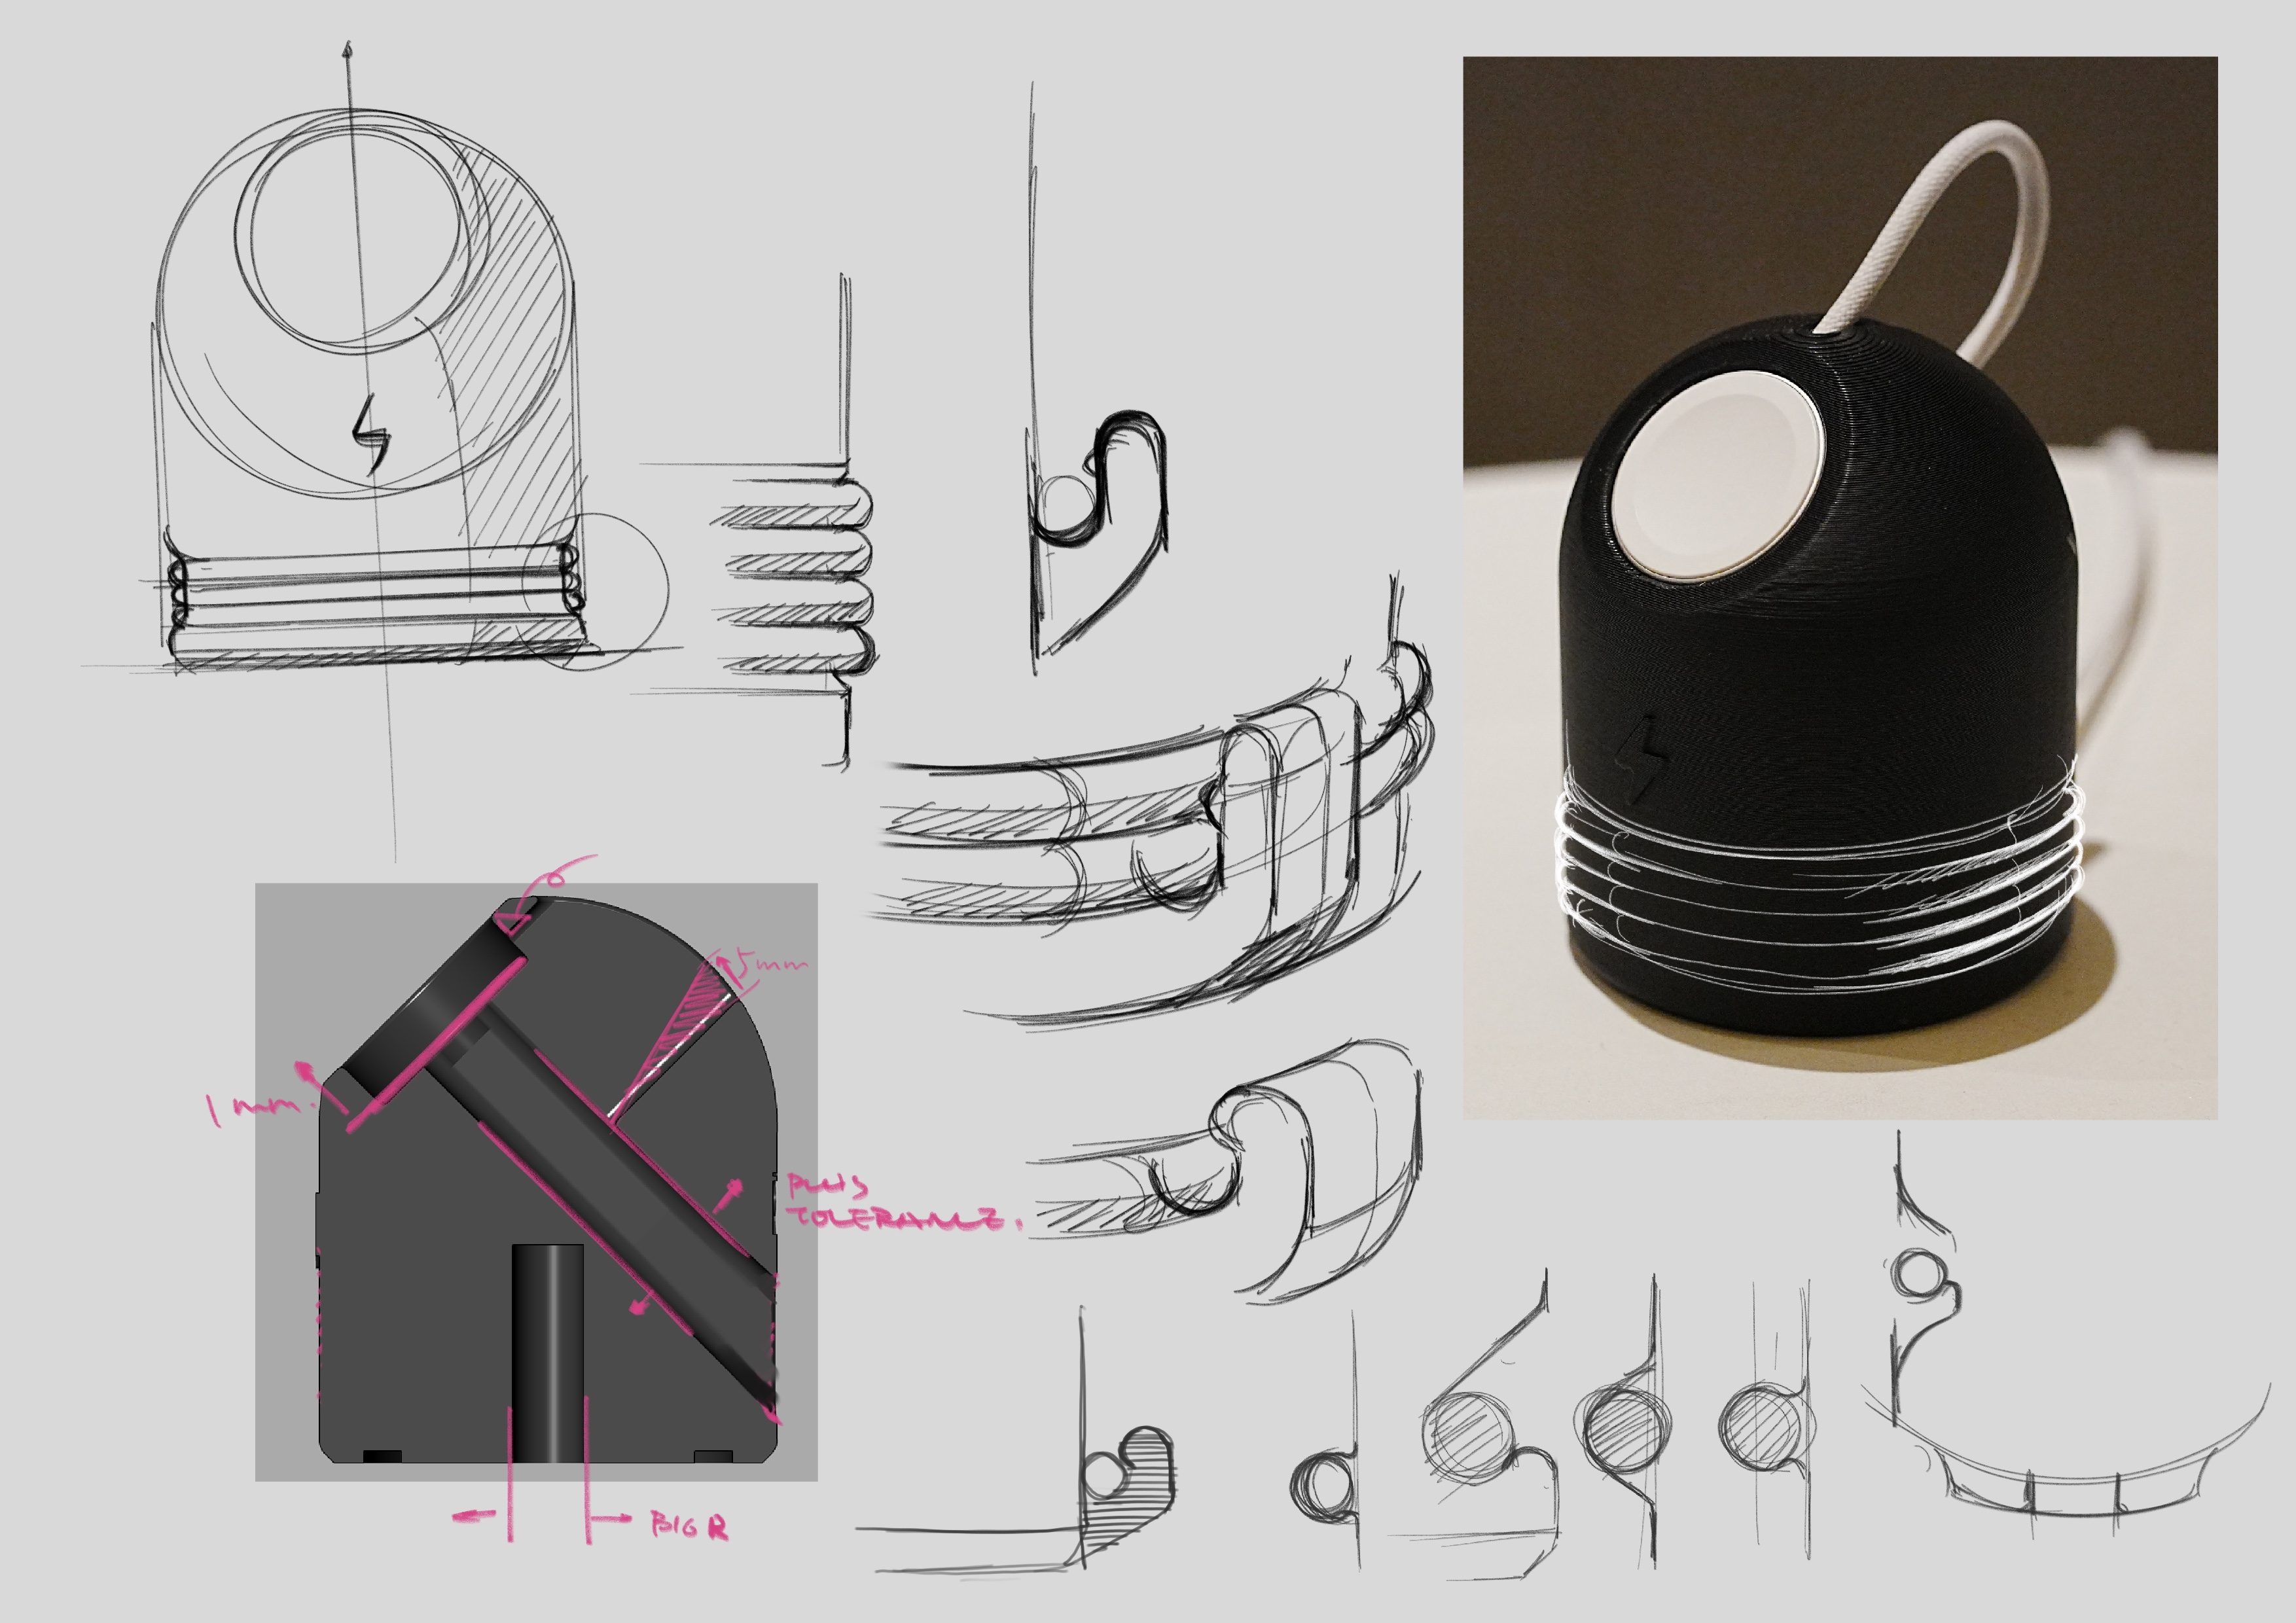
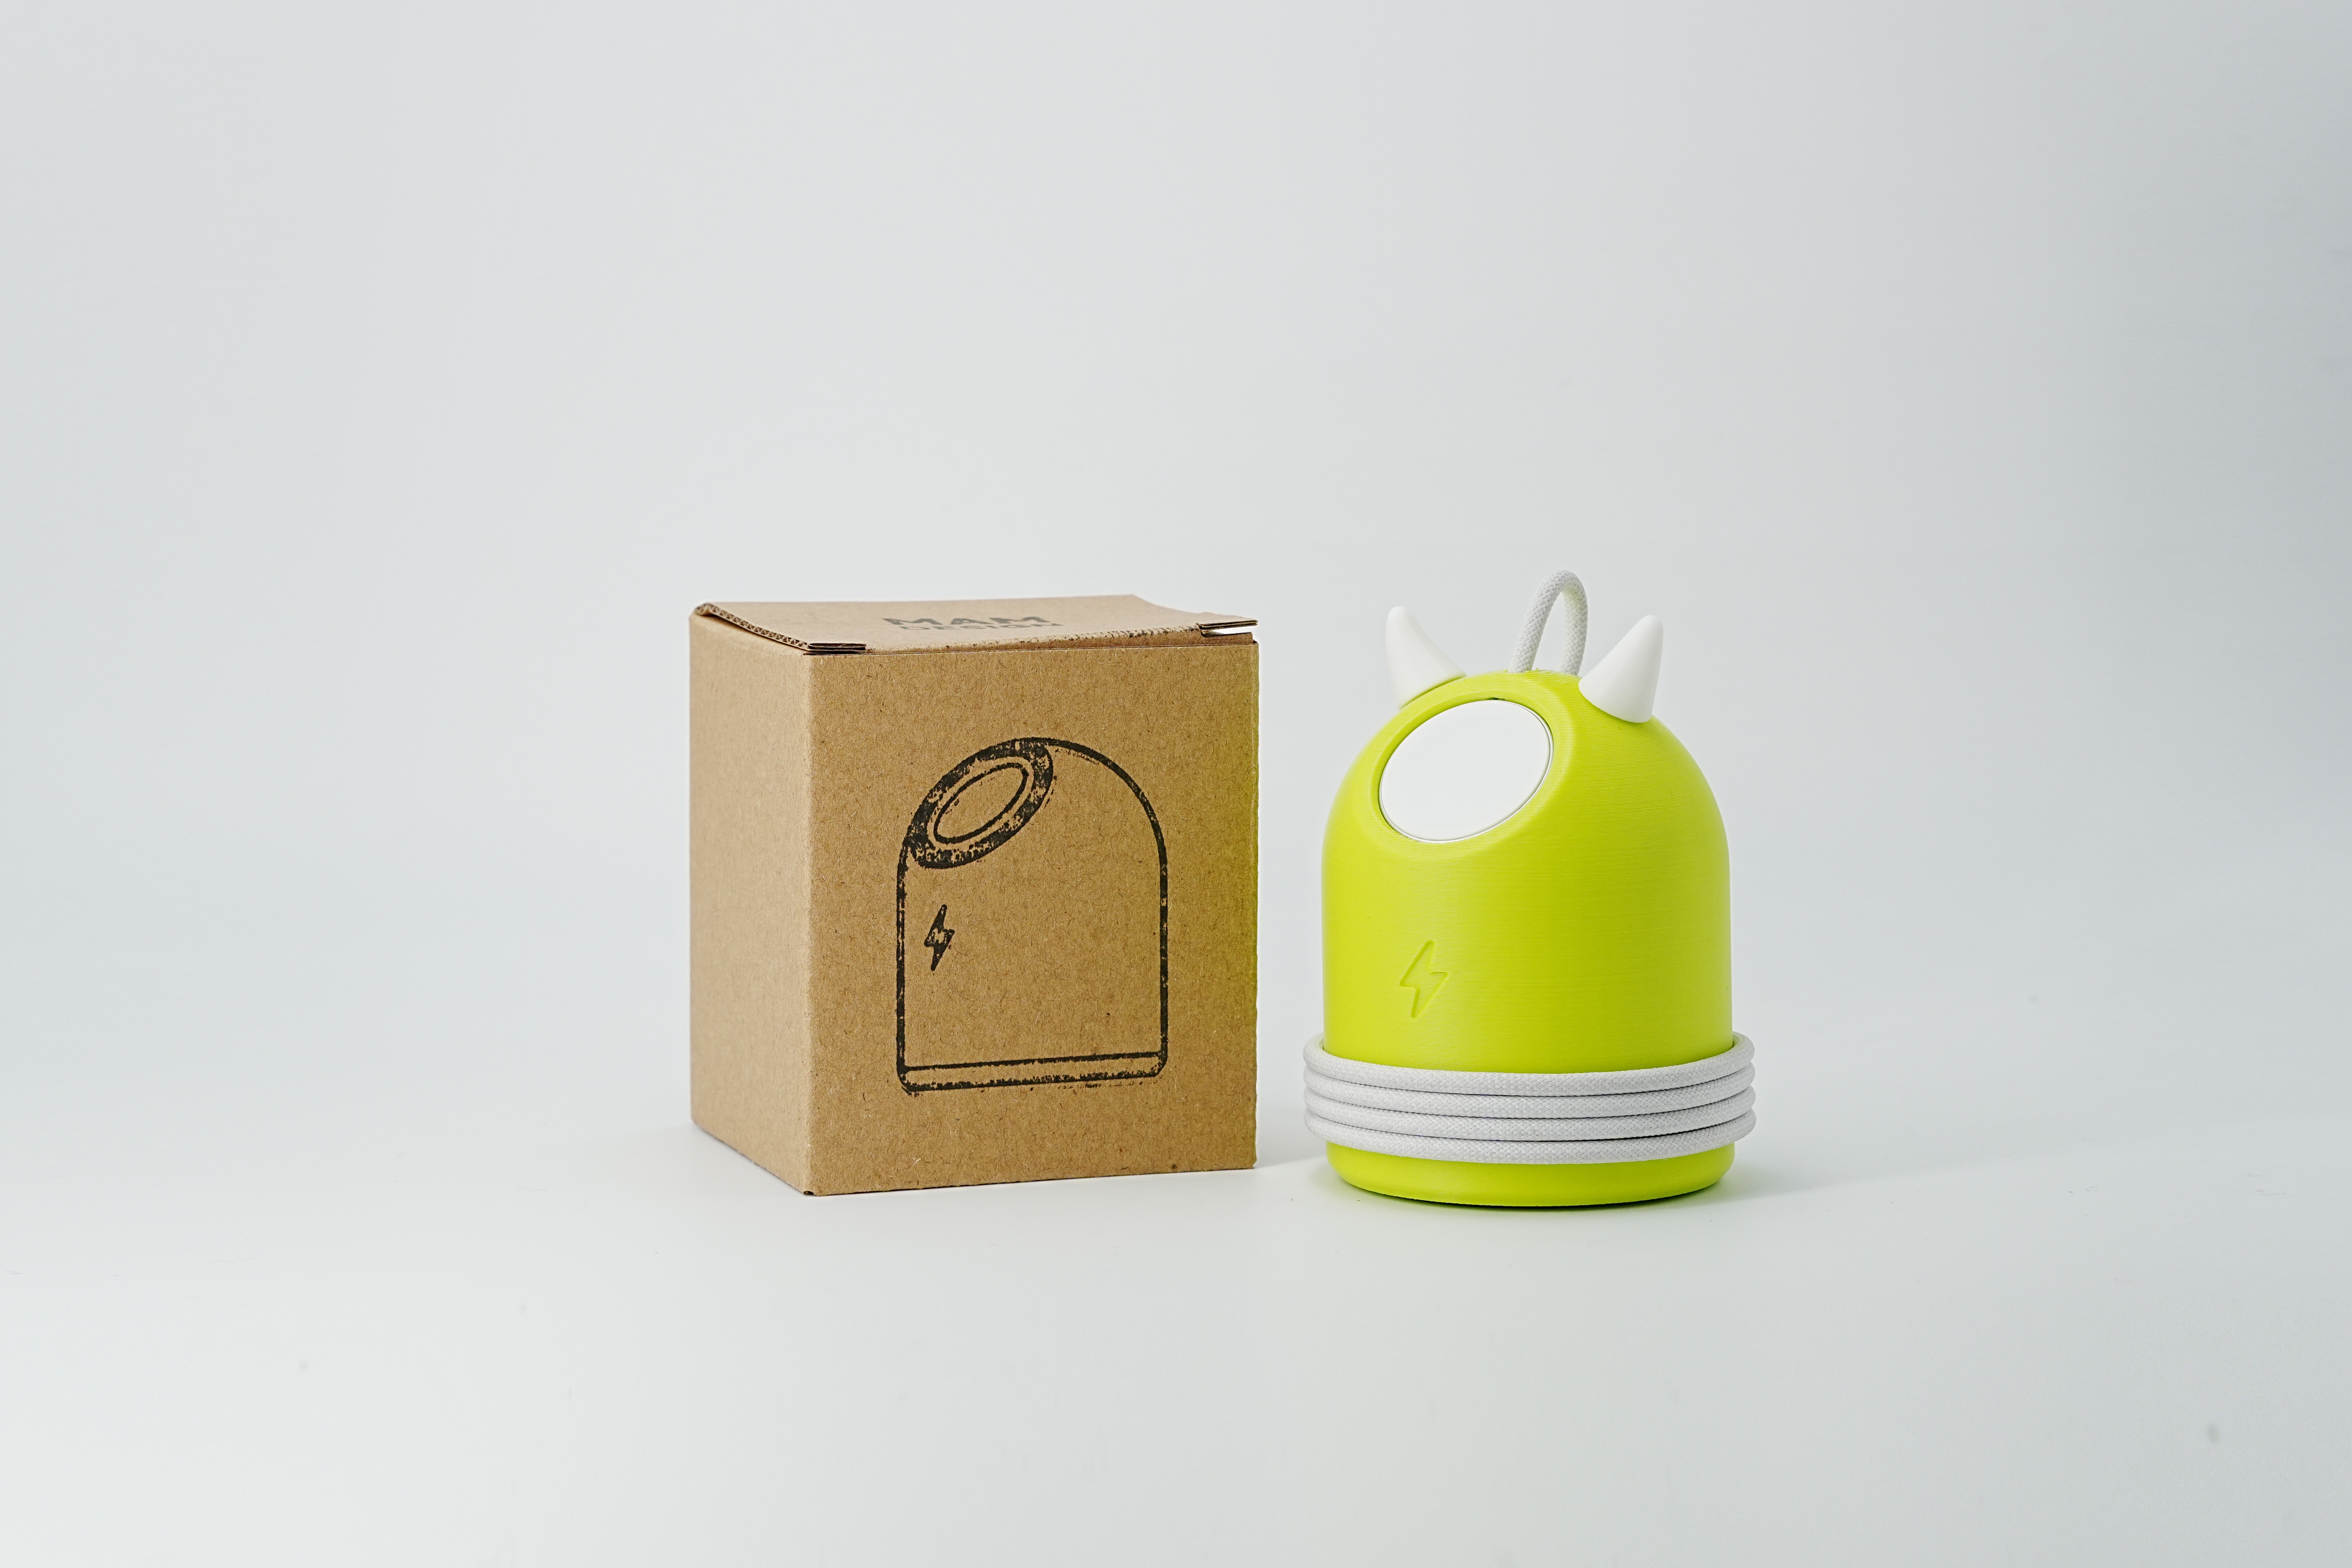
Take another sketch and mark the positions that need to be optimized. The idea of winding is added here, because the winding starts unconsciously after holding the printed parts. I probably drew it and thought the effect was good. Keep it up!
In the middle, I also thought about piercing the routing slot directly, but the effect was relatively discounted, not good. At the same time, there is also a new problem here, that is, how to remove the charger (I used a disposable chopstick here).
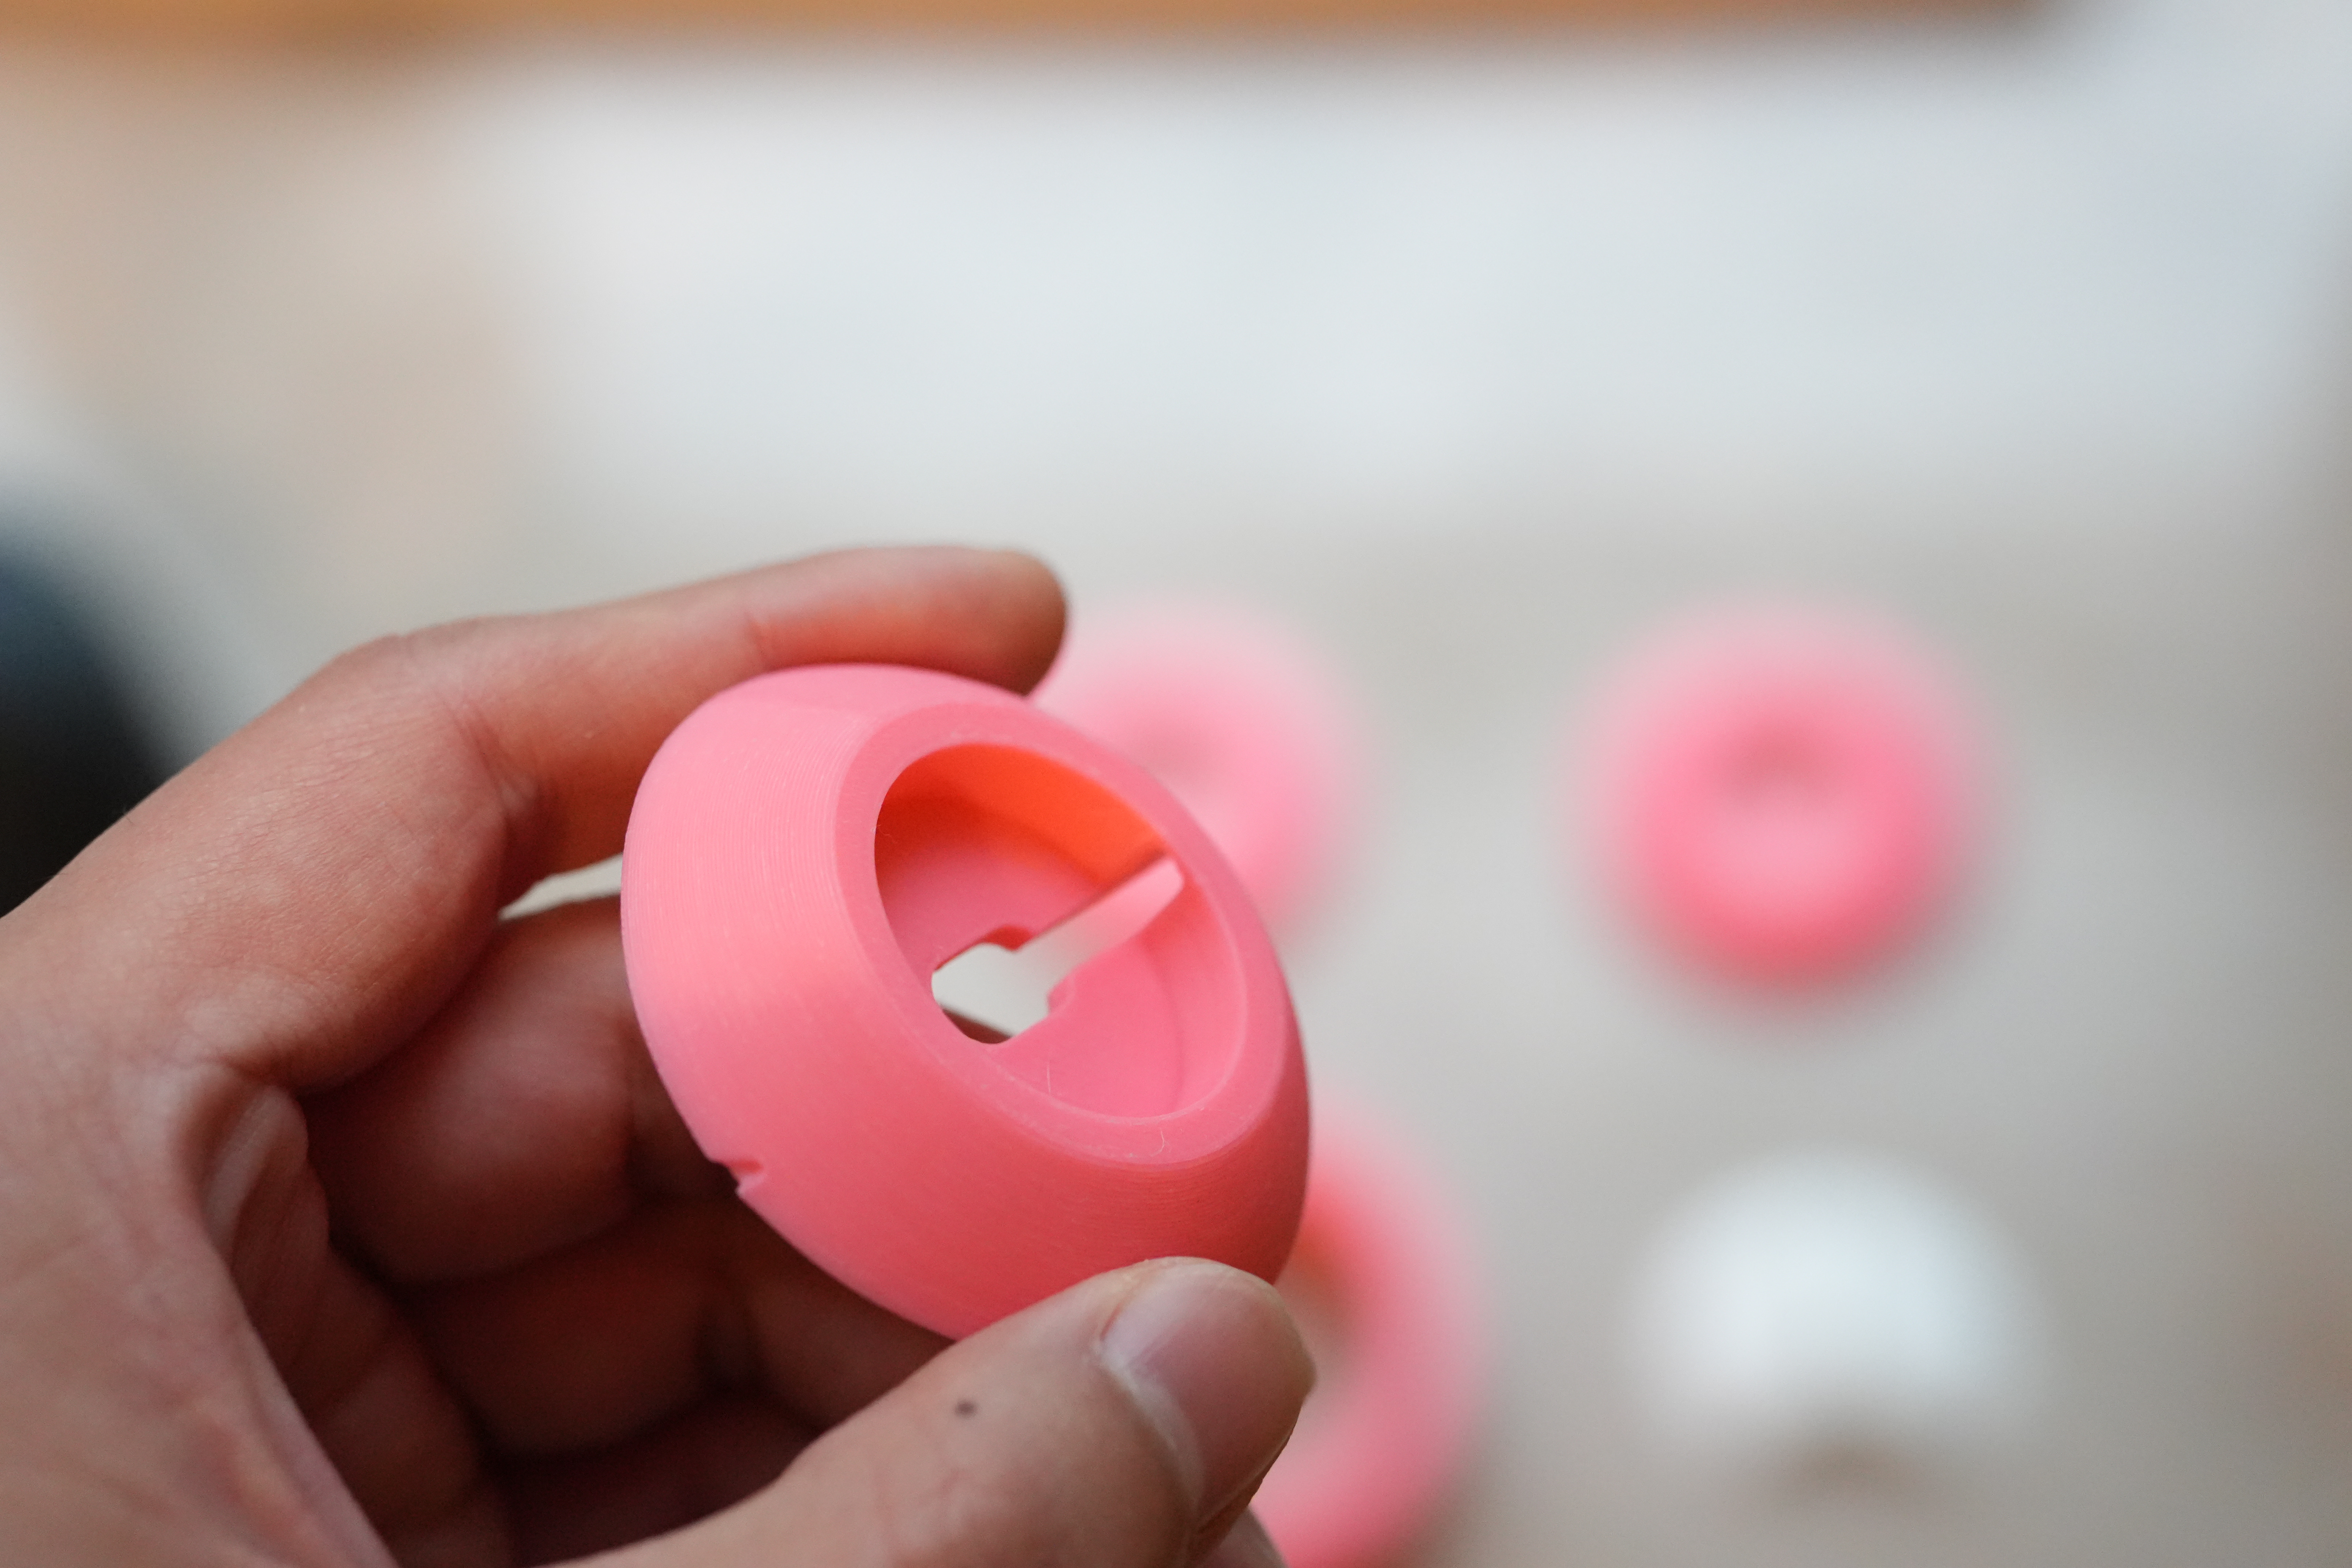
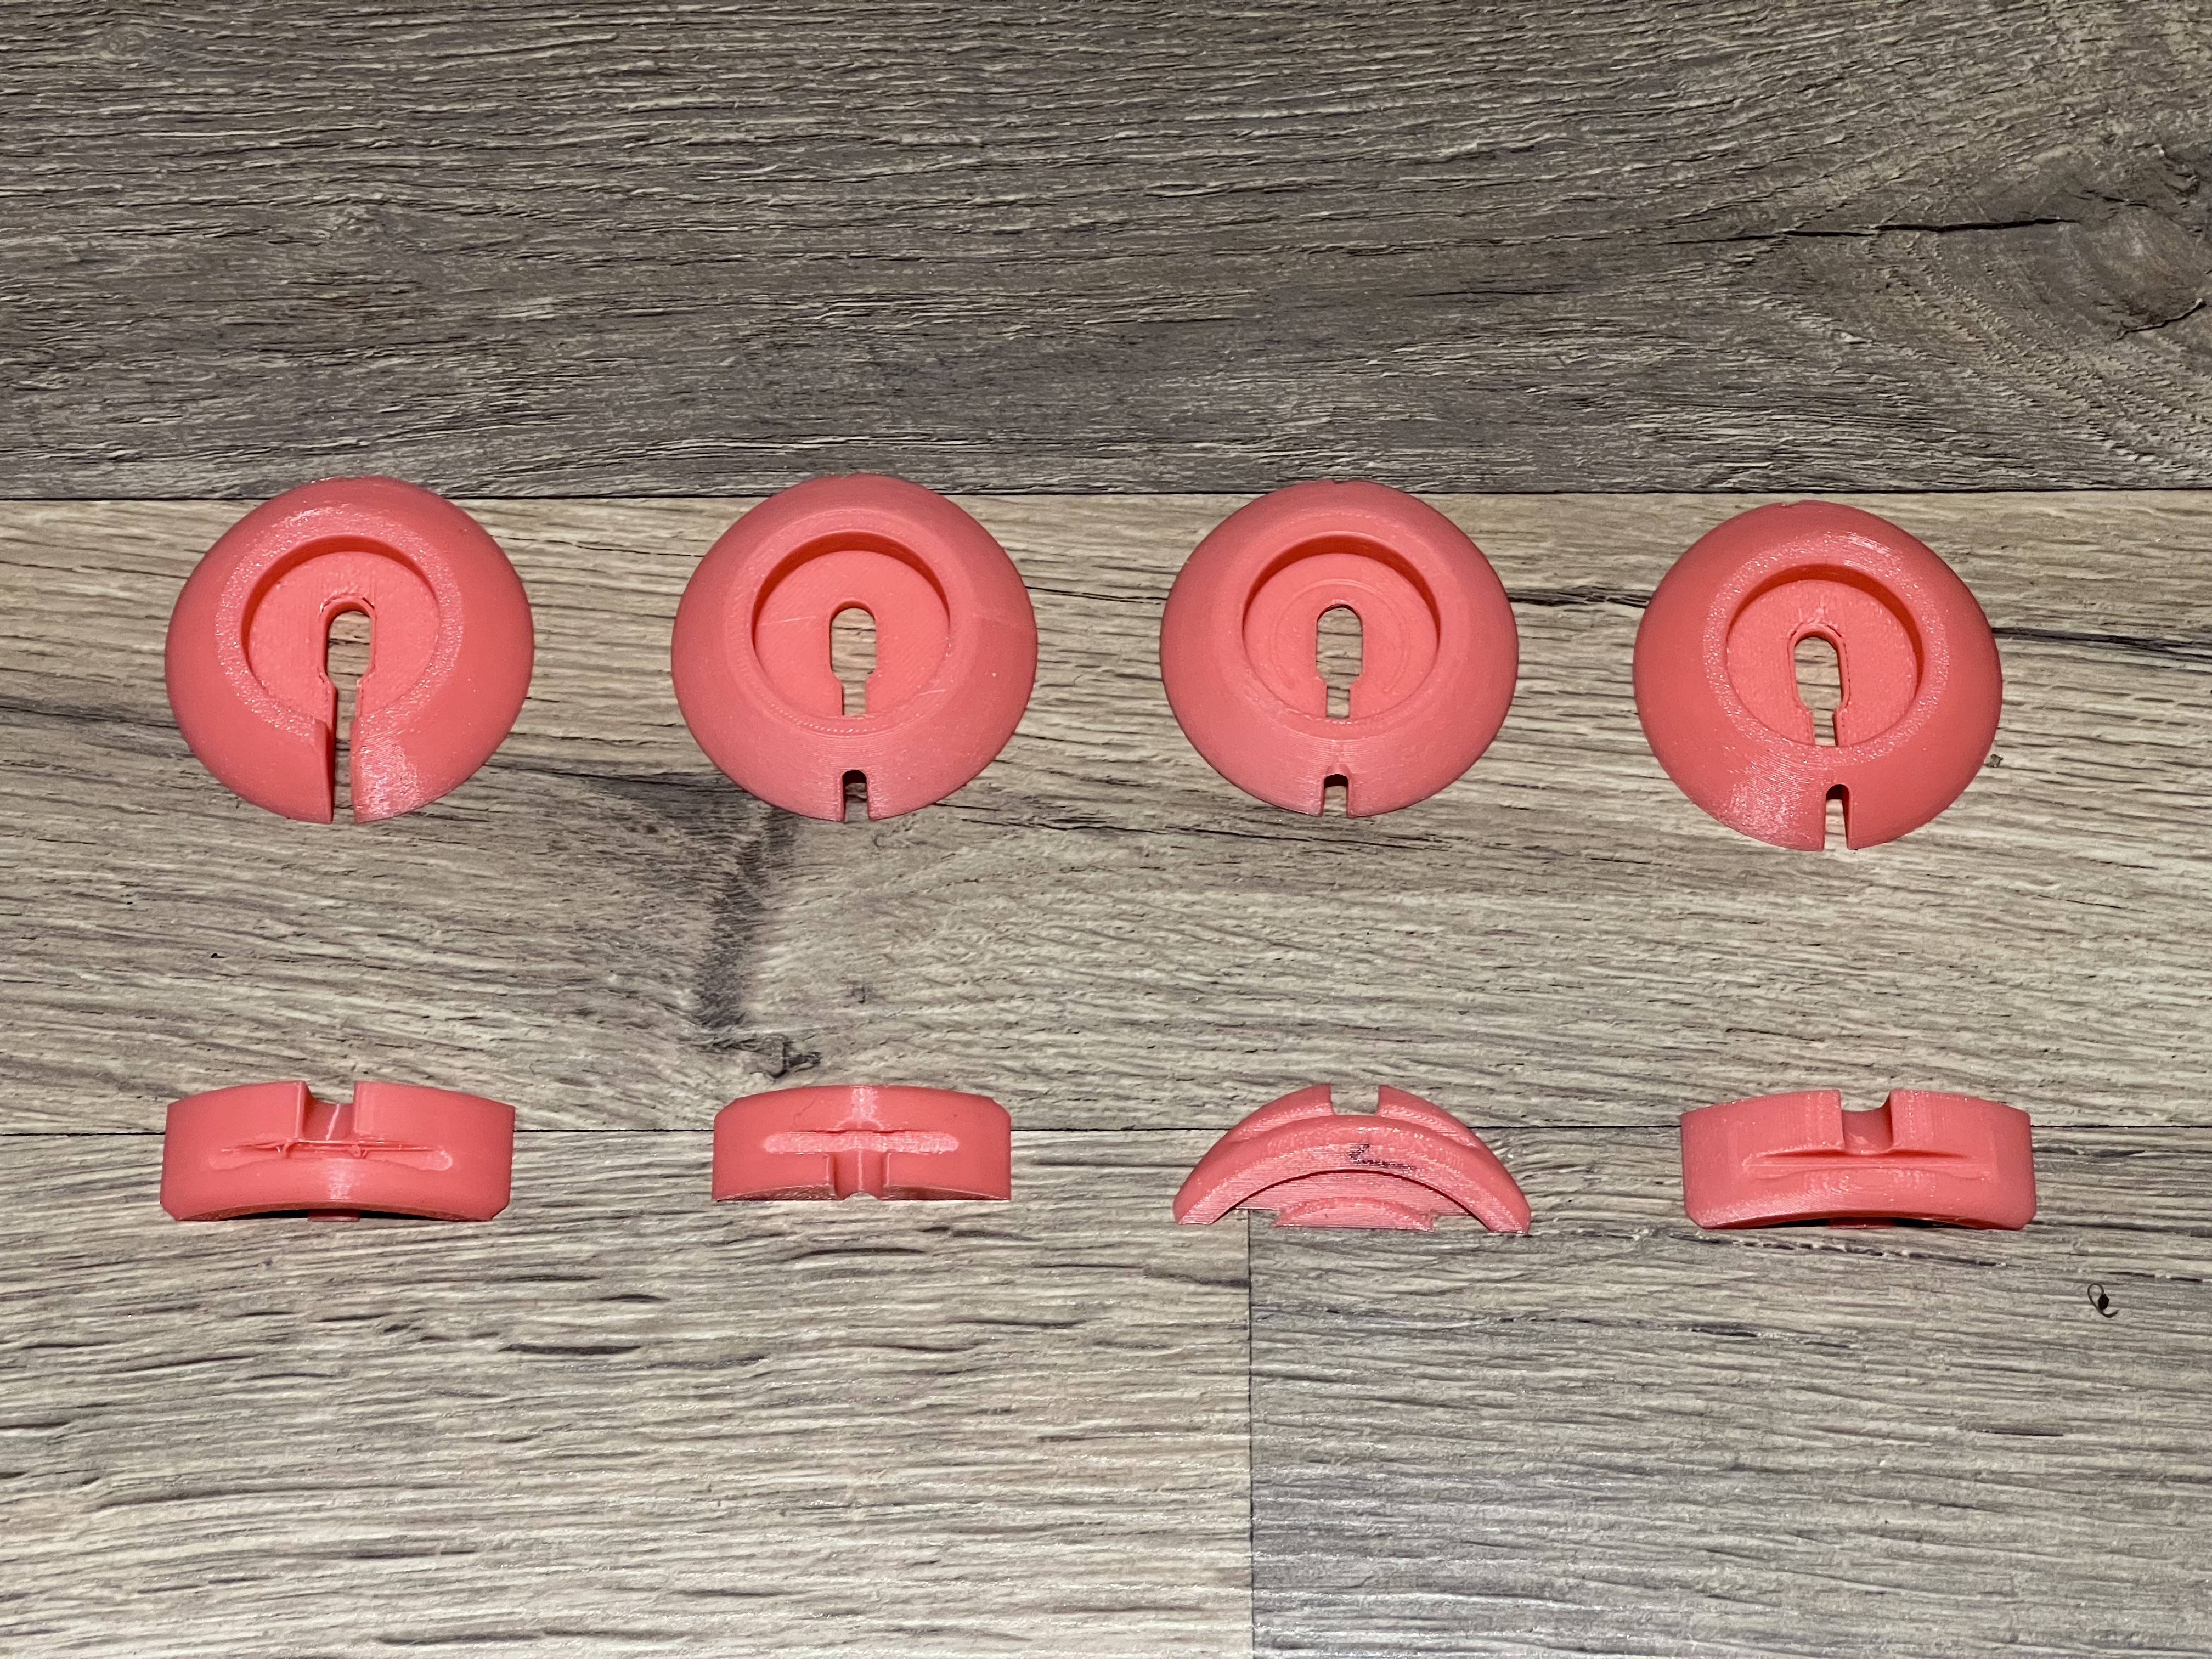
Verification of wire routing and winding fixed printing.
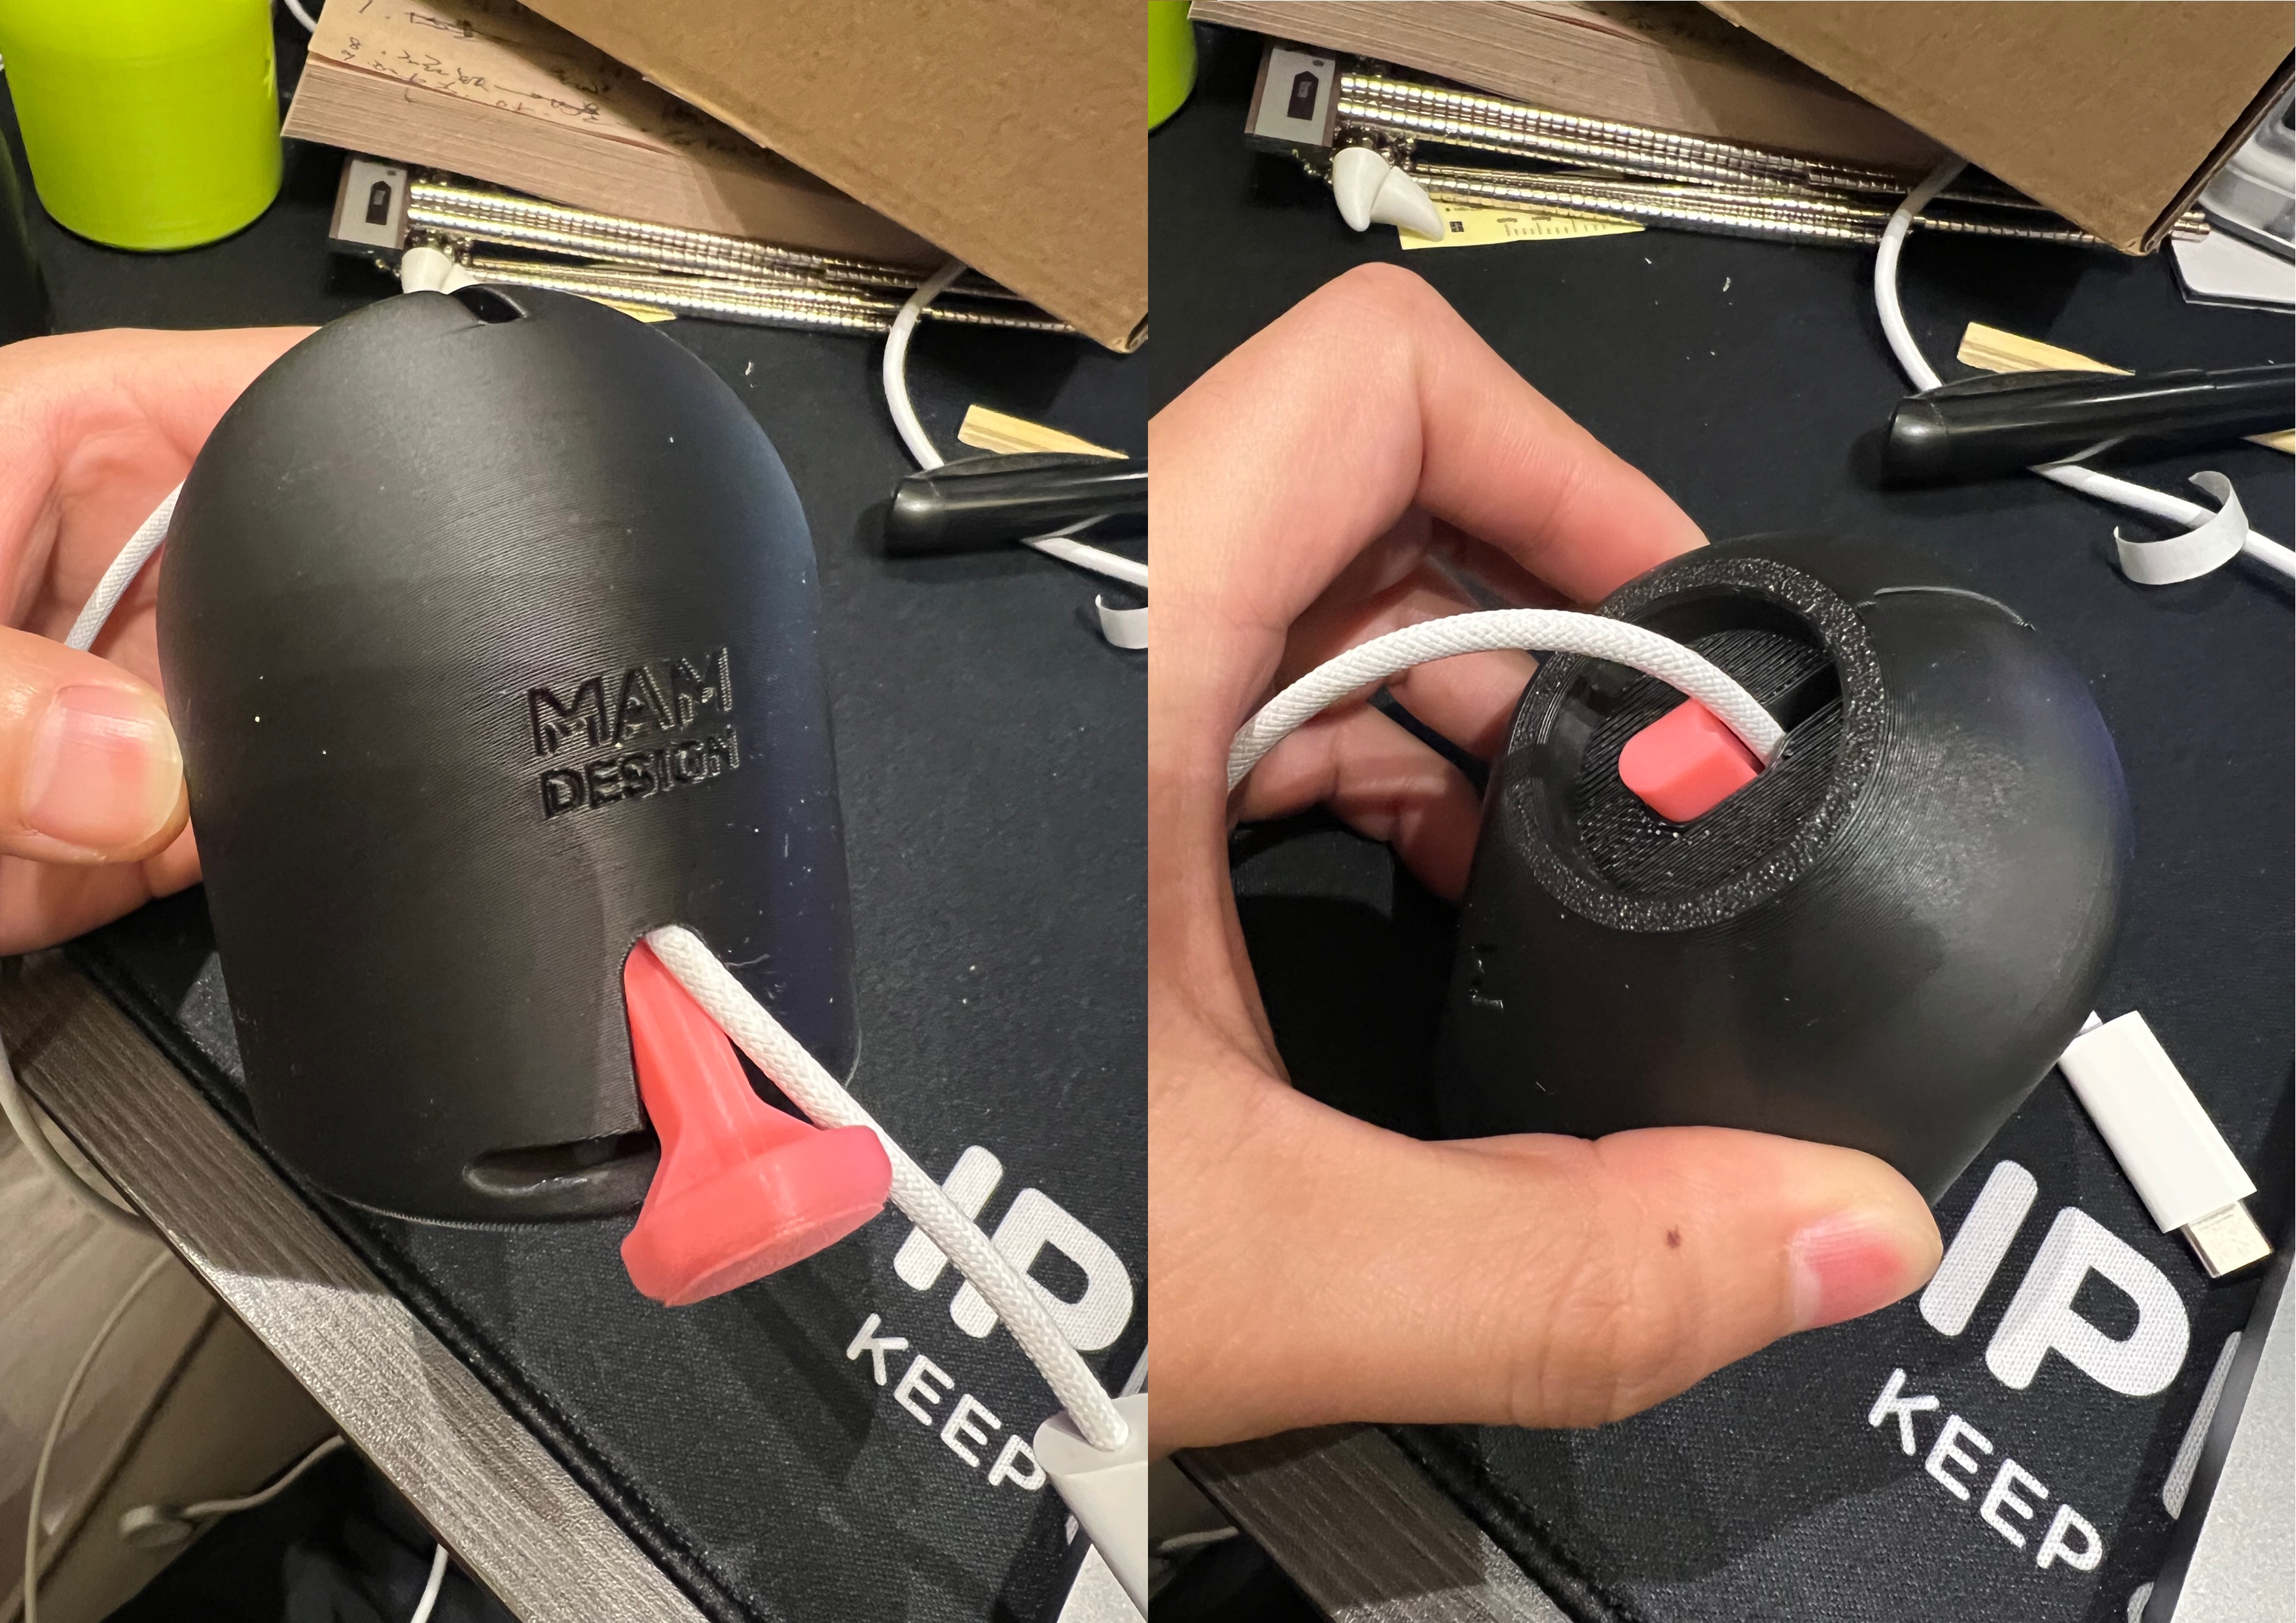
In addition, the removal tool get!
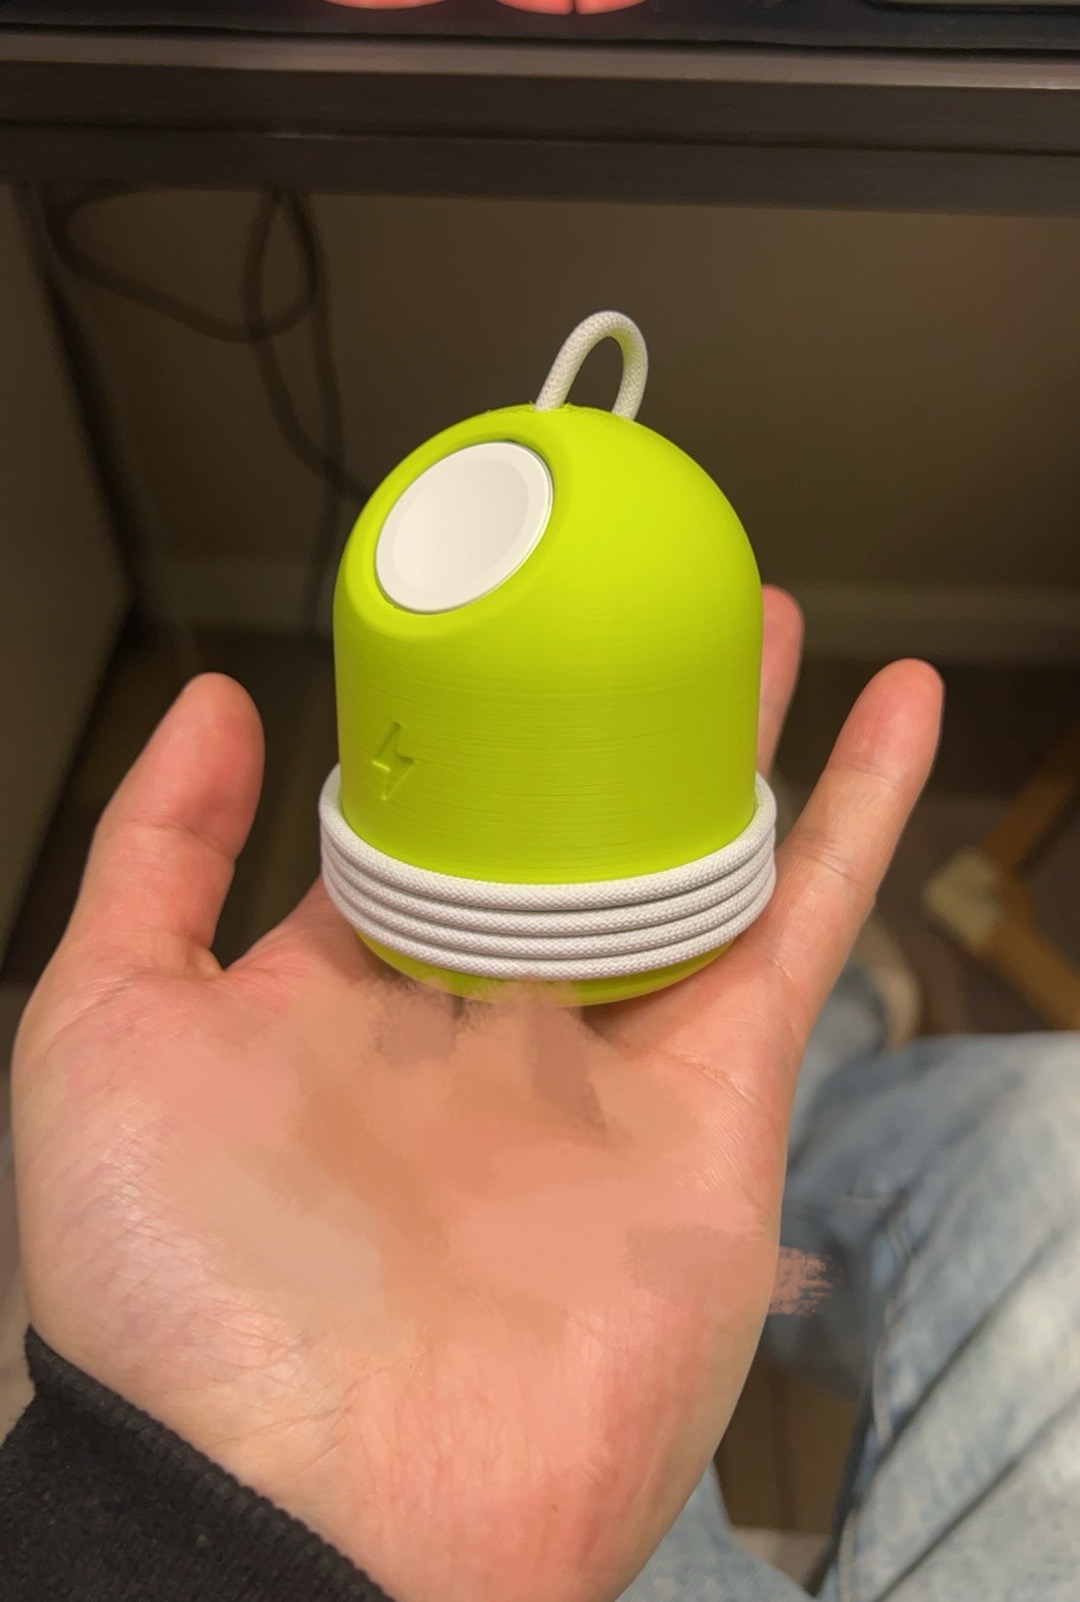
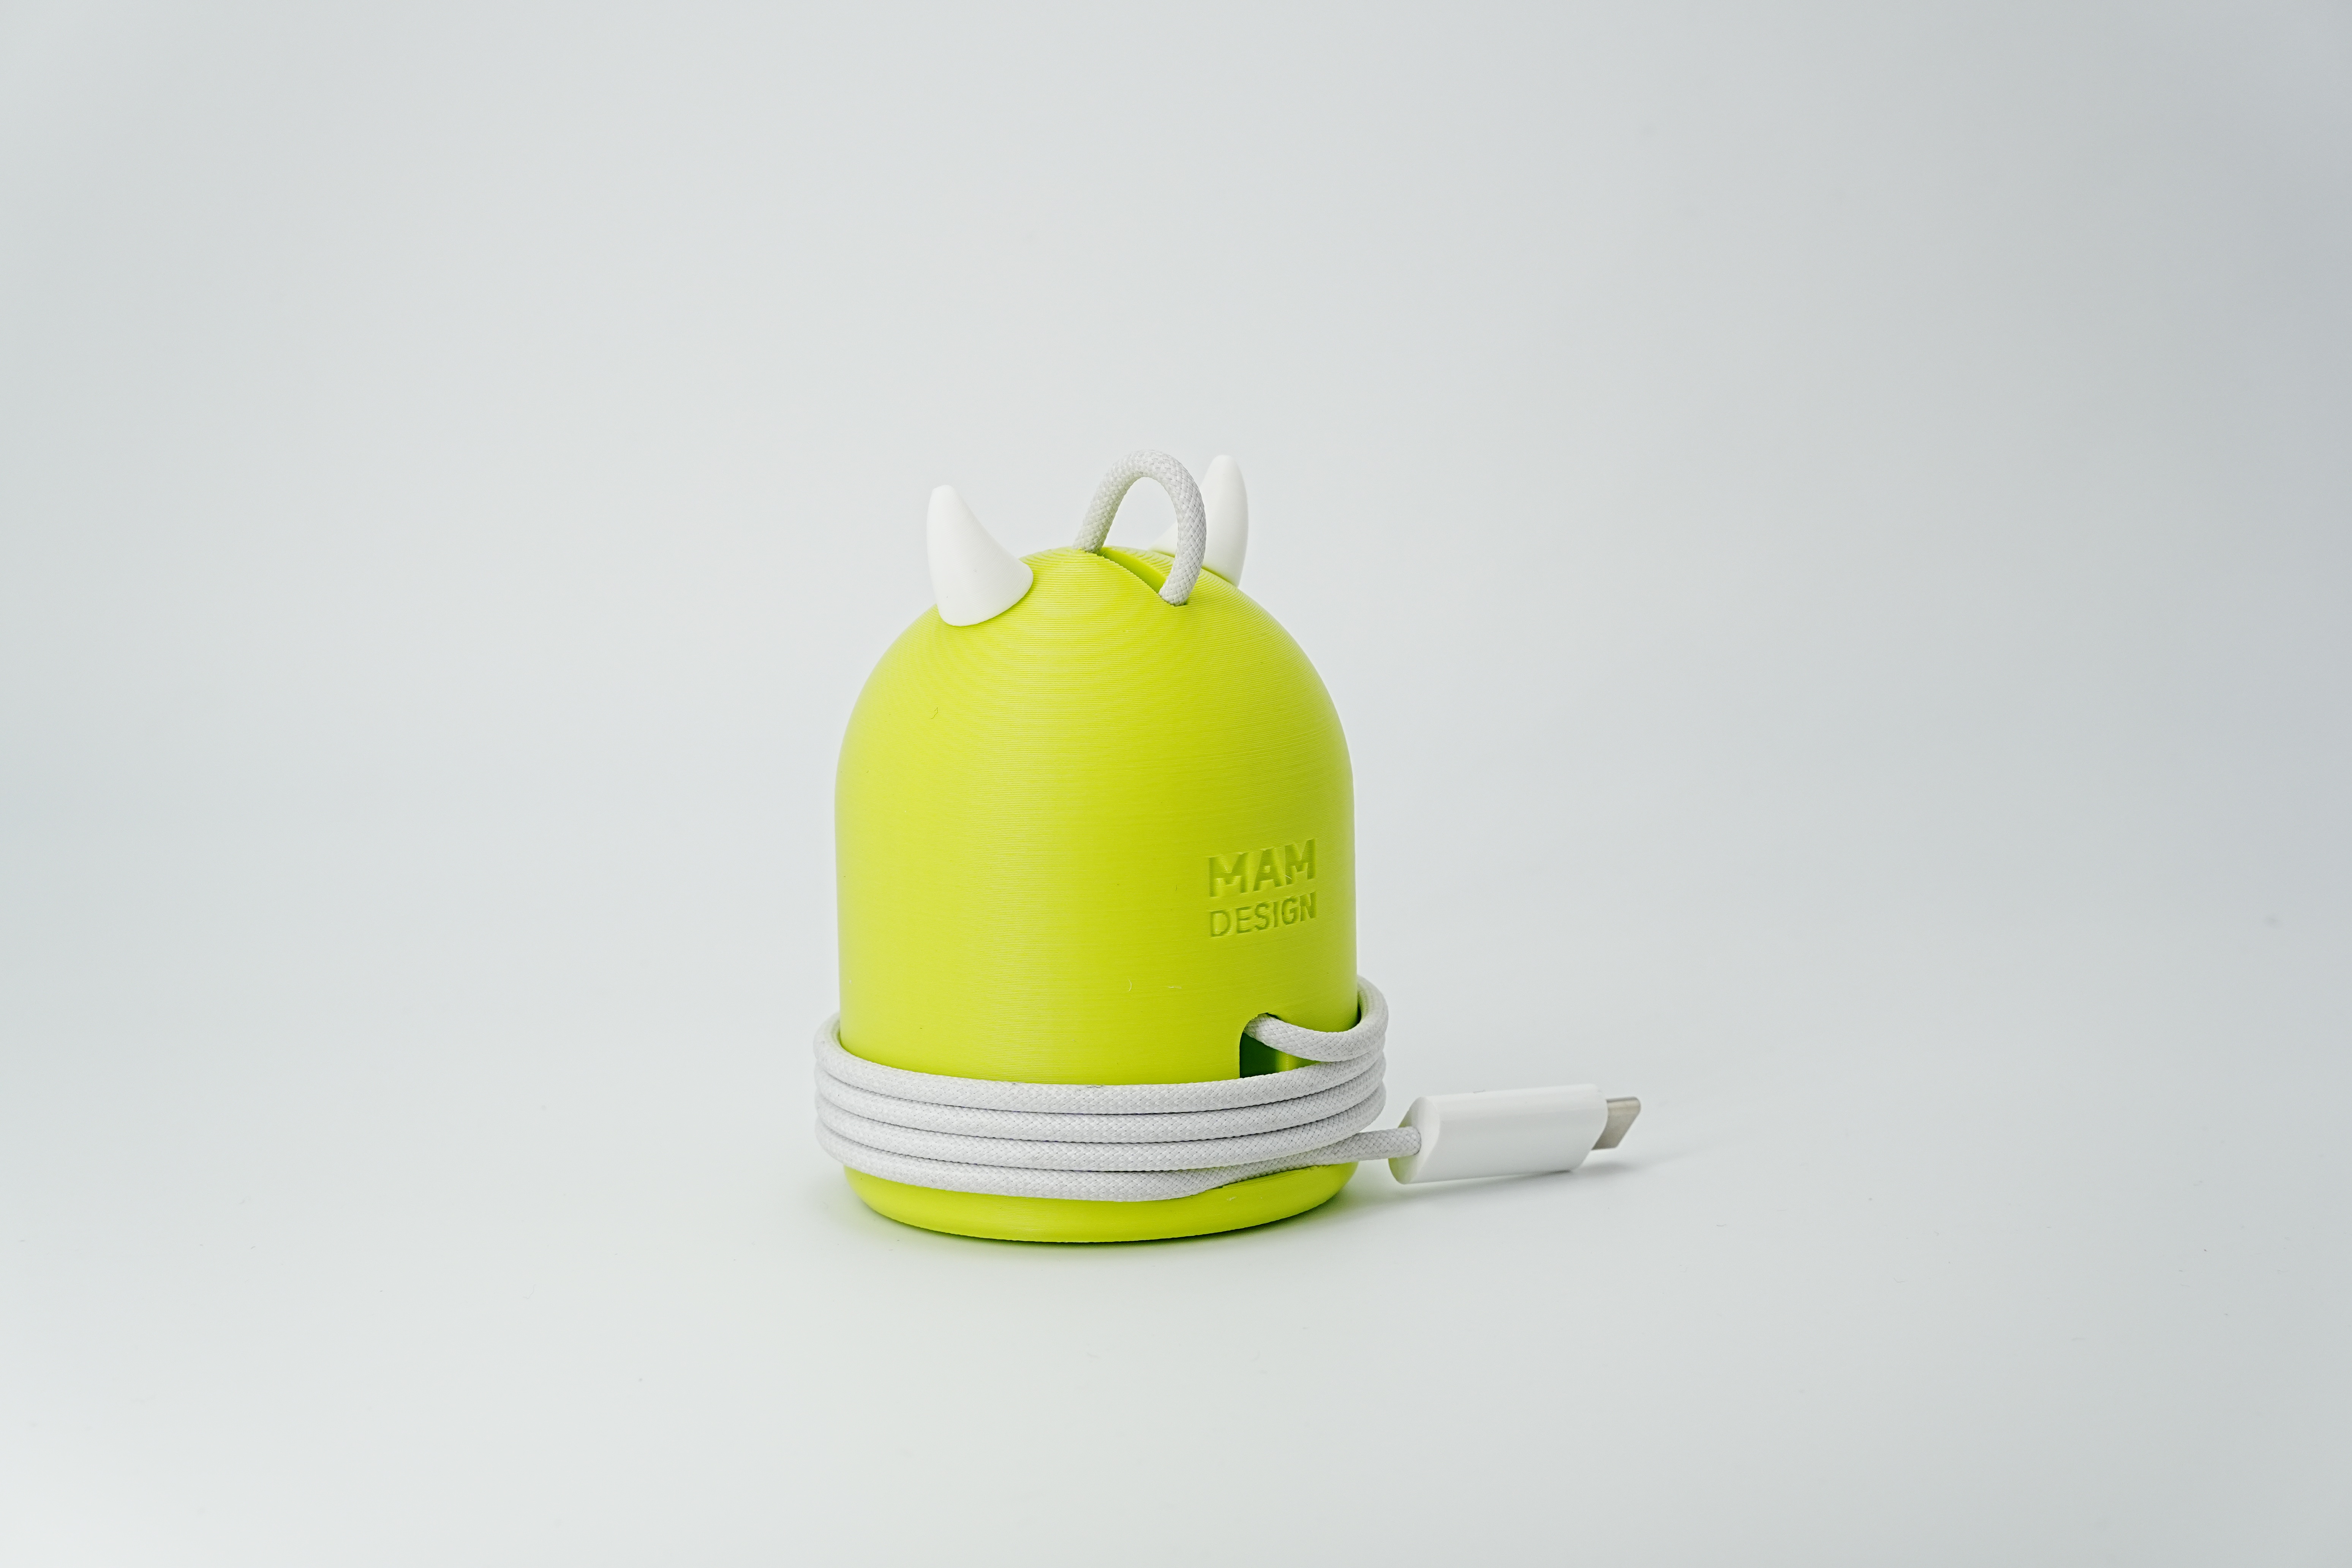
The base 1.0 was born! (At this time, the idea of selling it as a commodity came into being.)
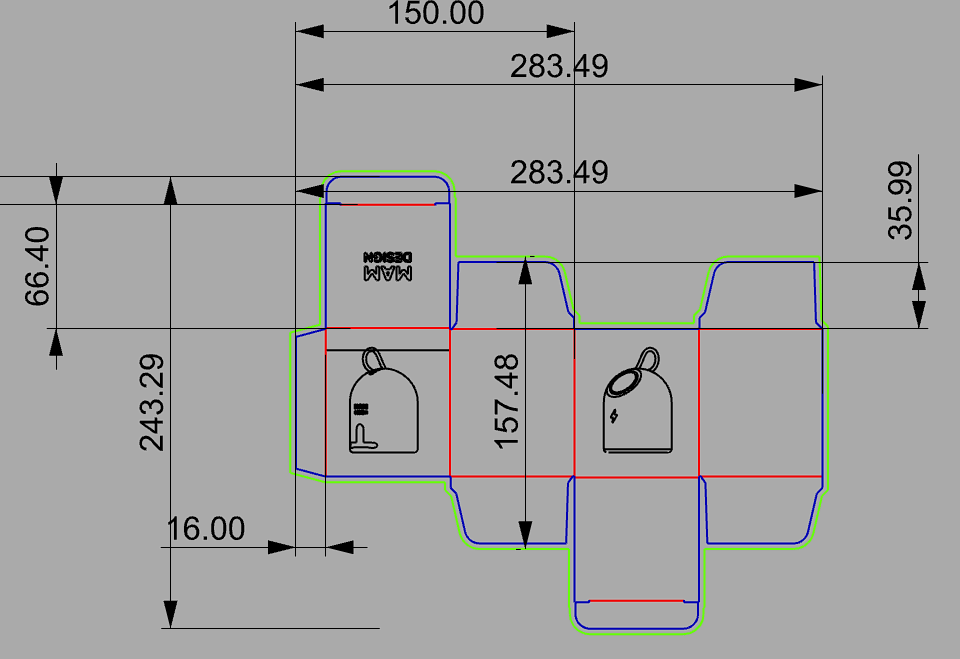
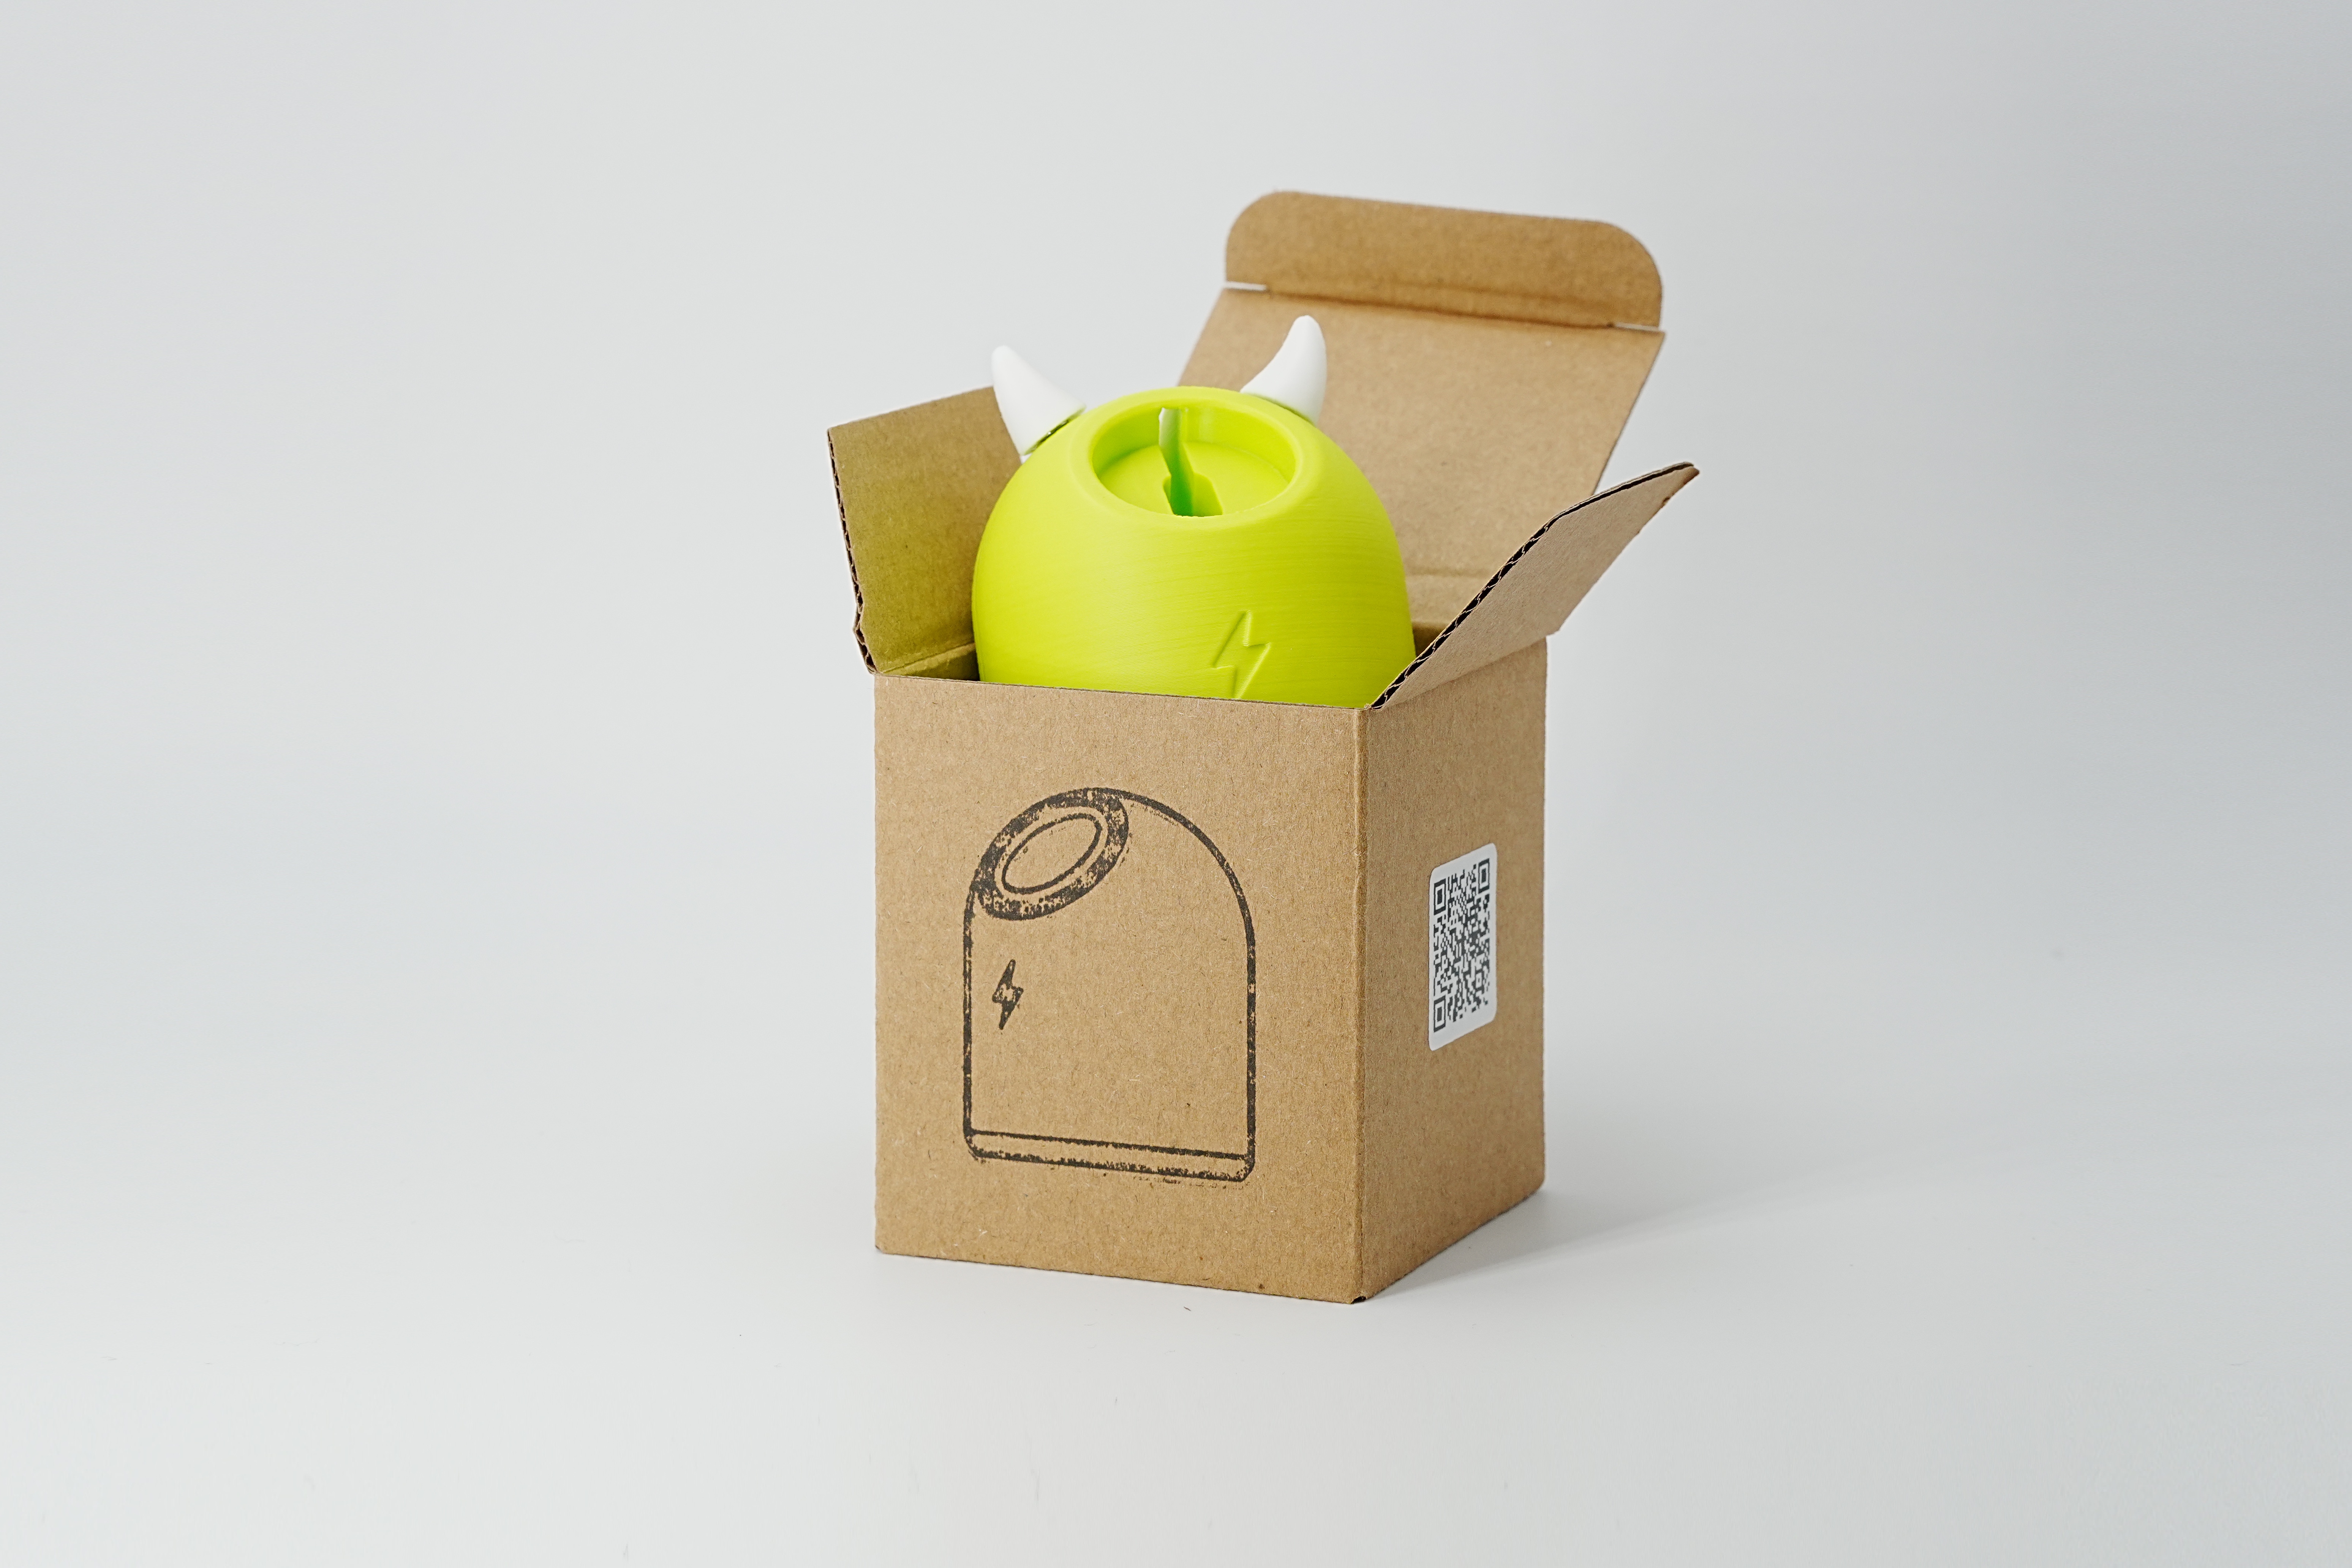
If you want to sell, you have to have packaging and painting!
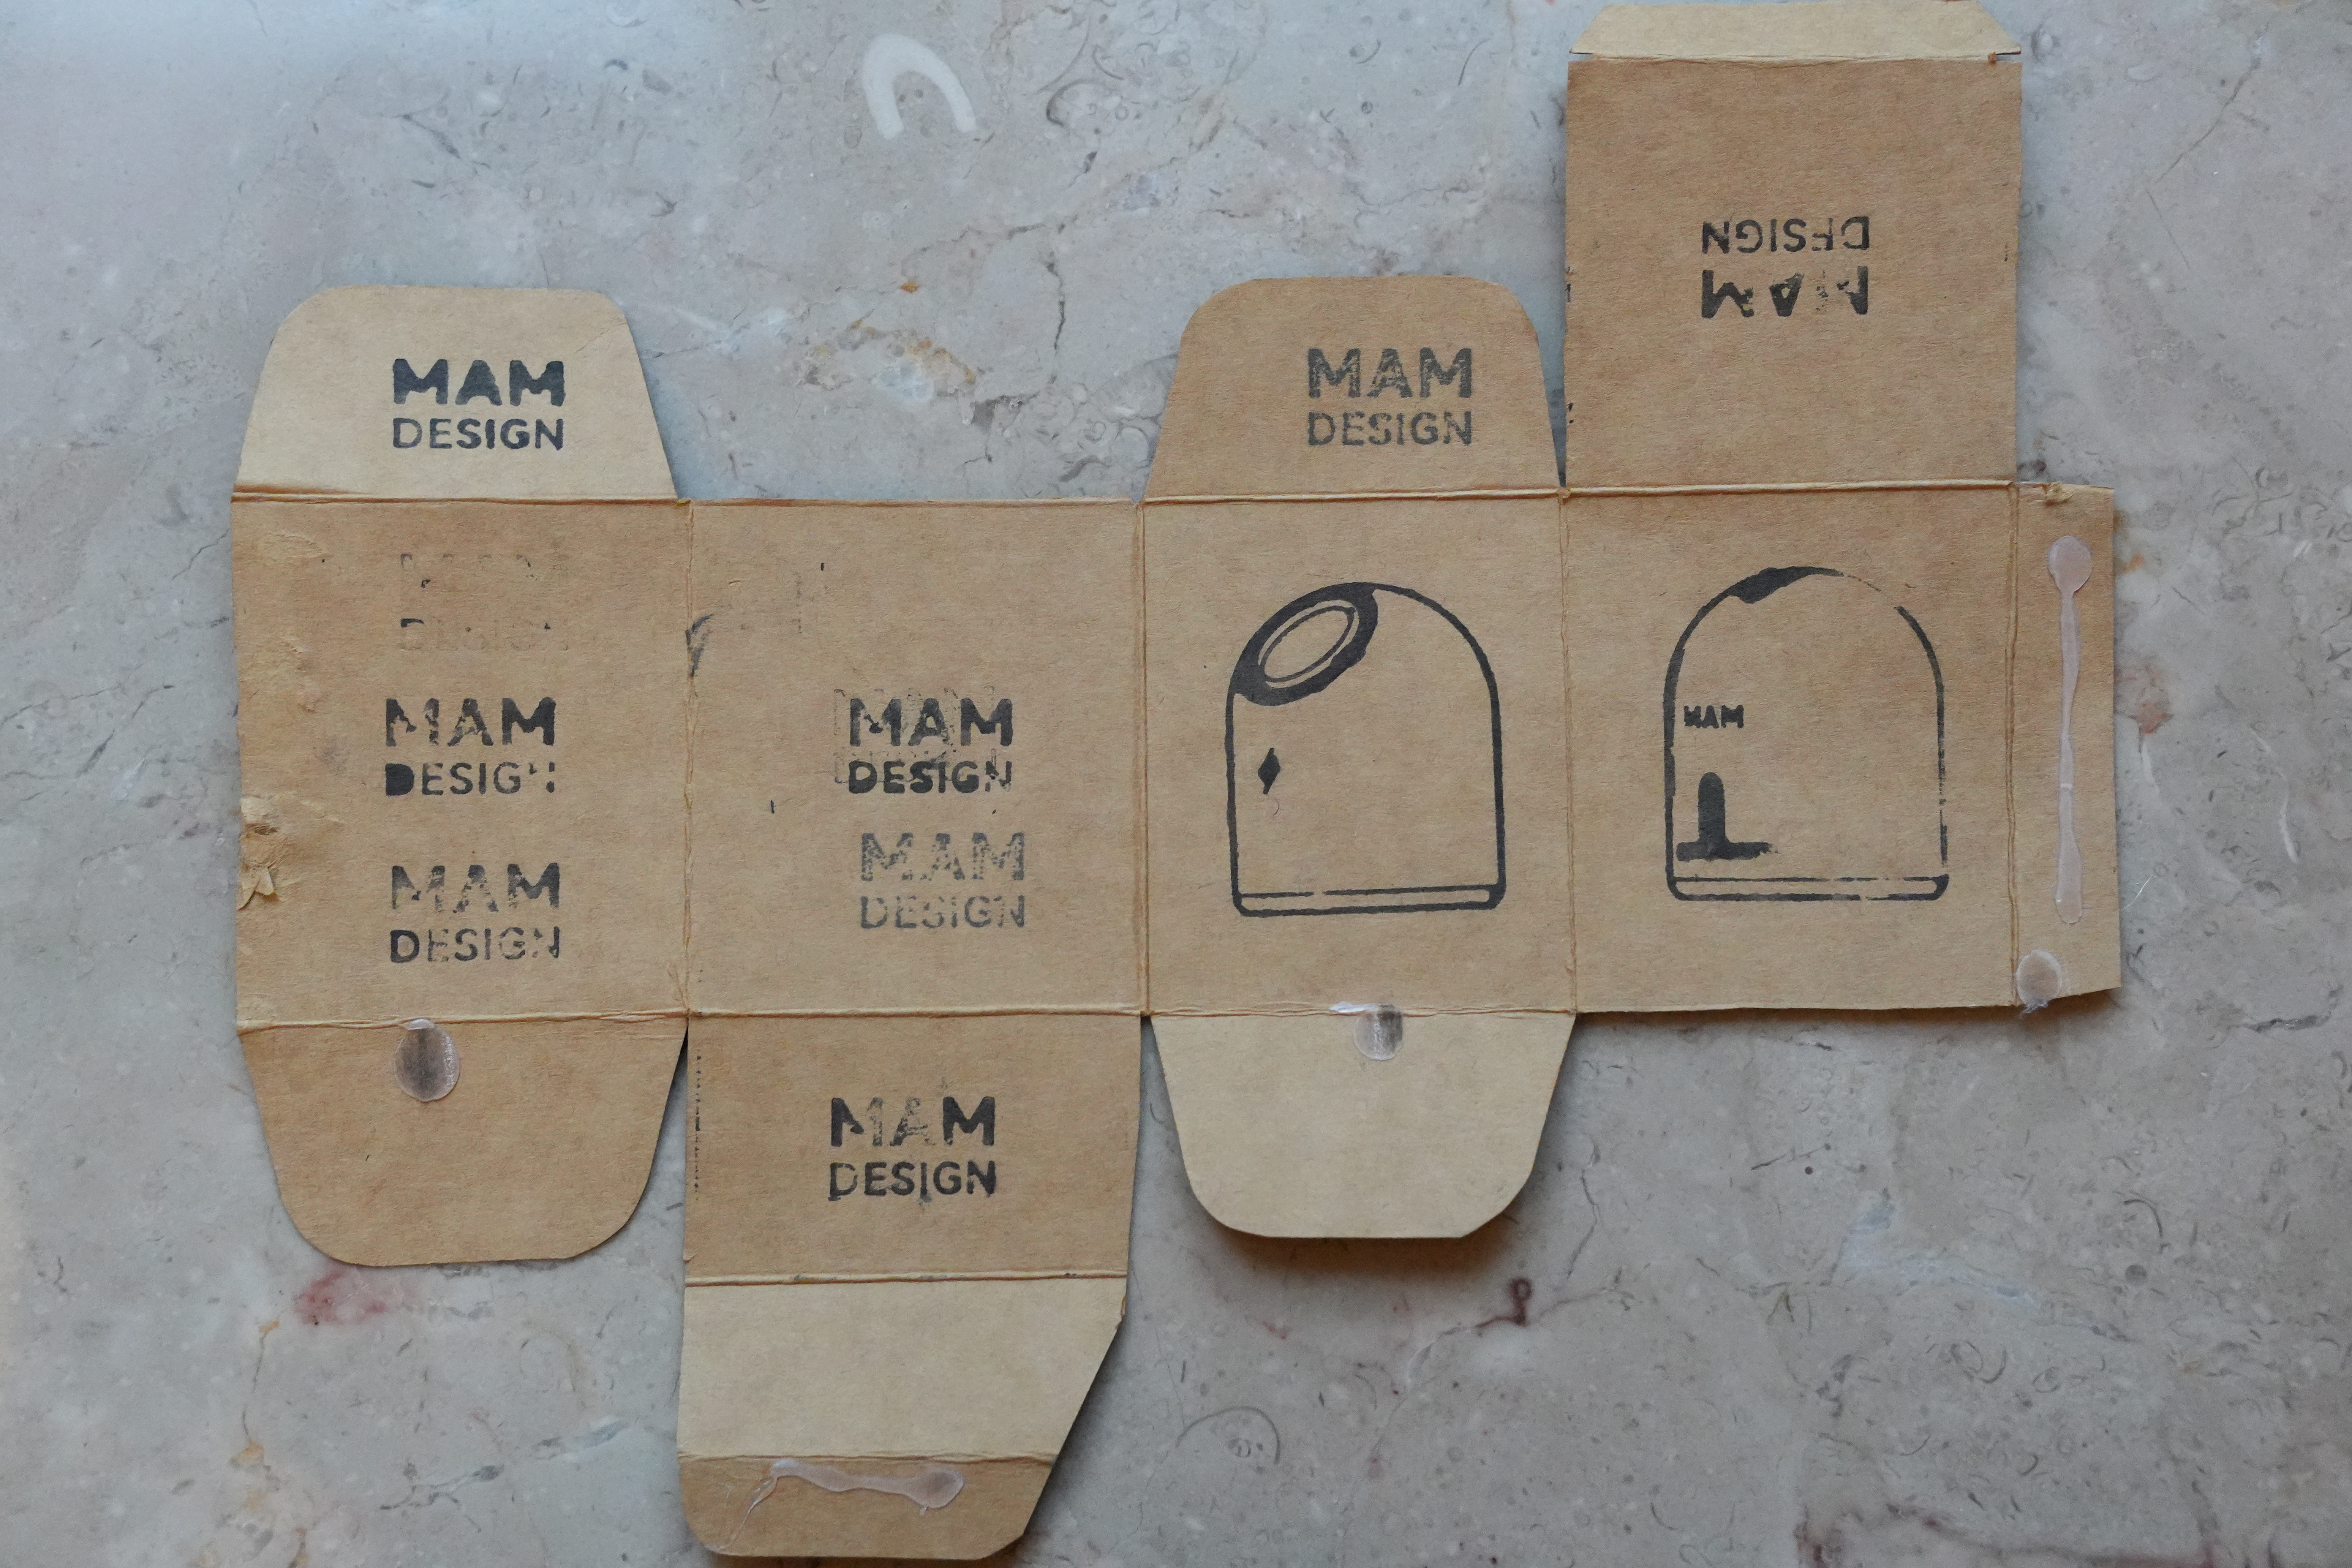
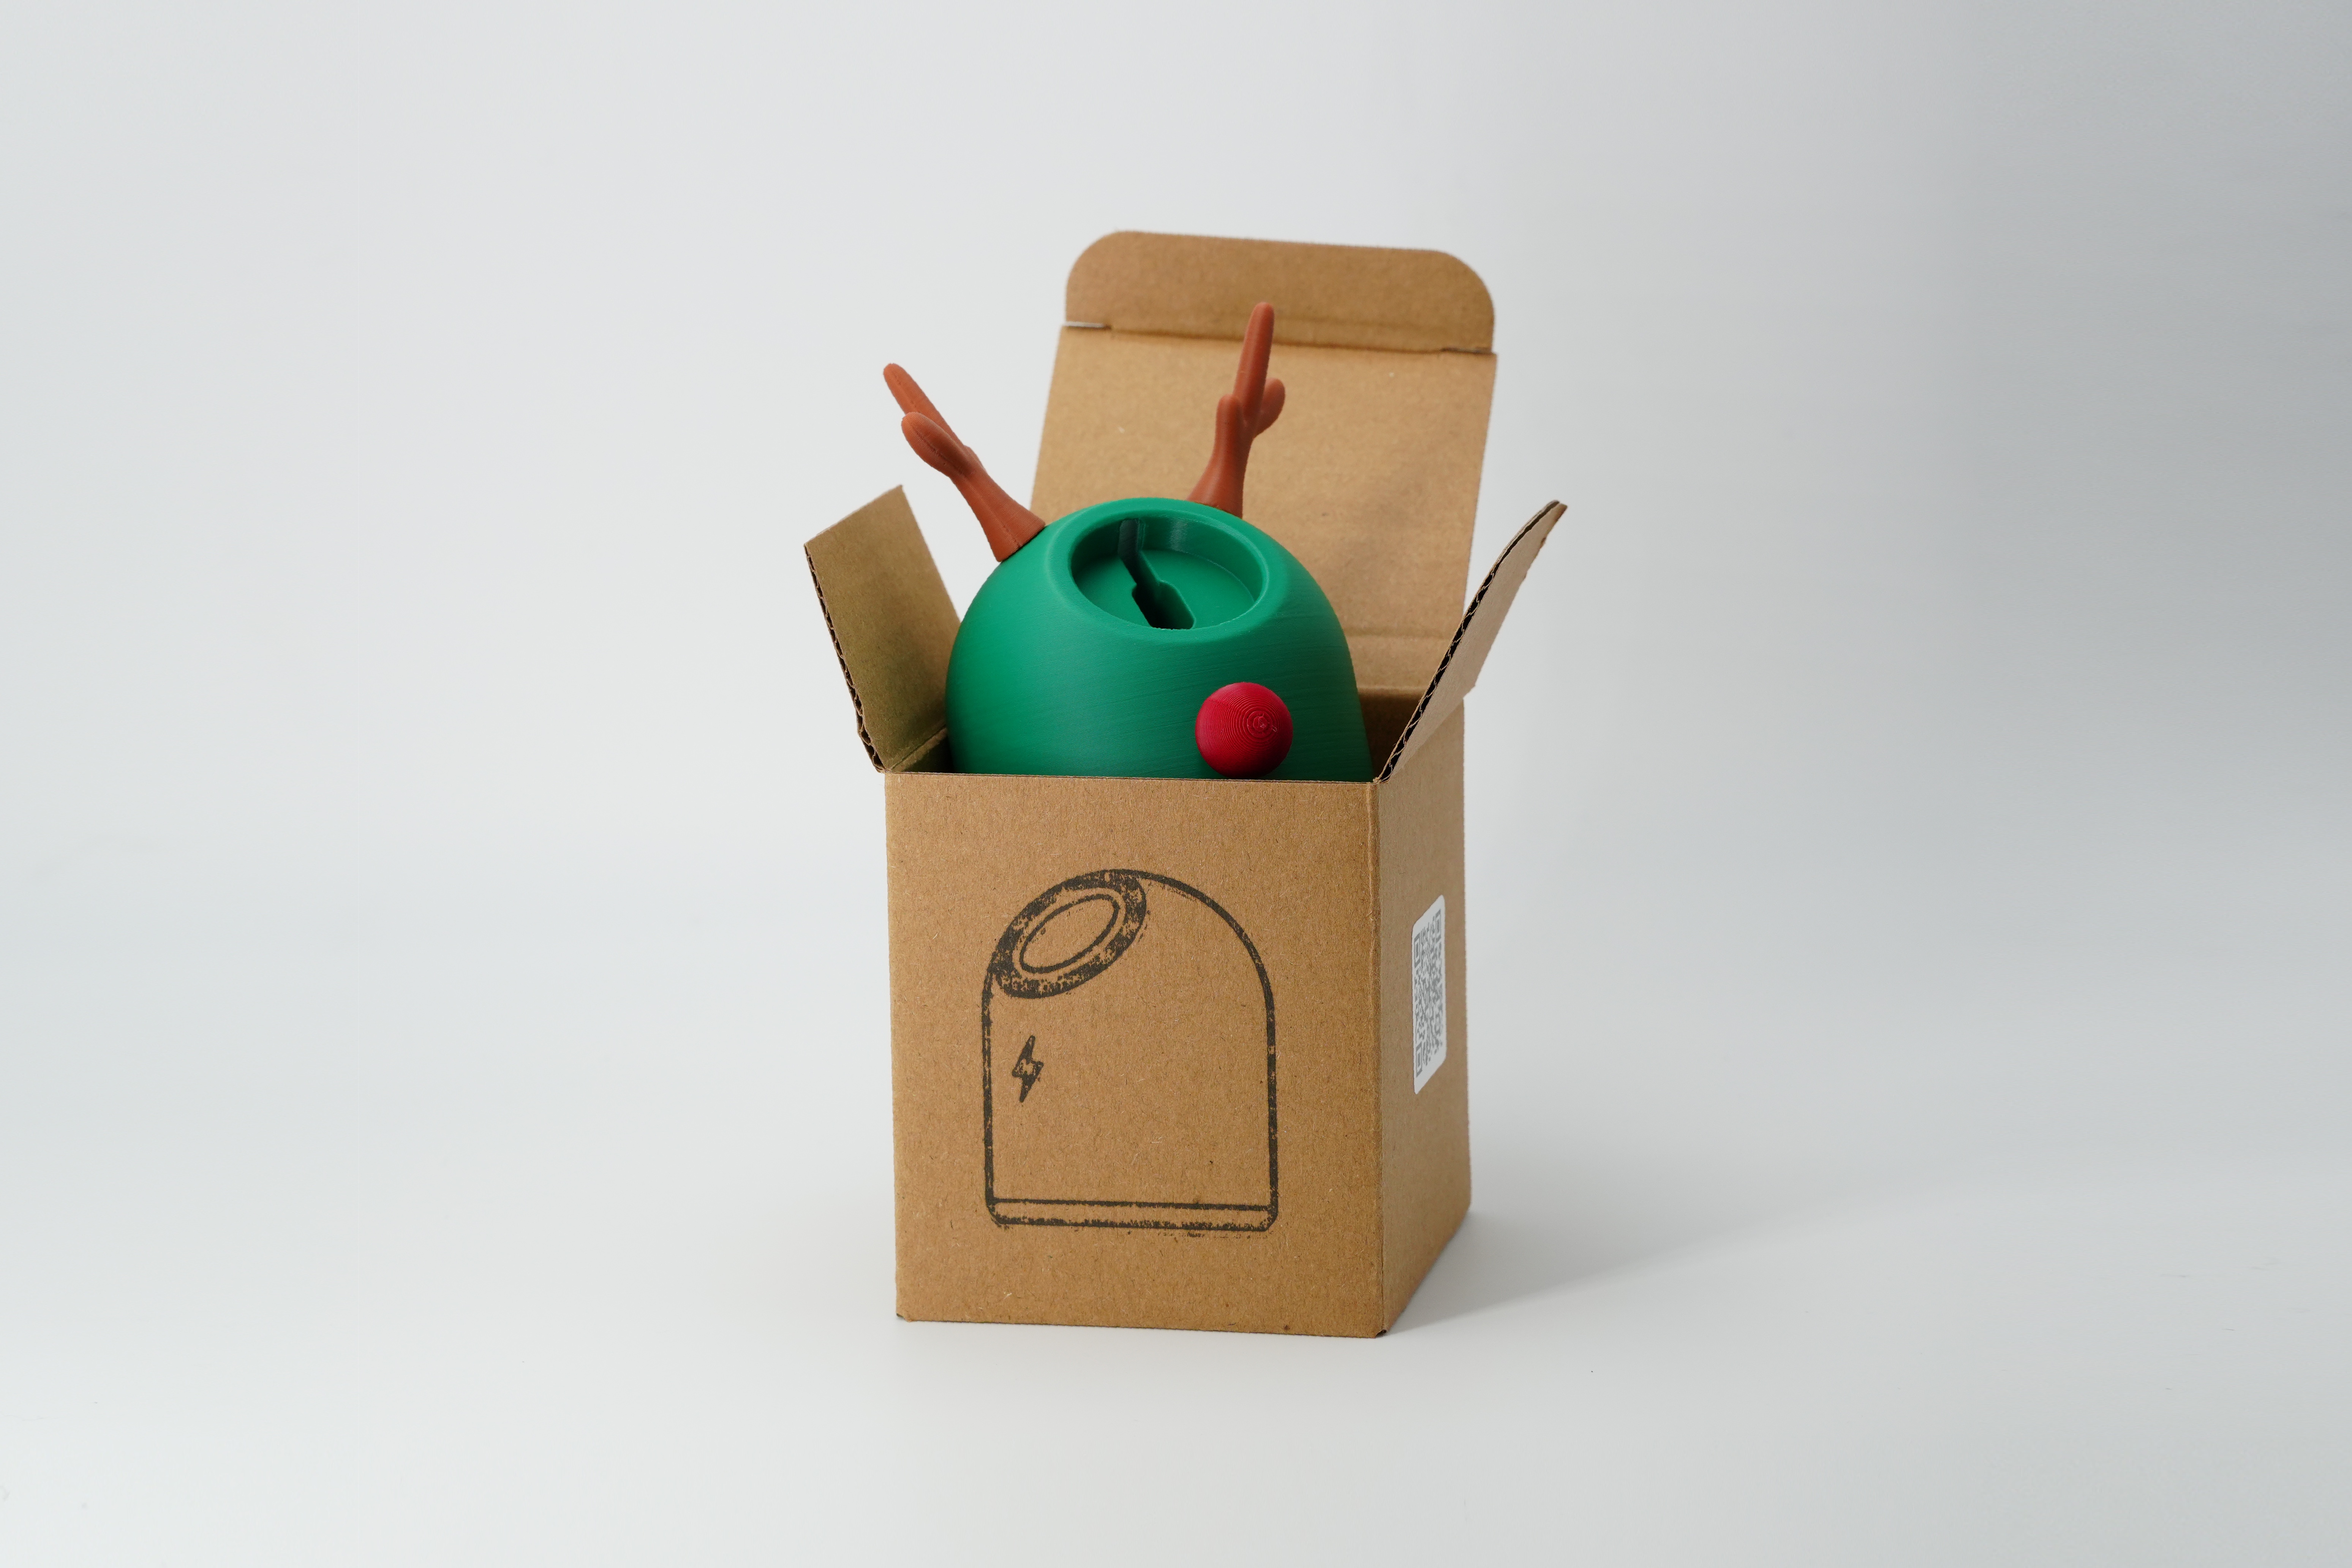
I found a baseball cap box from the waste paper box that I didn't throw at home, cut it, and the first packaging sample was there.

Yes, the picture on the box is also printed by myself. Magnetic seal, a head, three patterns for the stamp.
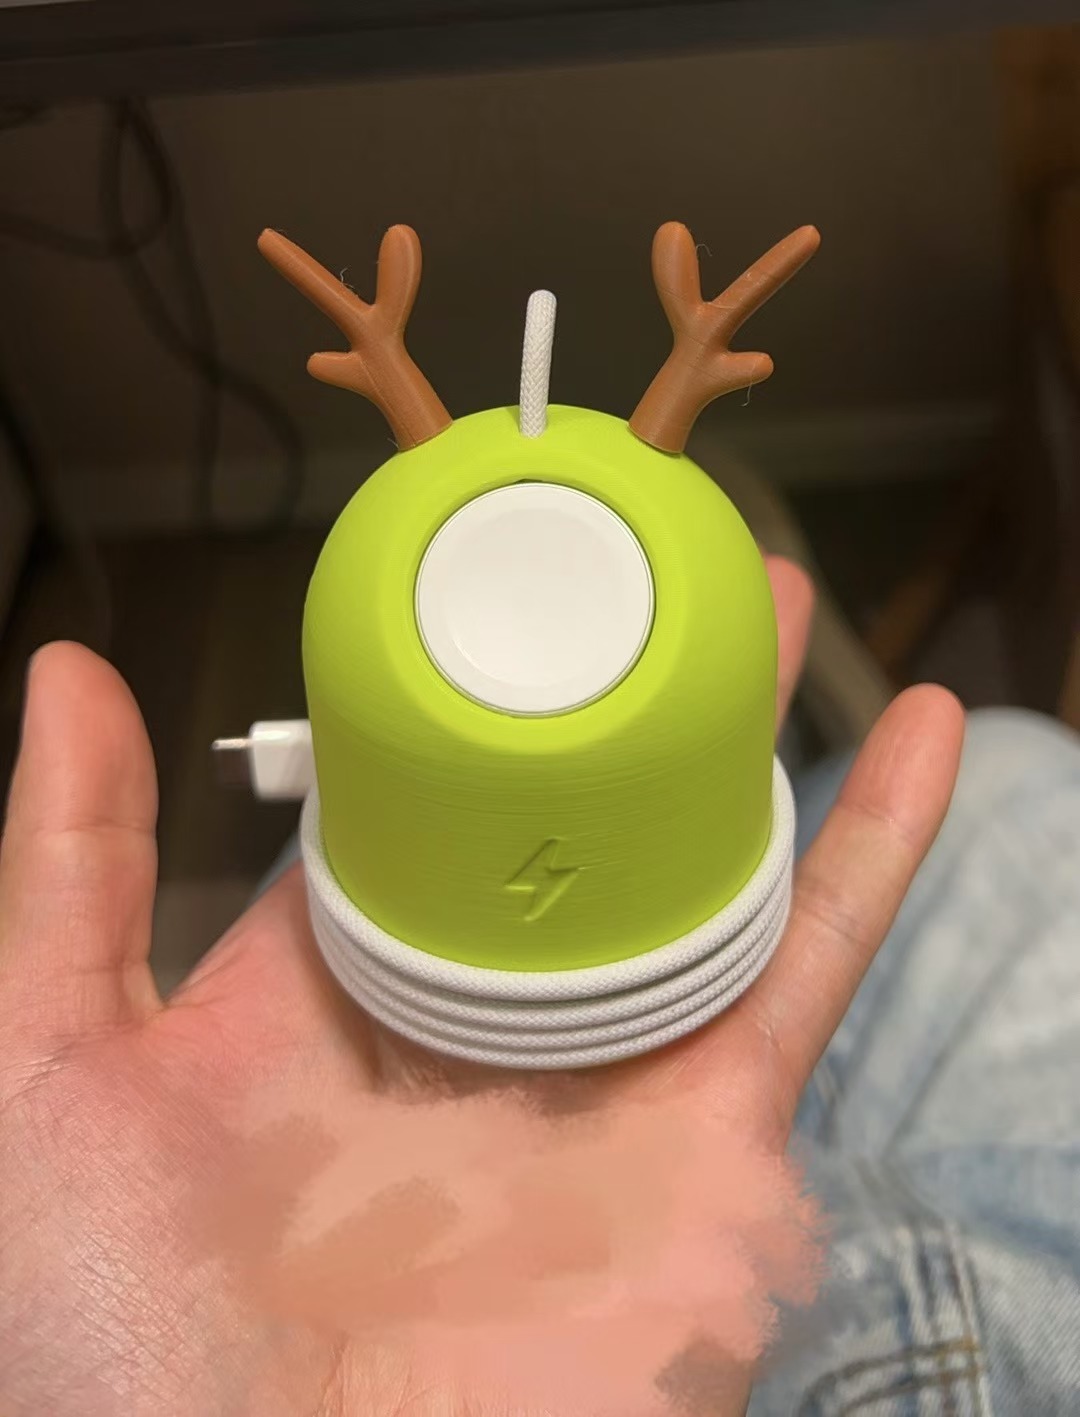
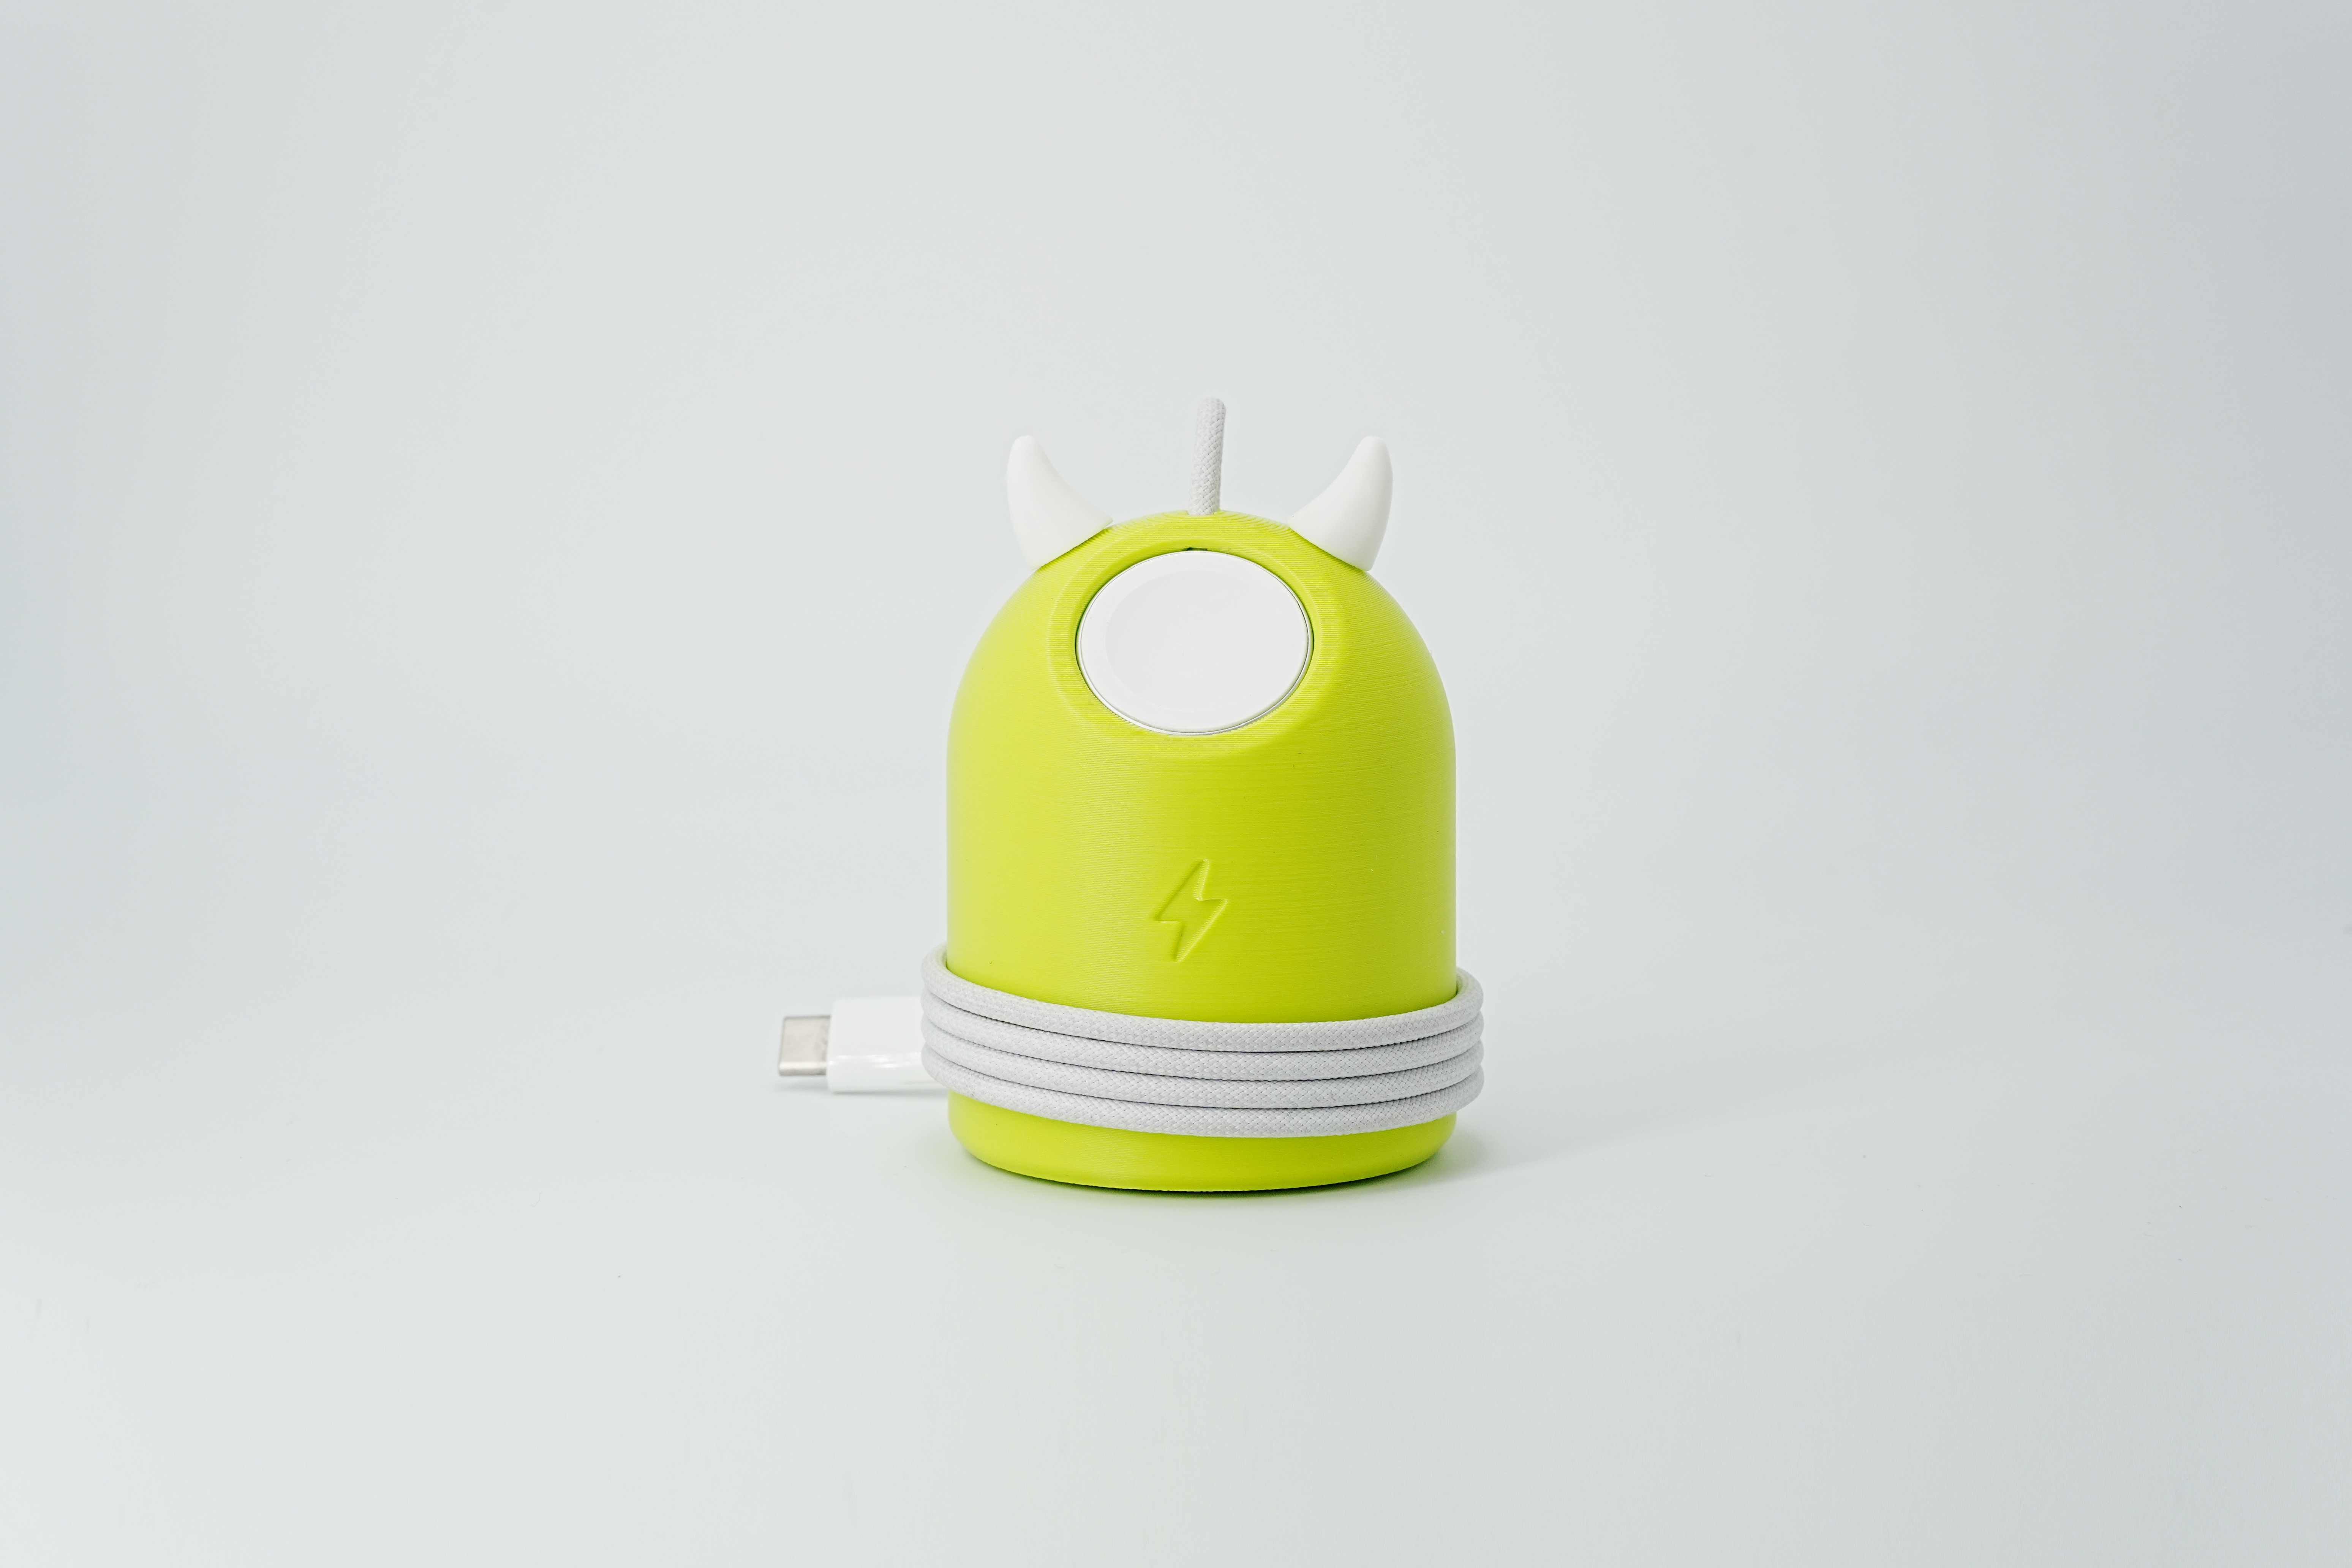
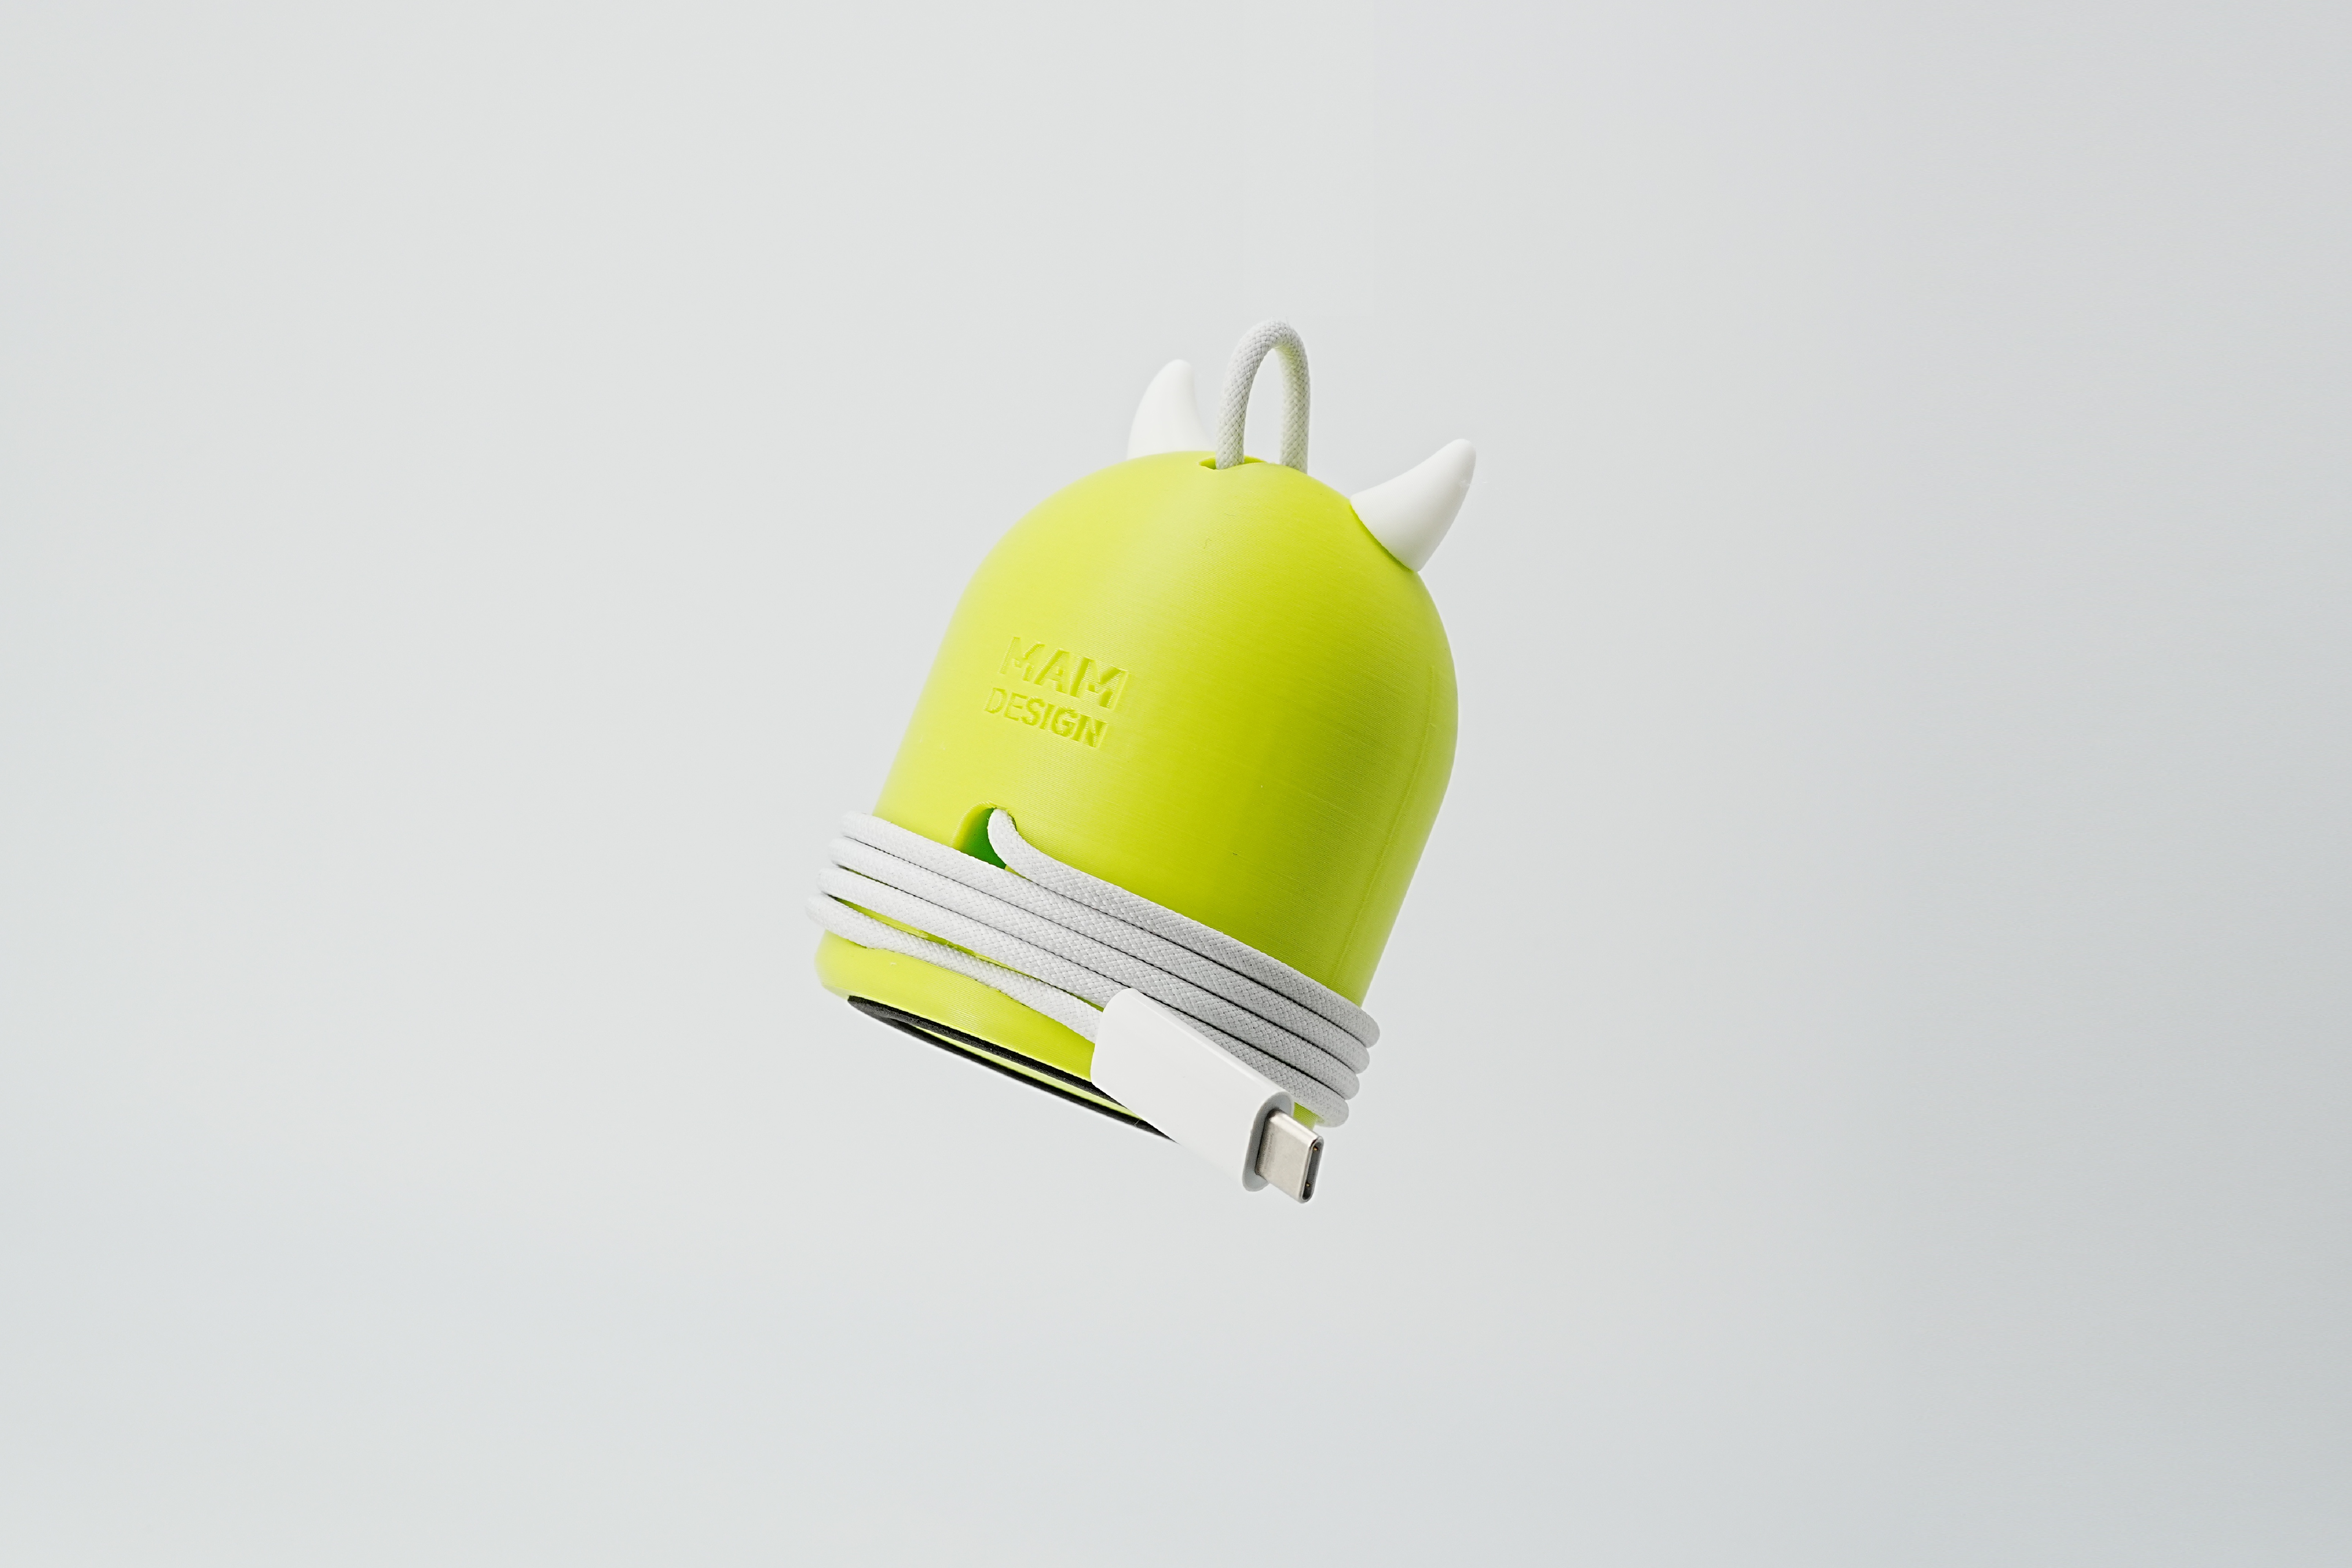
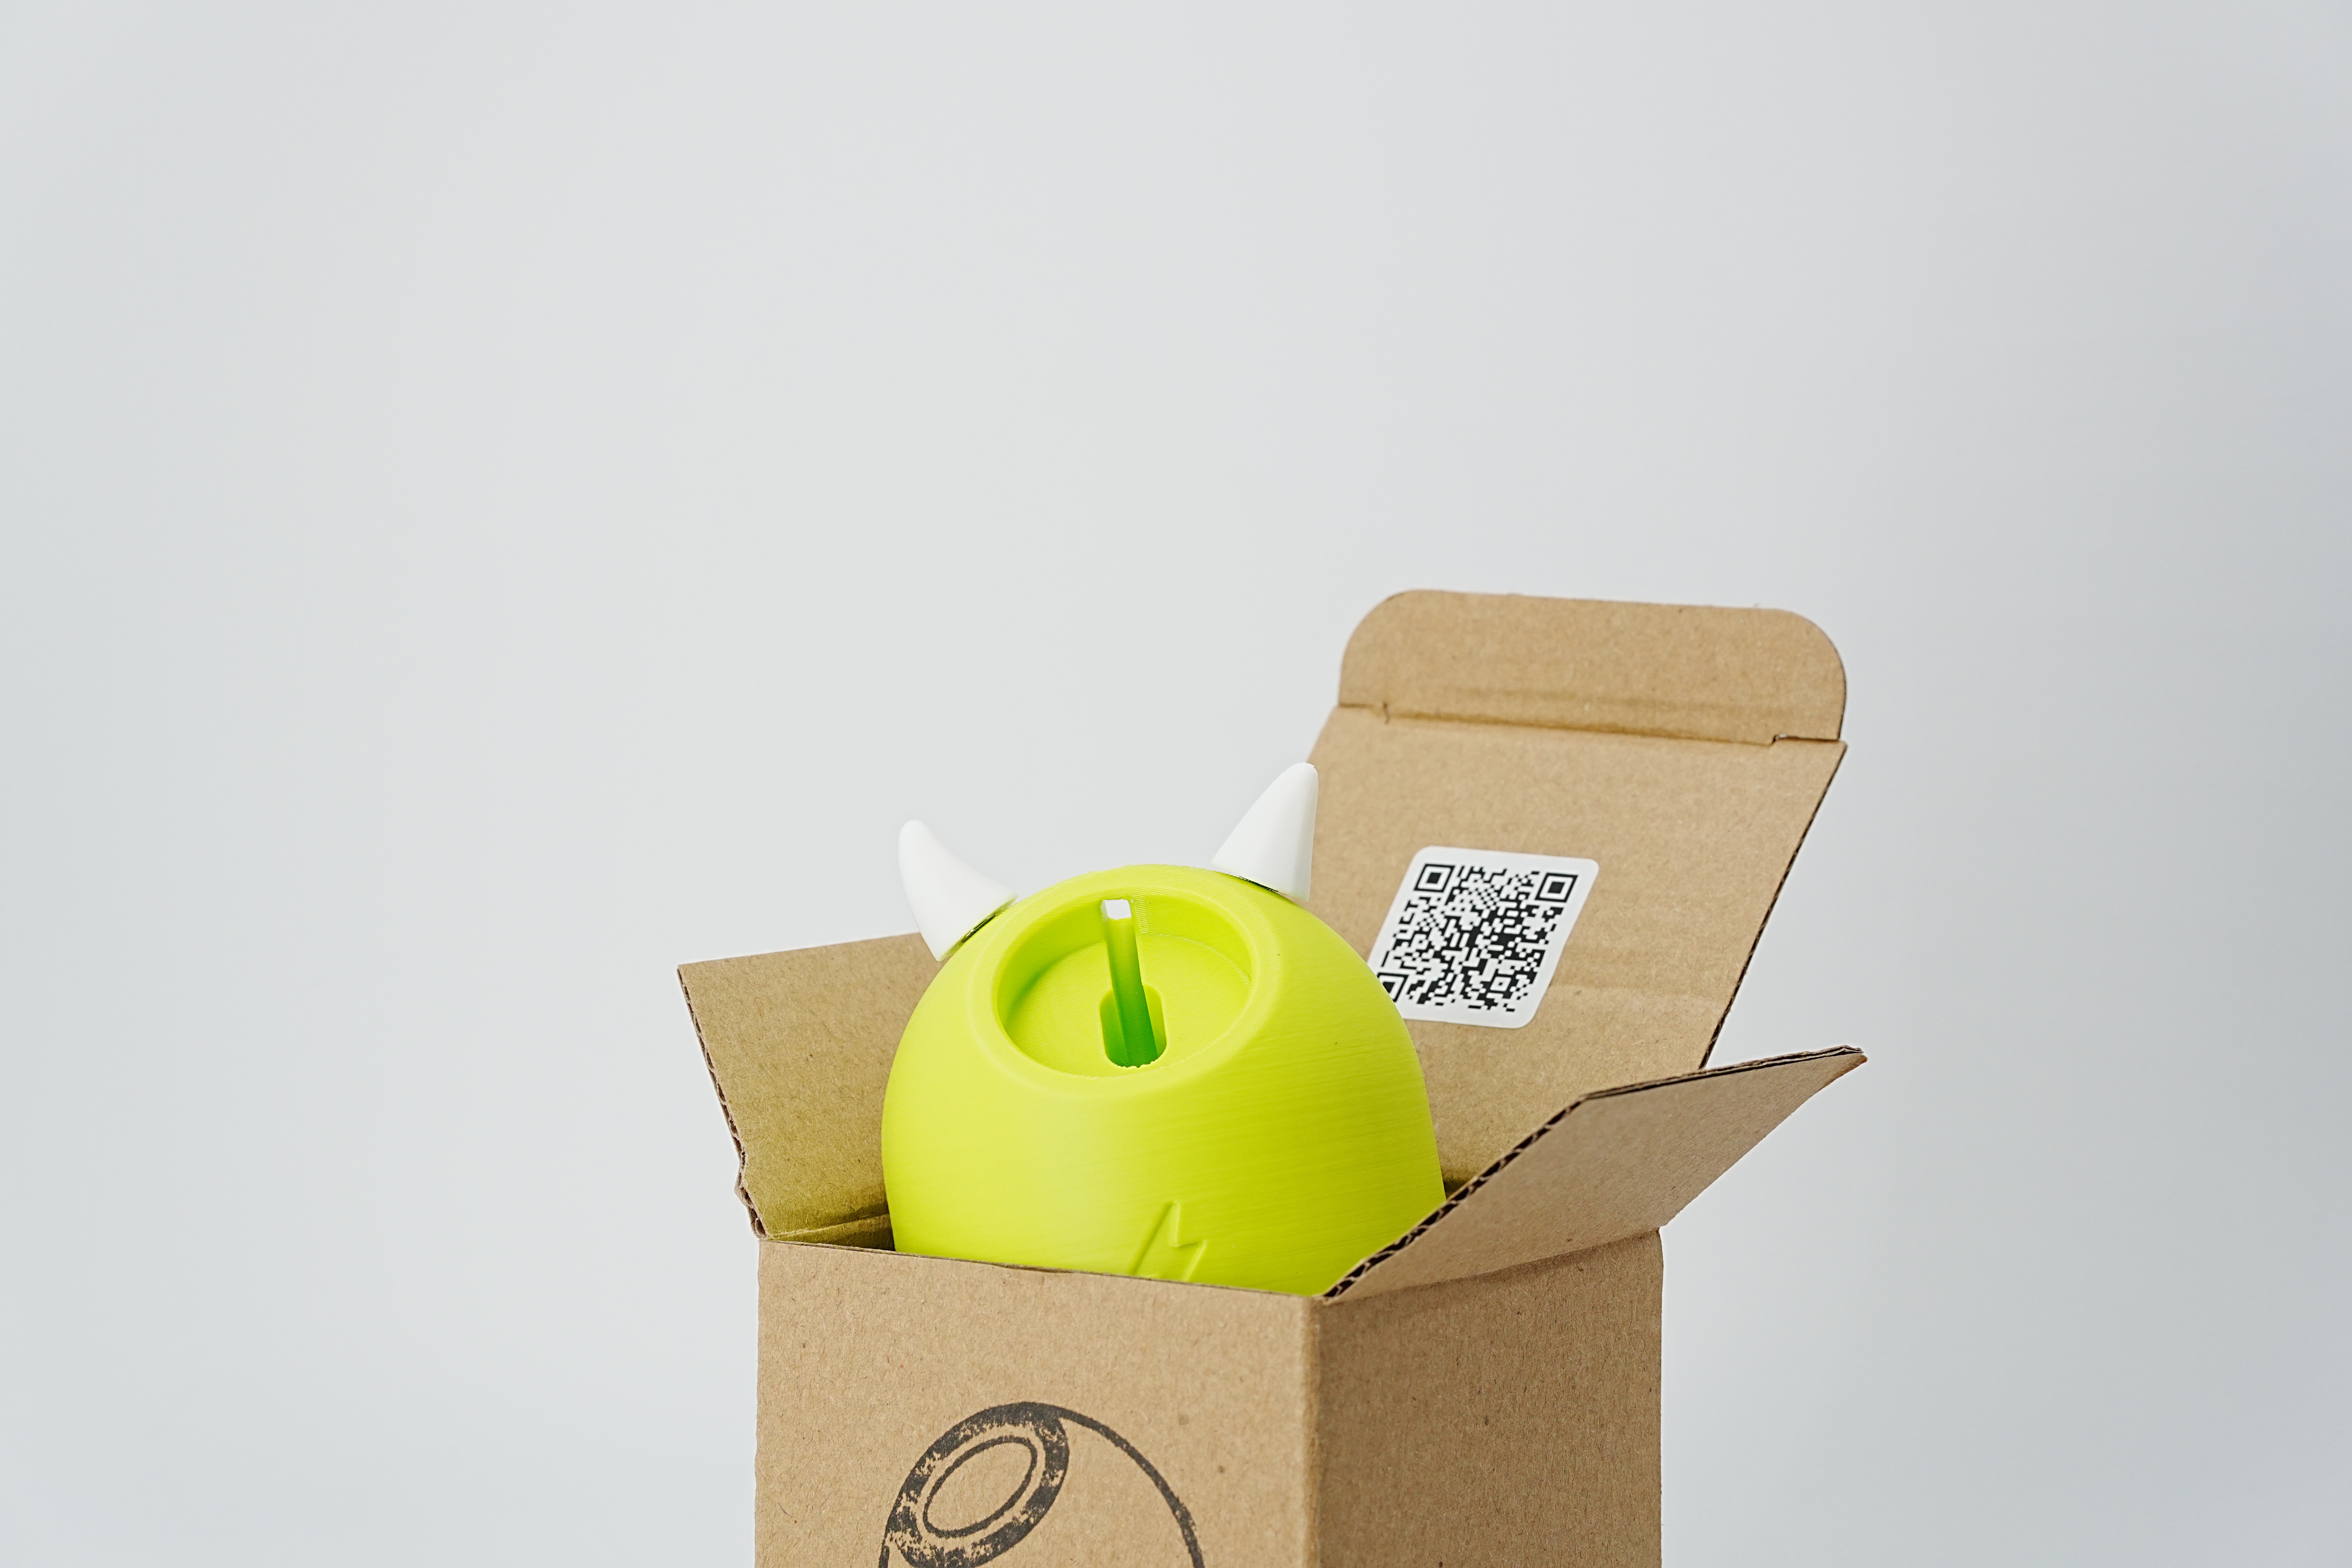
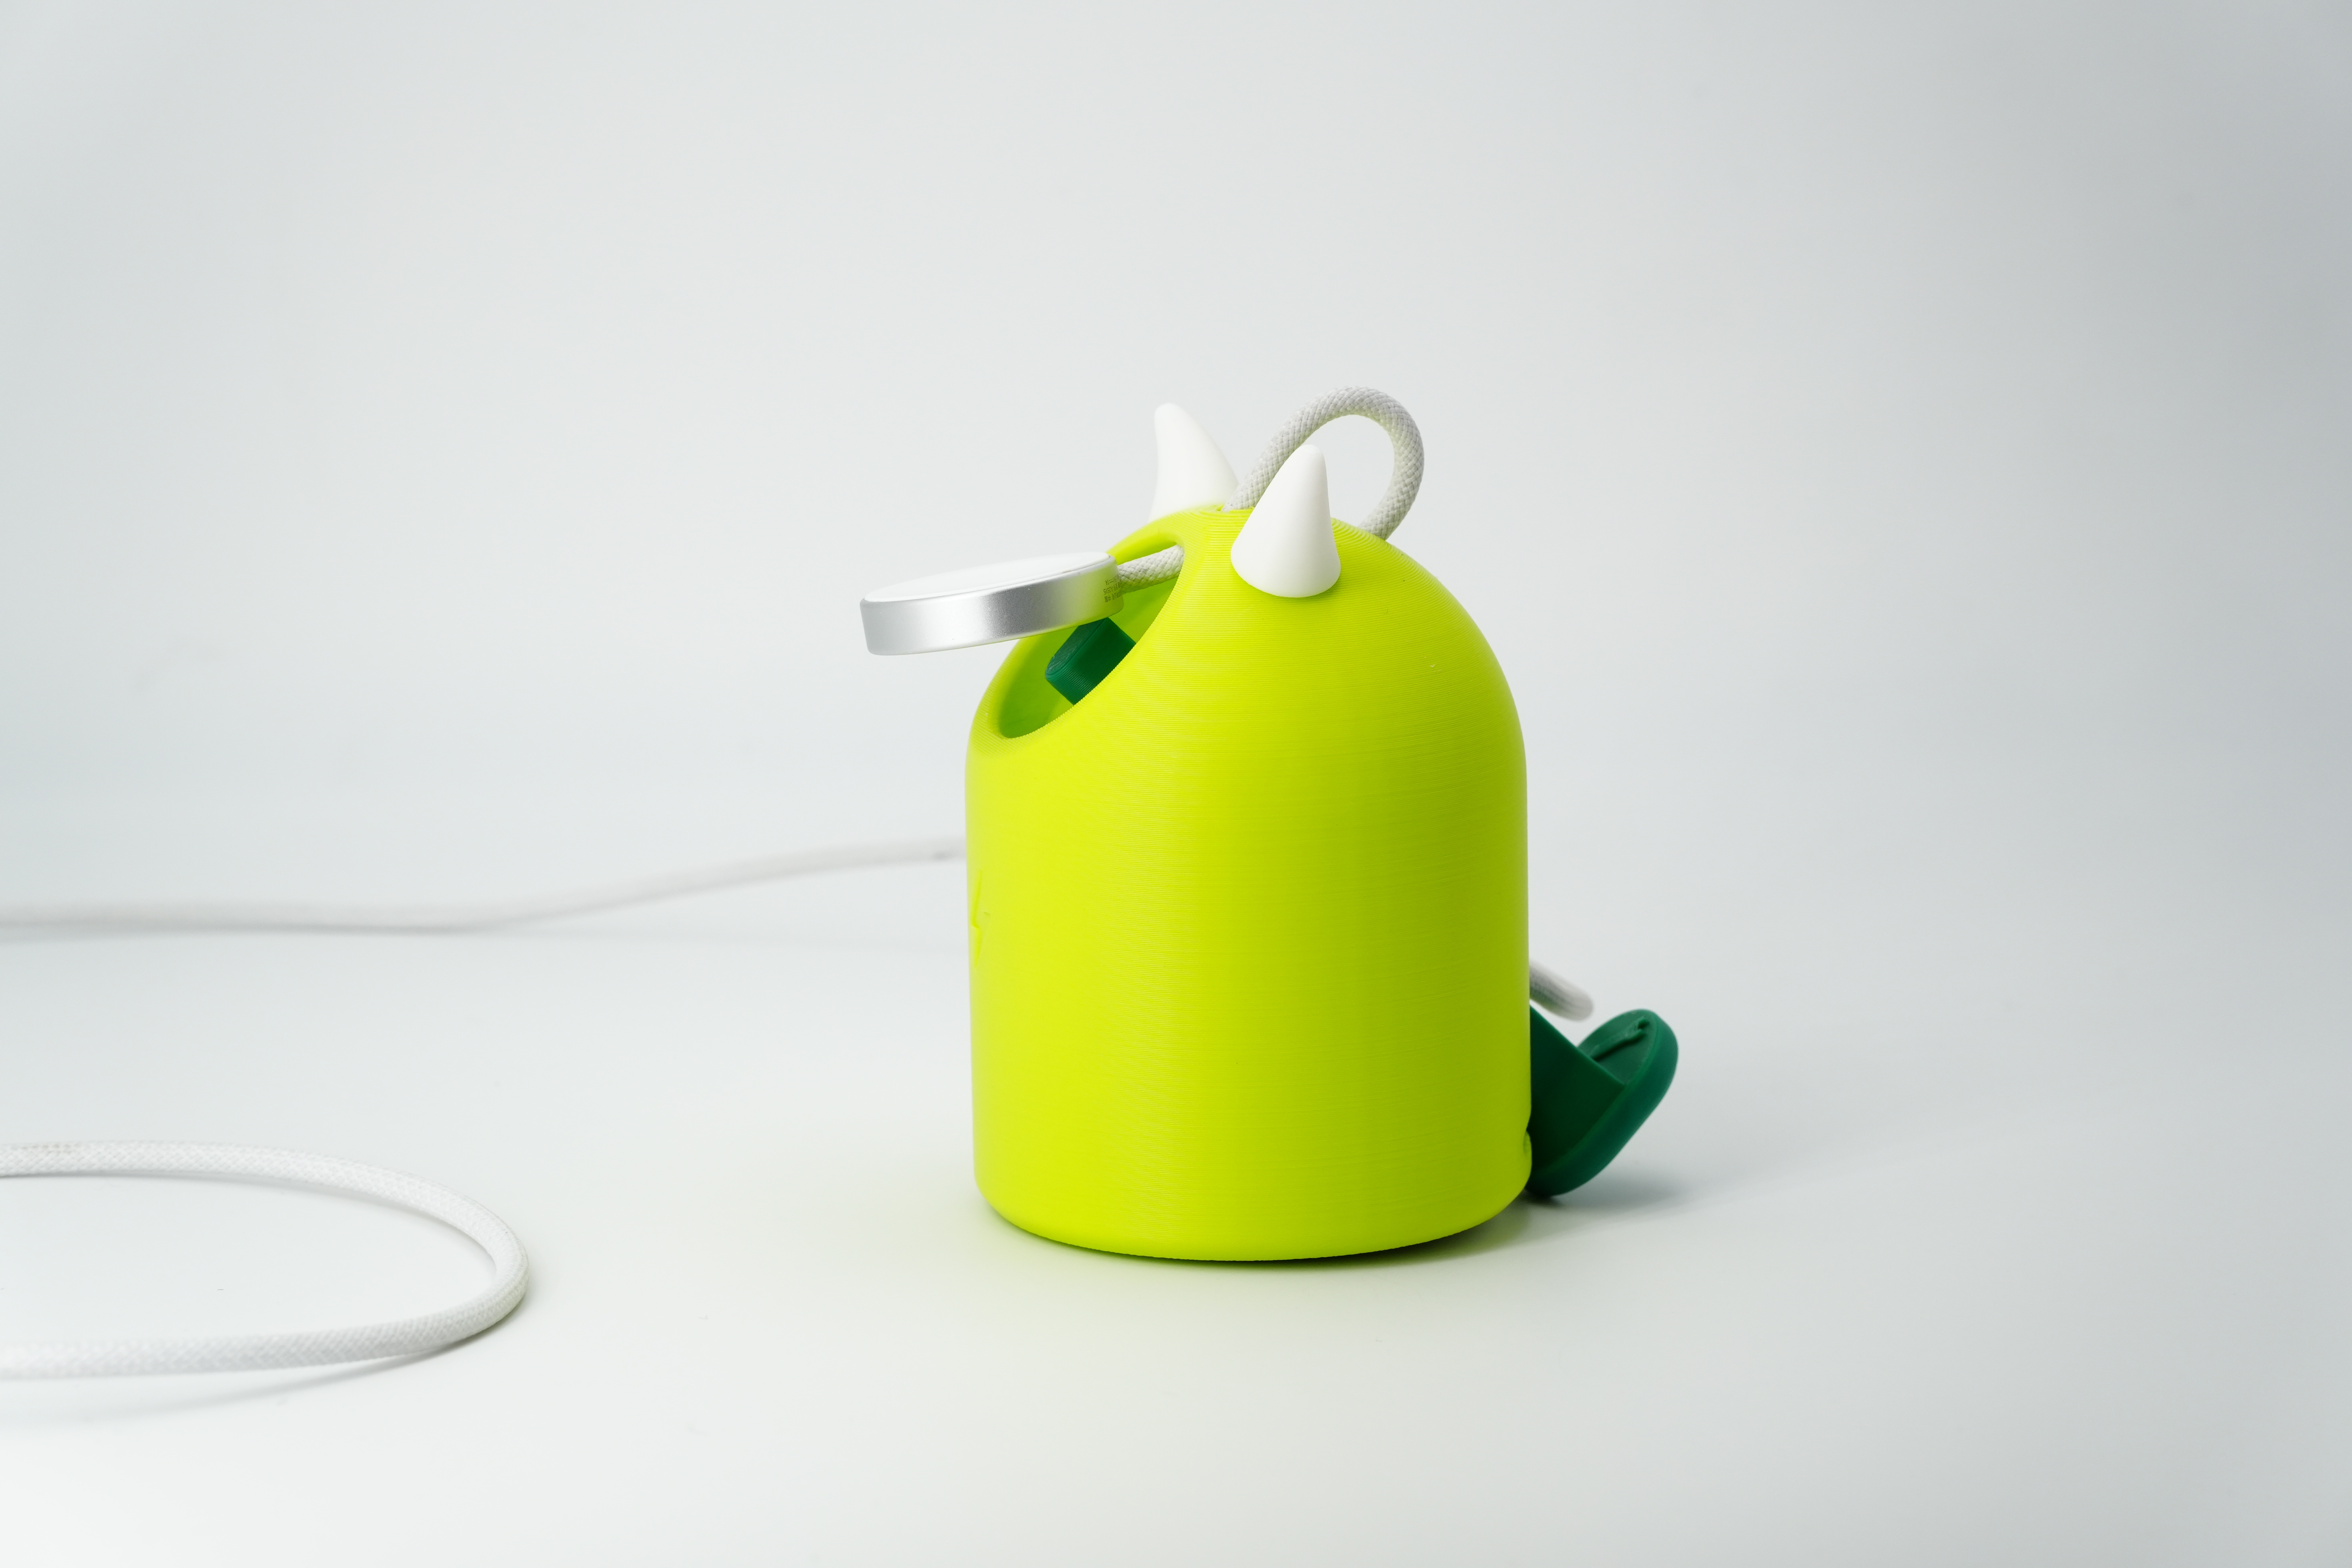
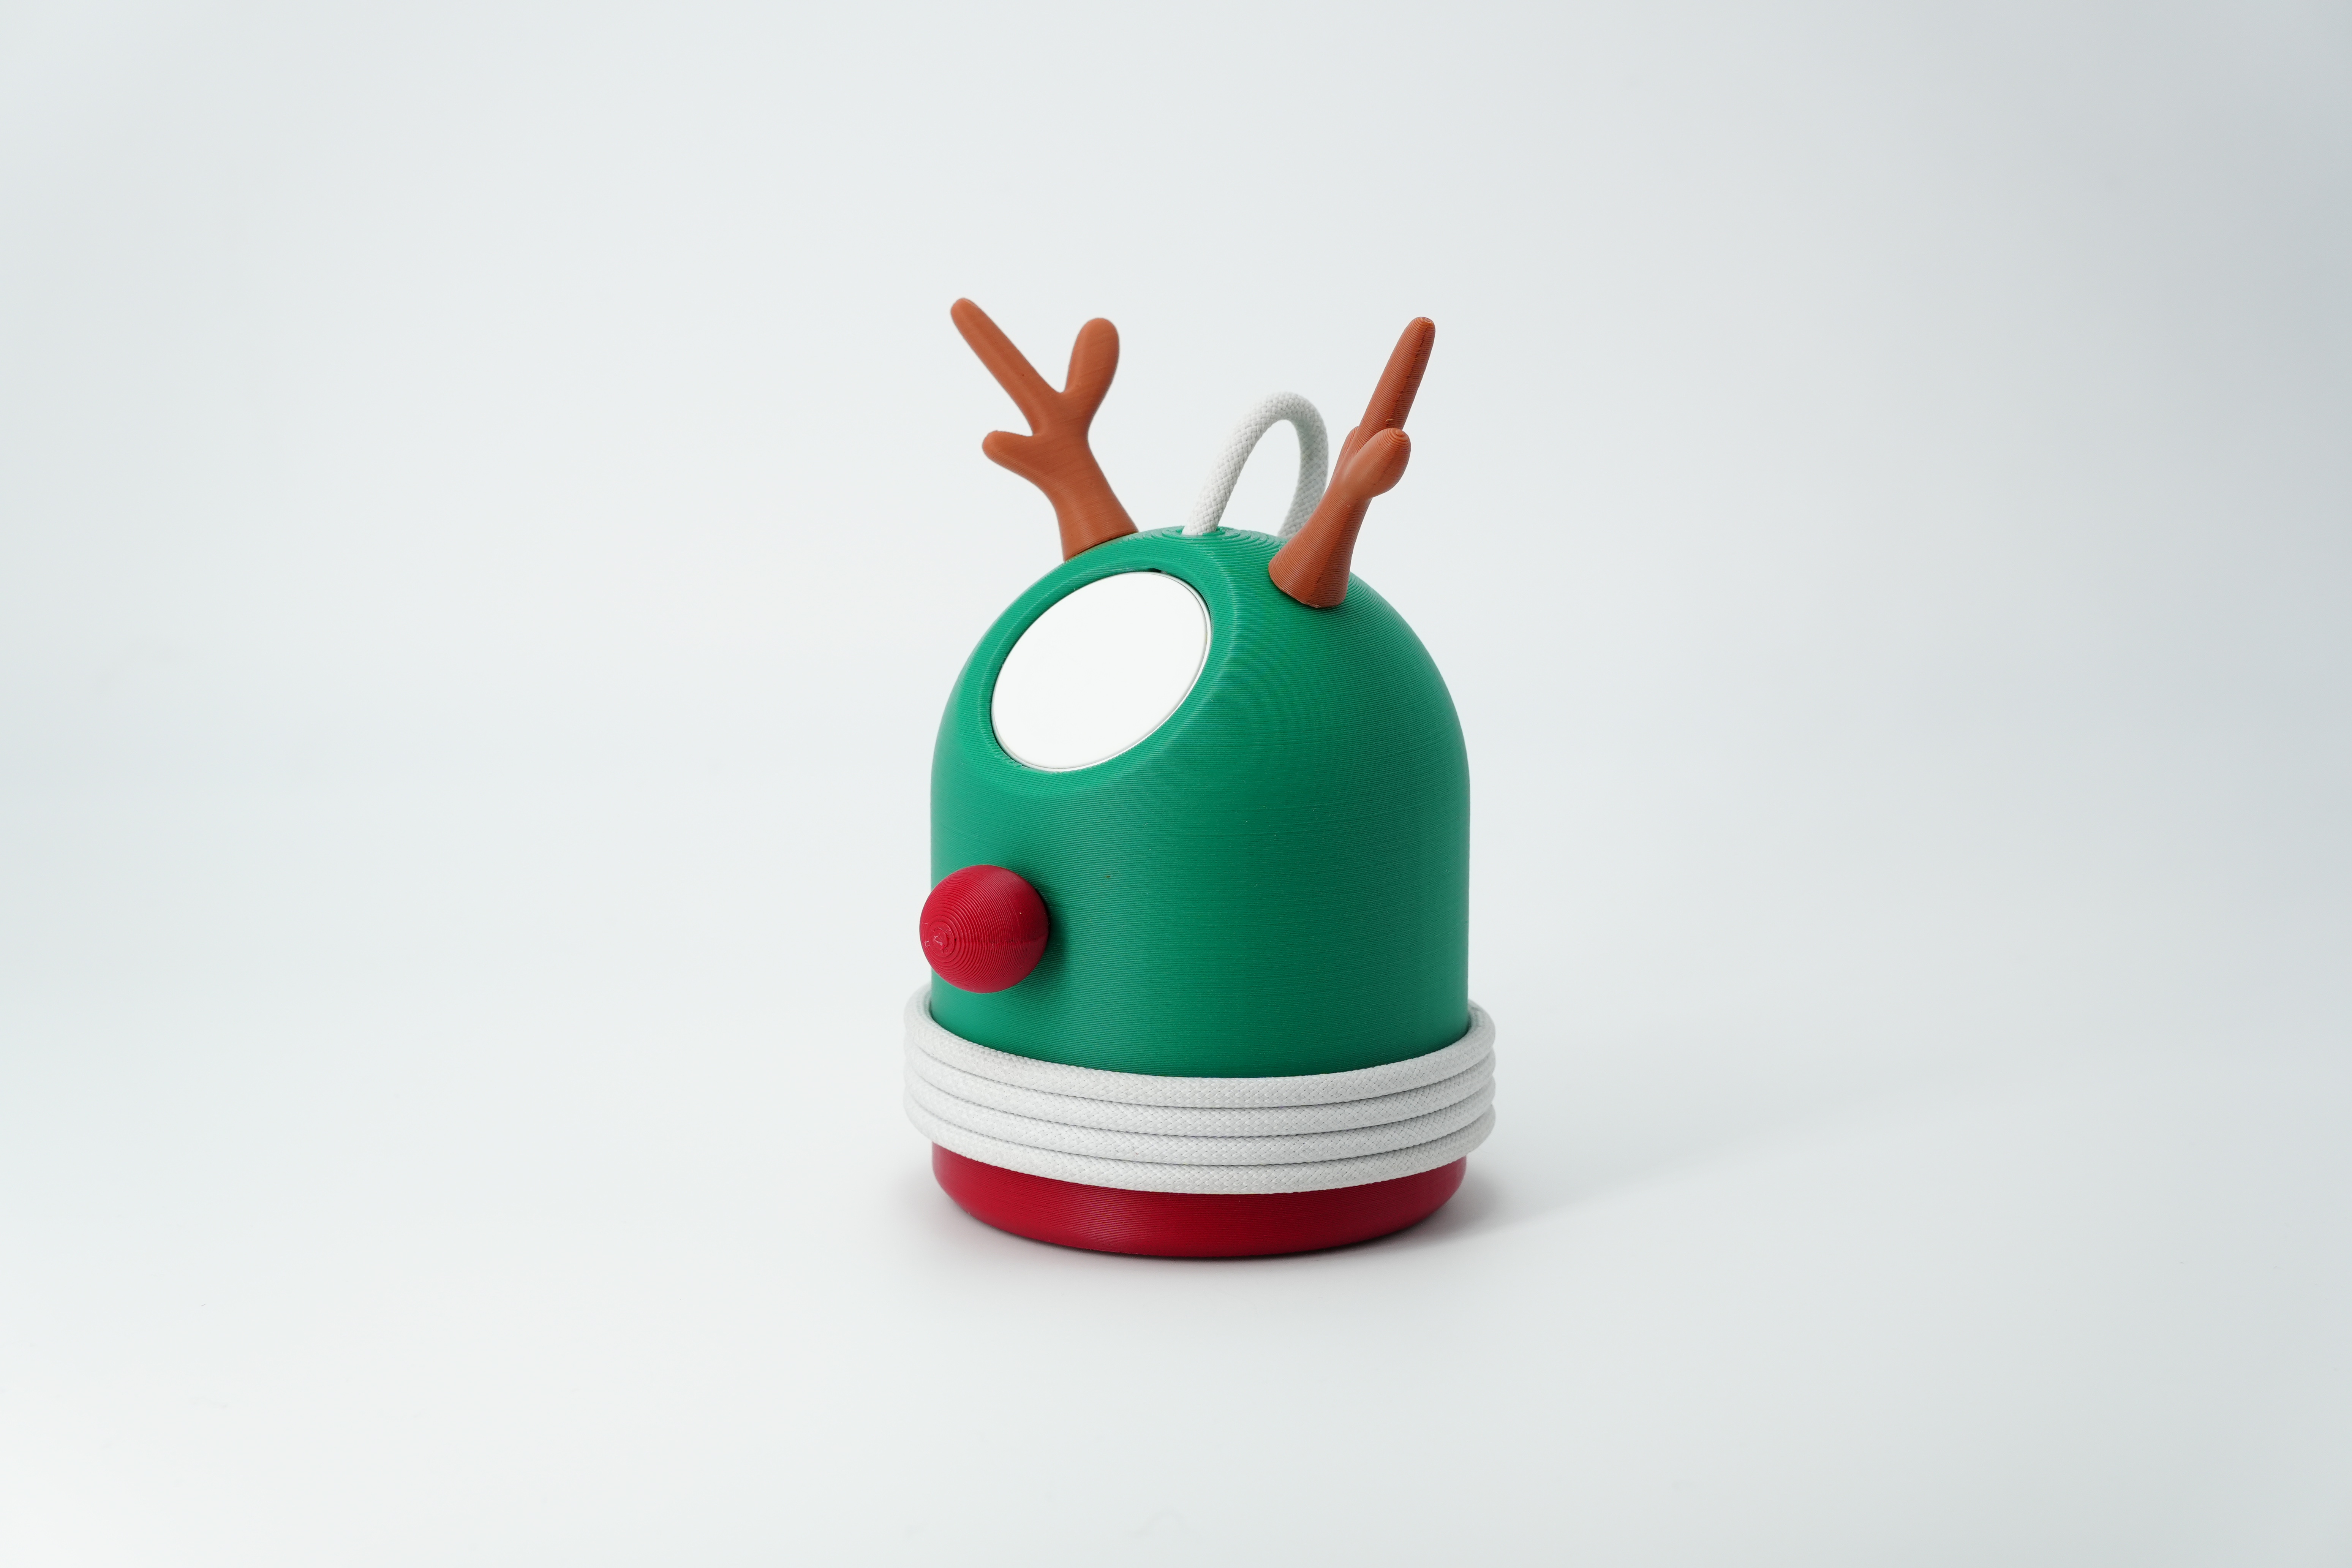
Girlfriend: "Add an ear to it bare." If you say it, you can do it. Plus, you can stick it with hot melt glue first. It's not bad.
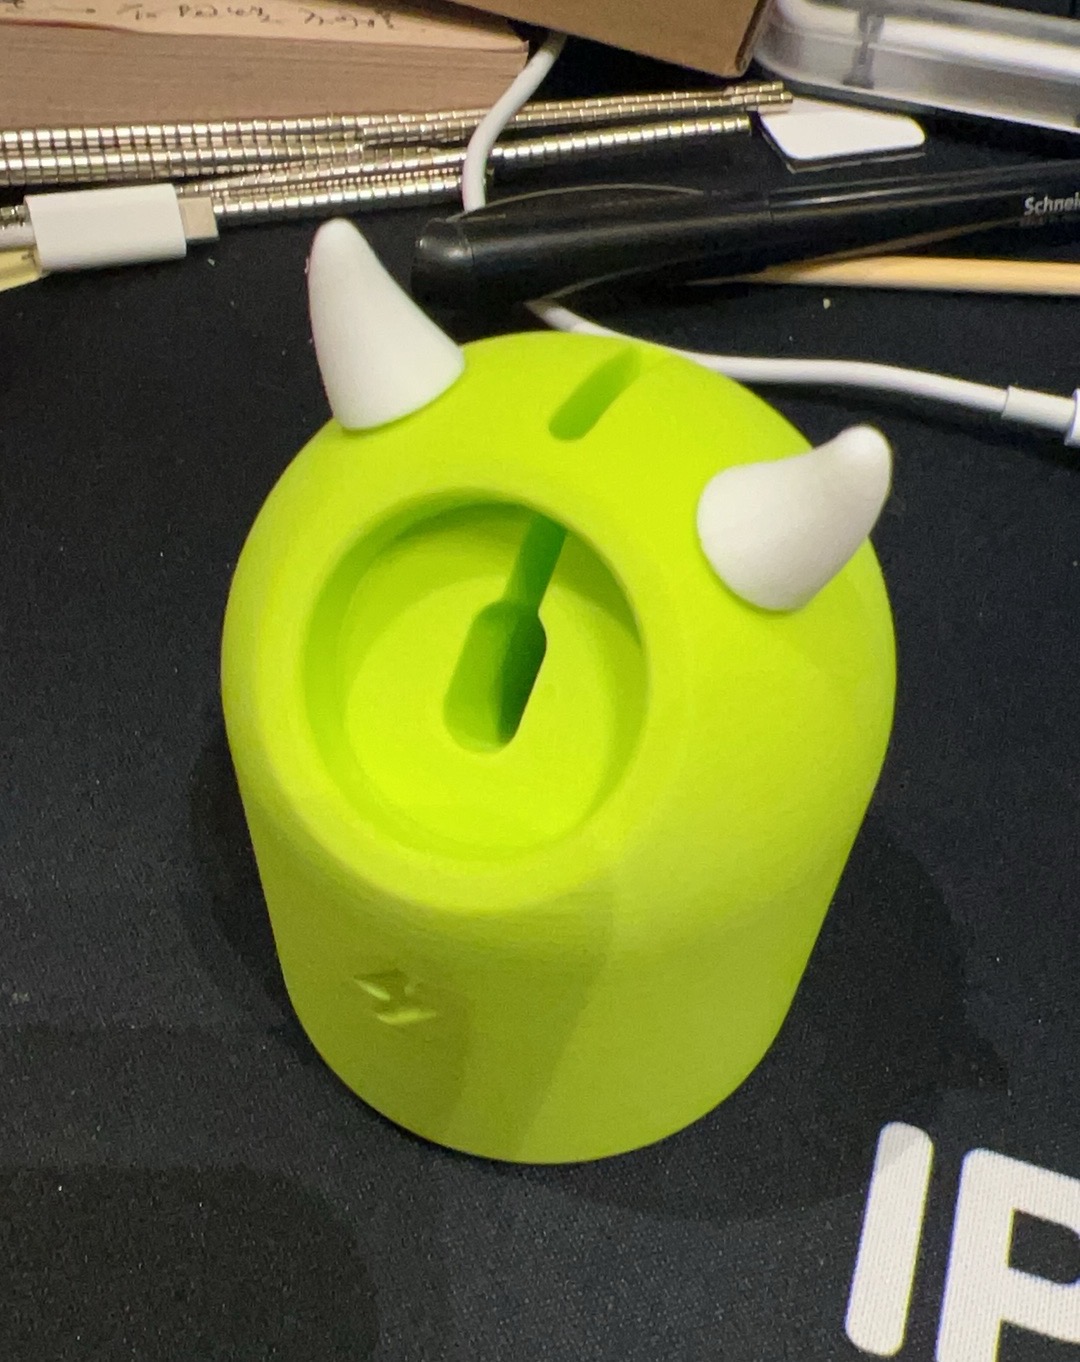
The more I look at it, the more I look like a character in an animated cartoon. Yes, it's Big Eye.
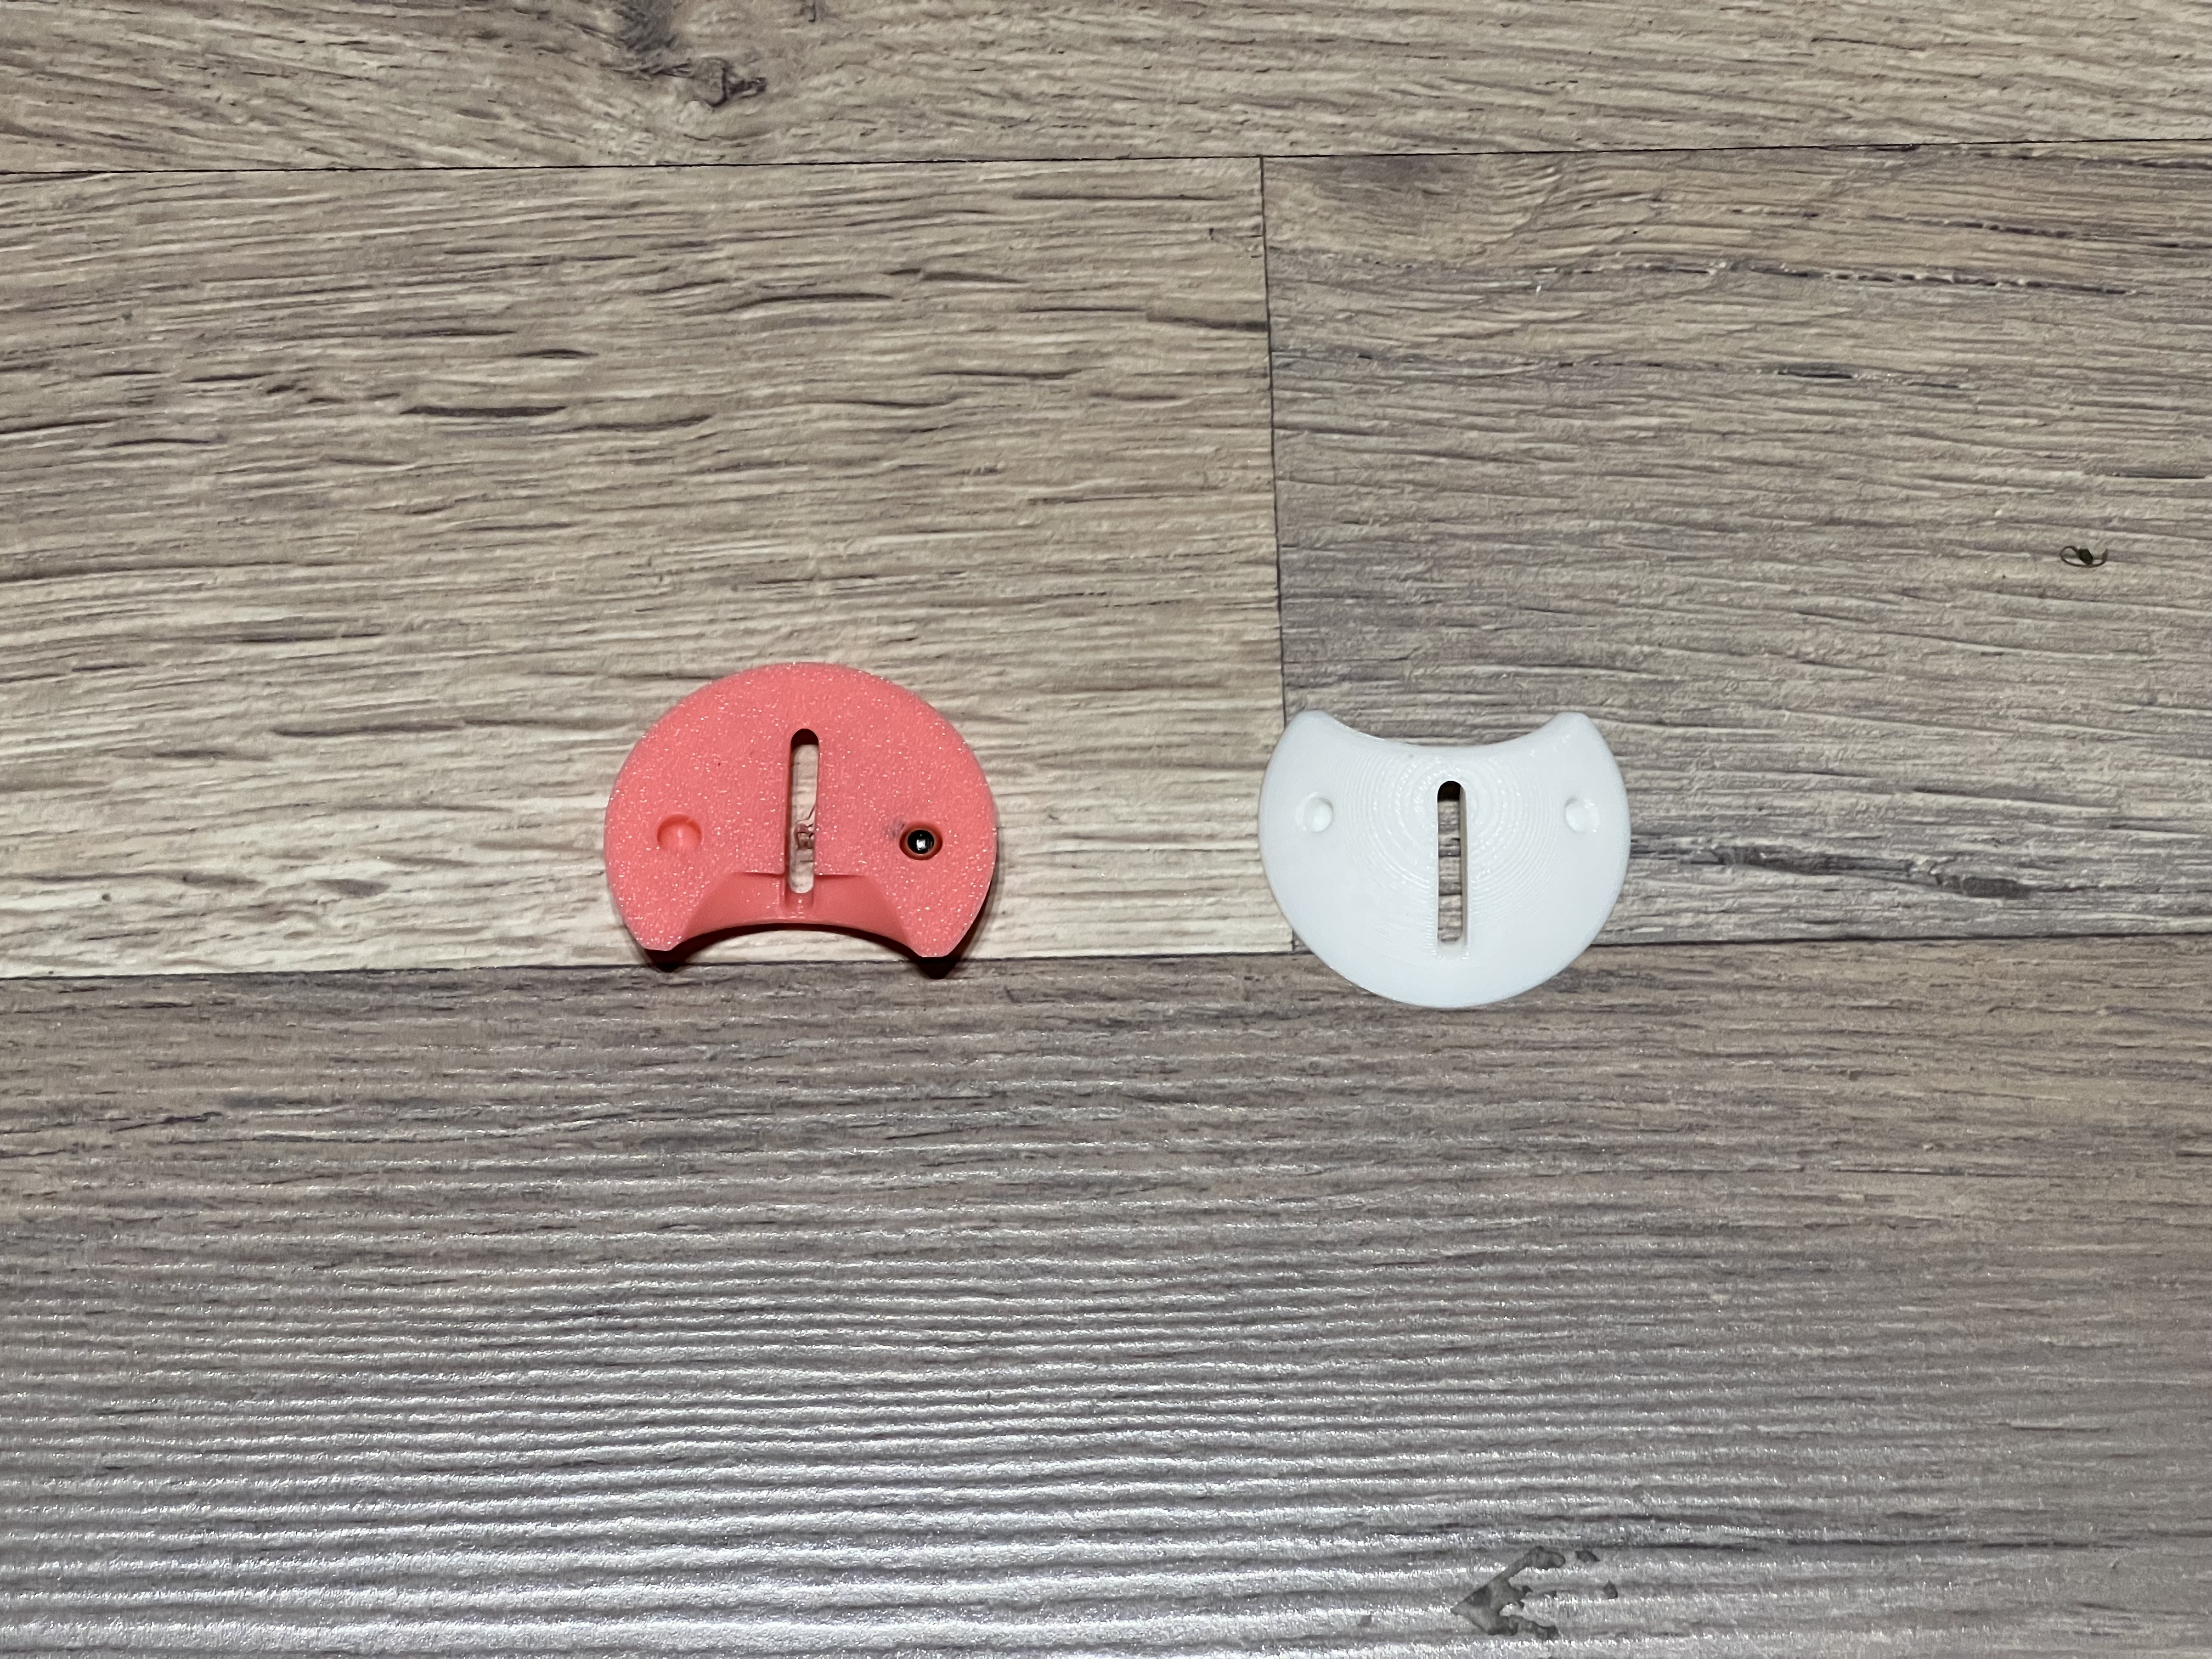
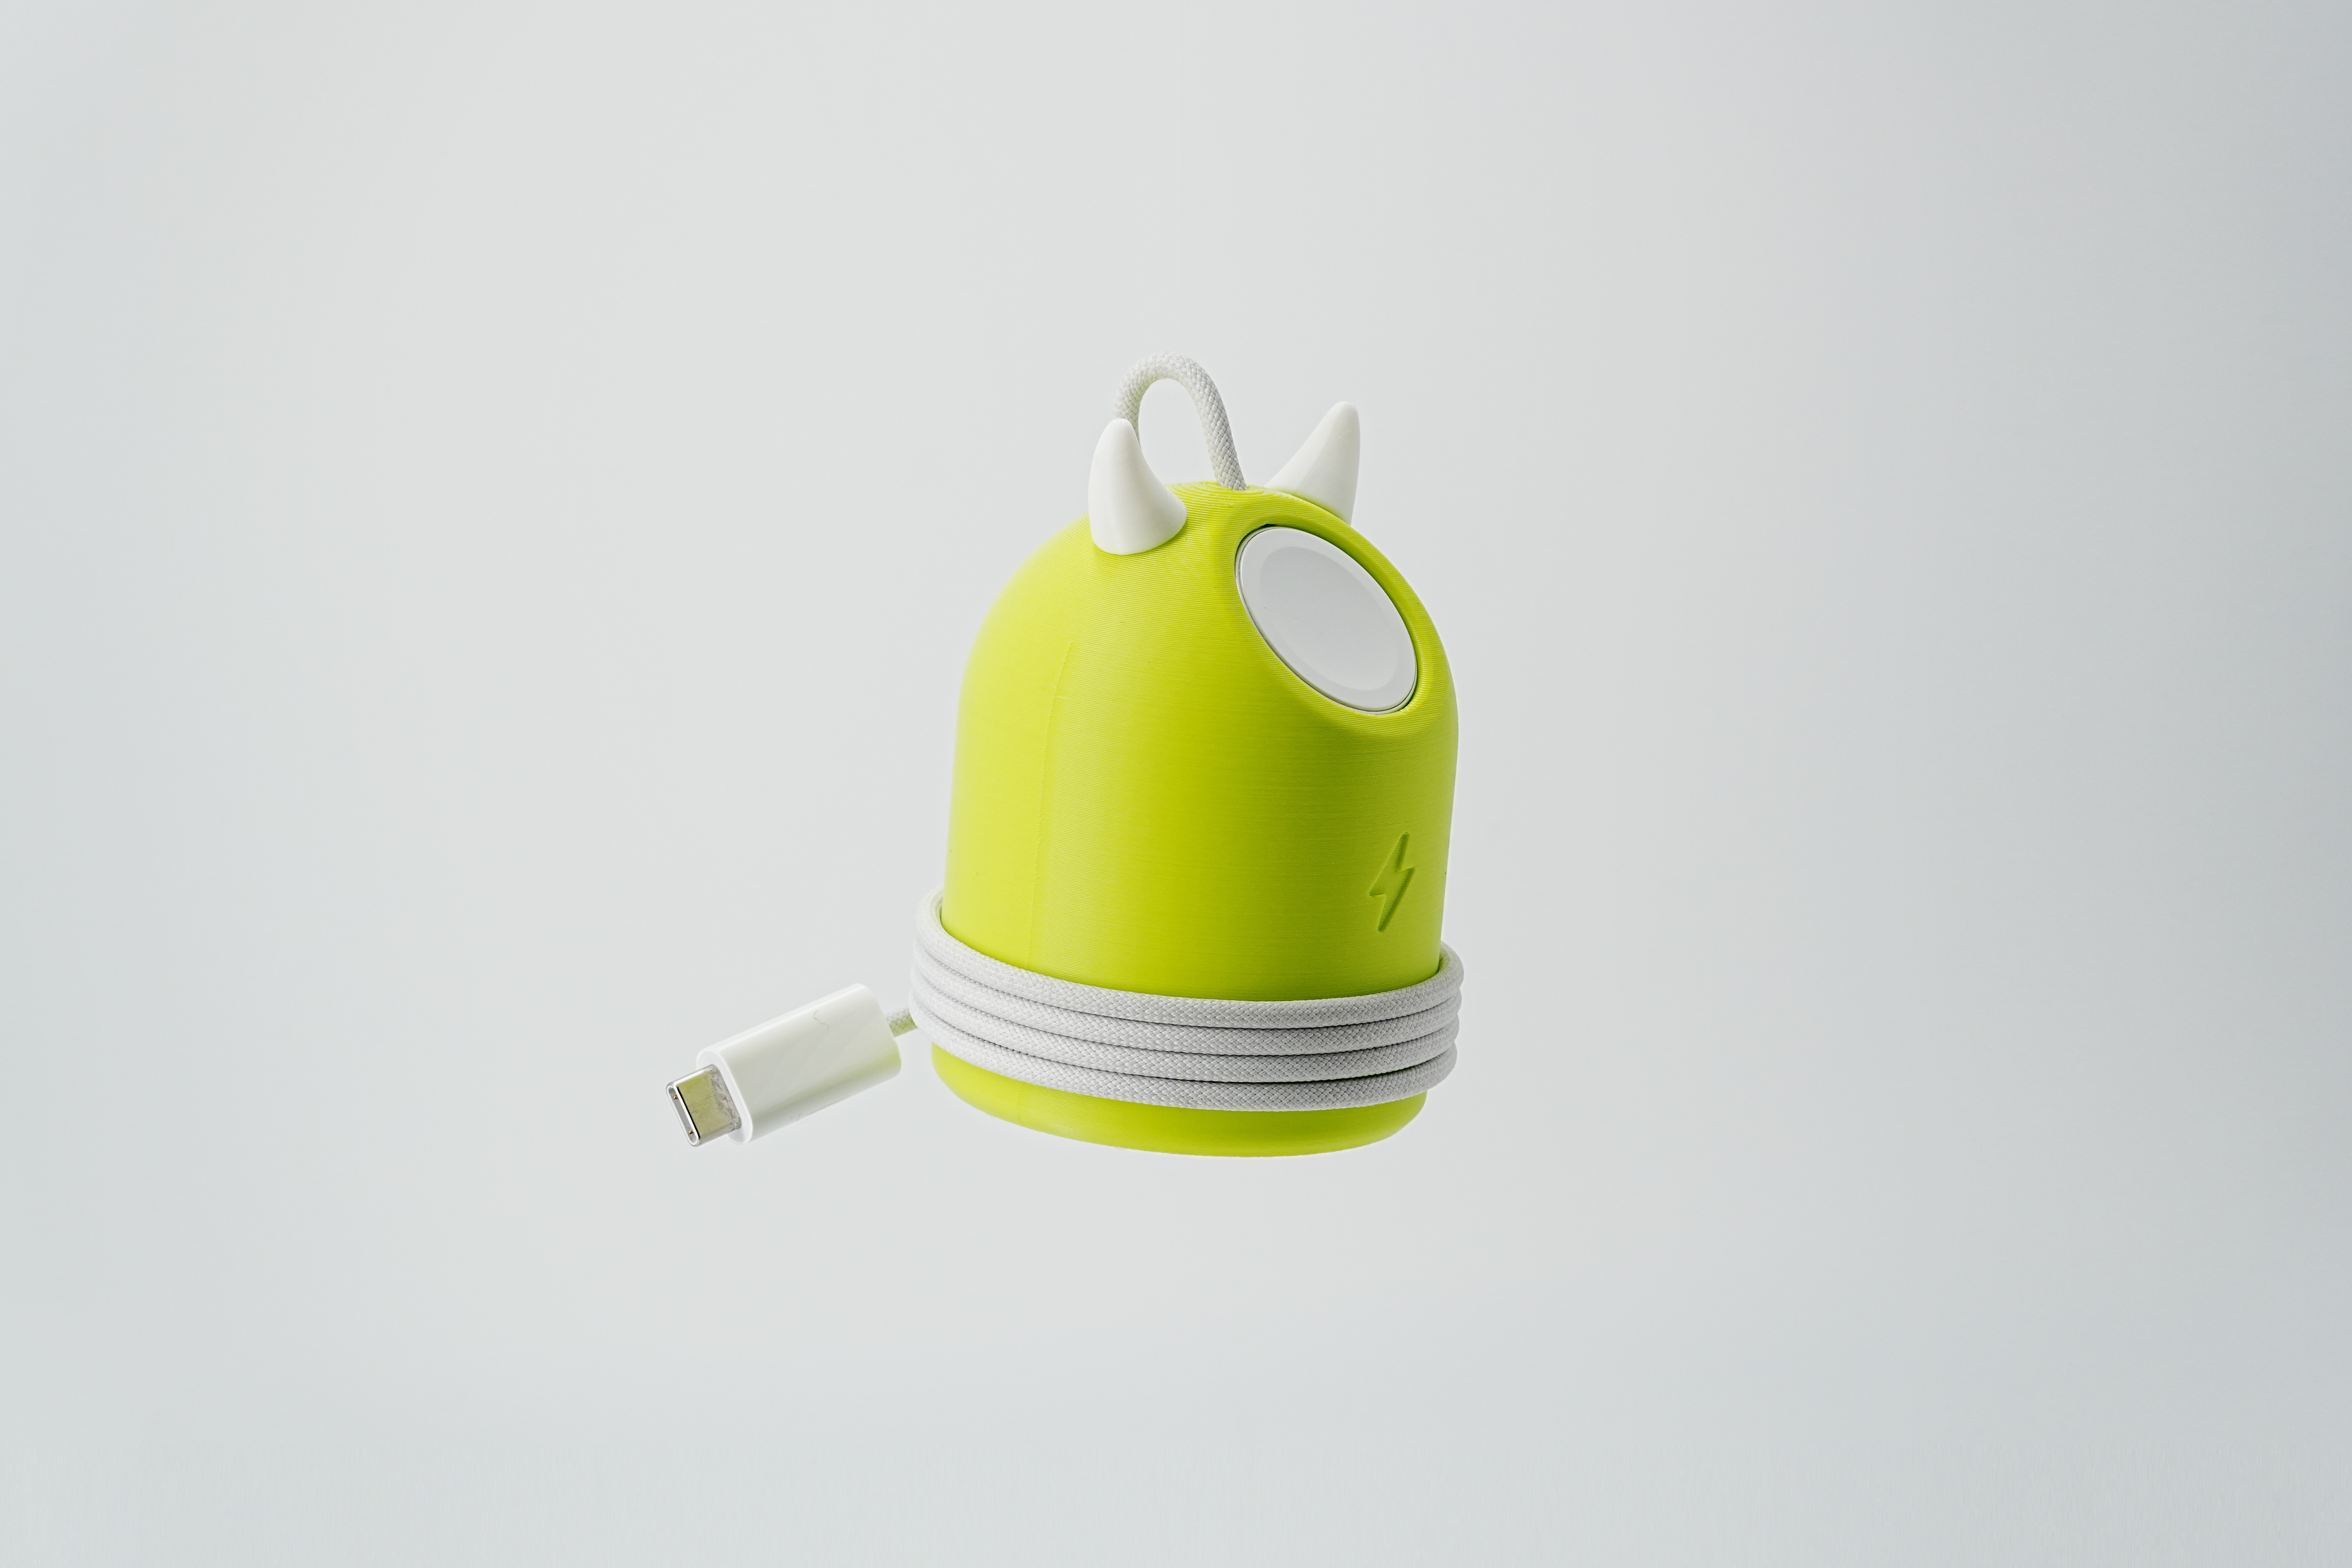
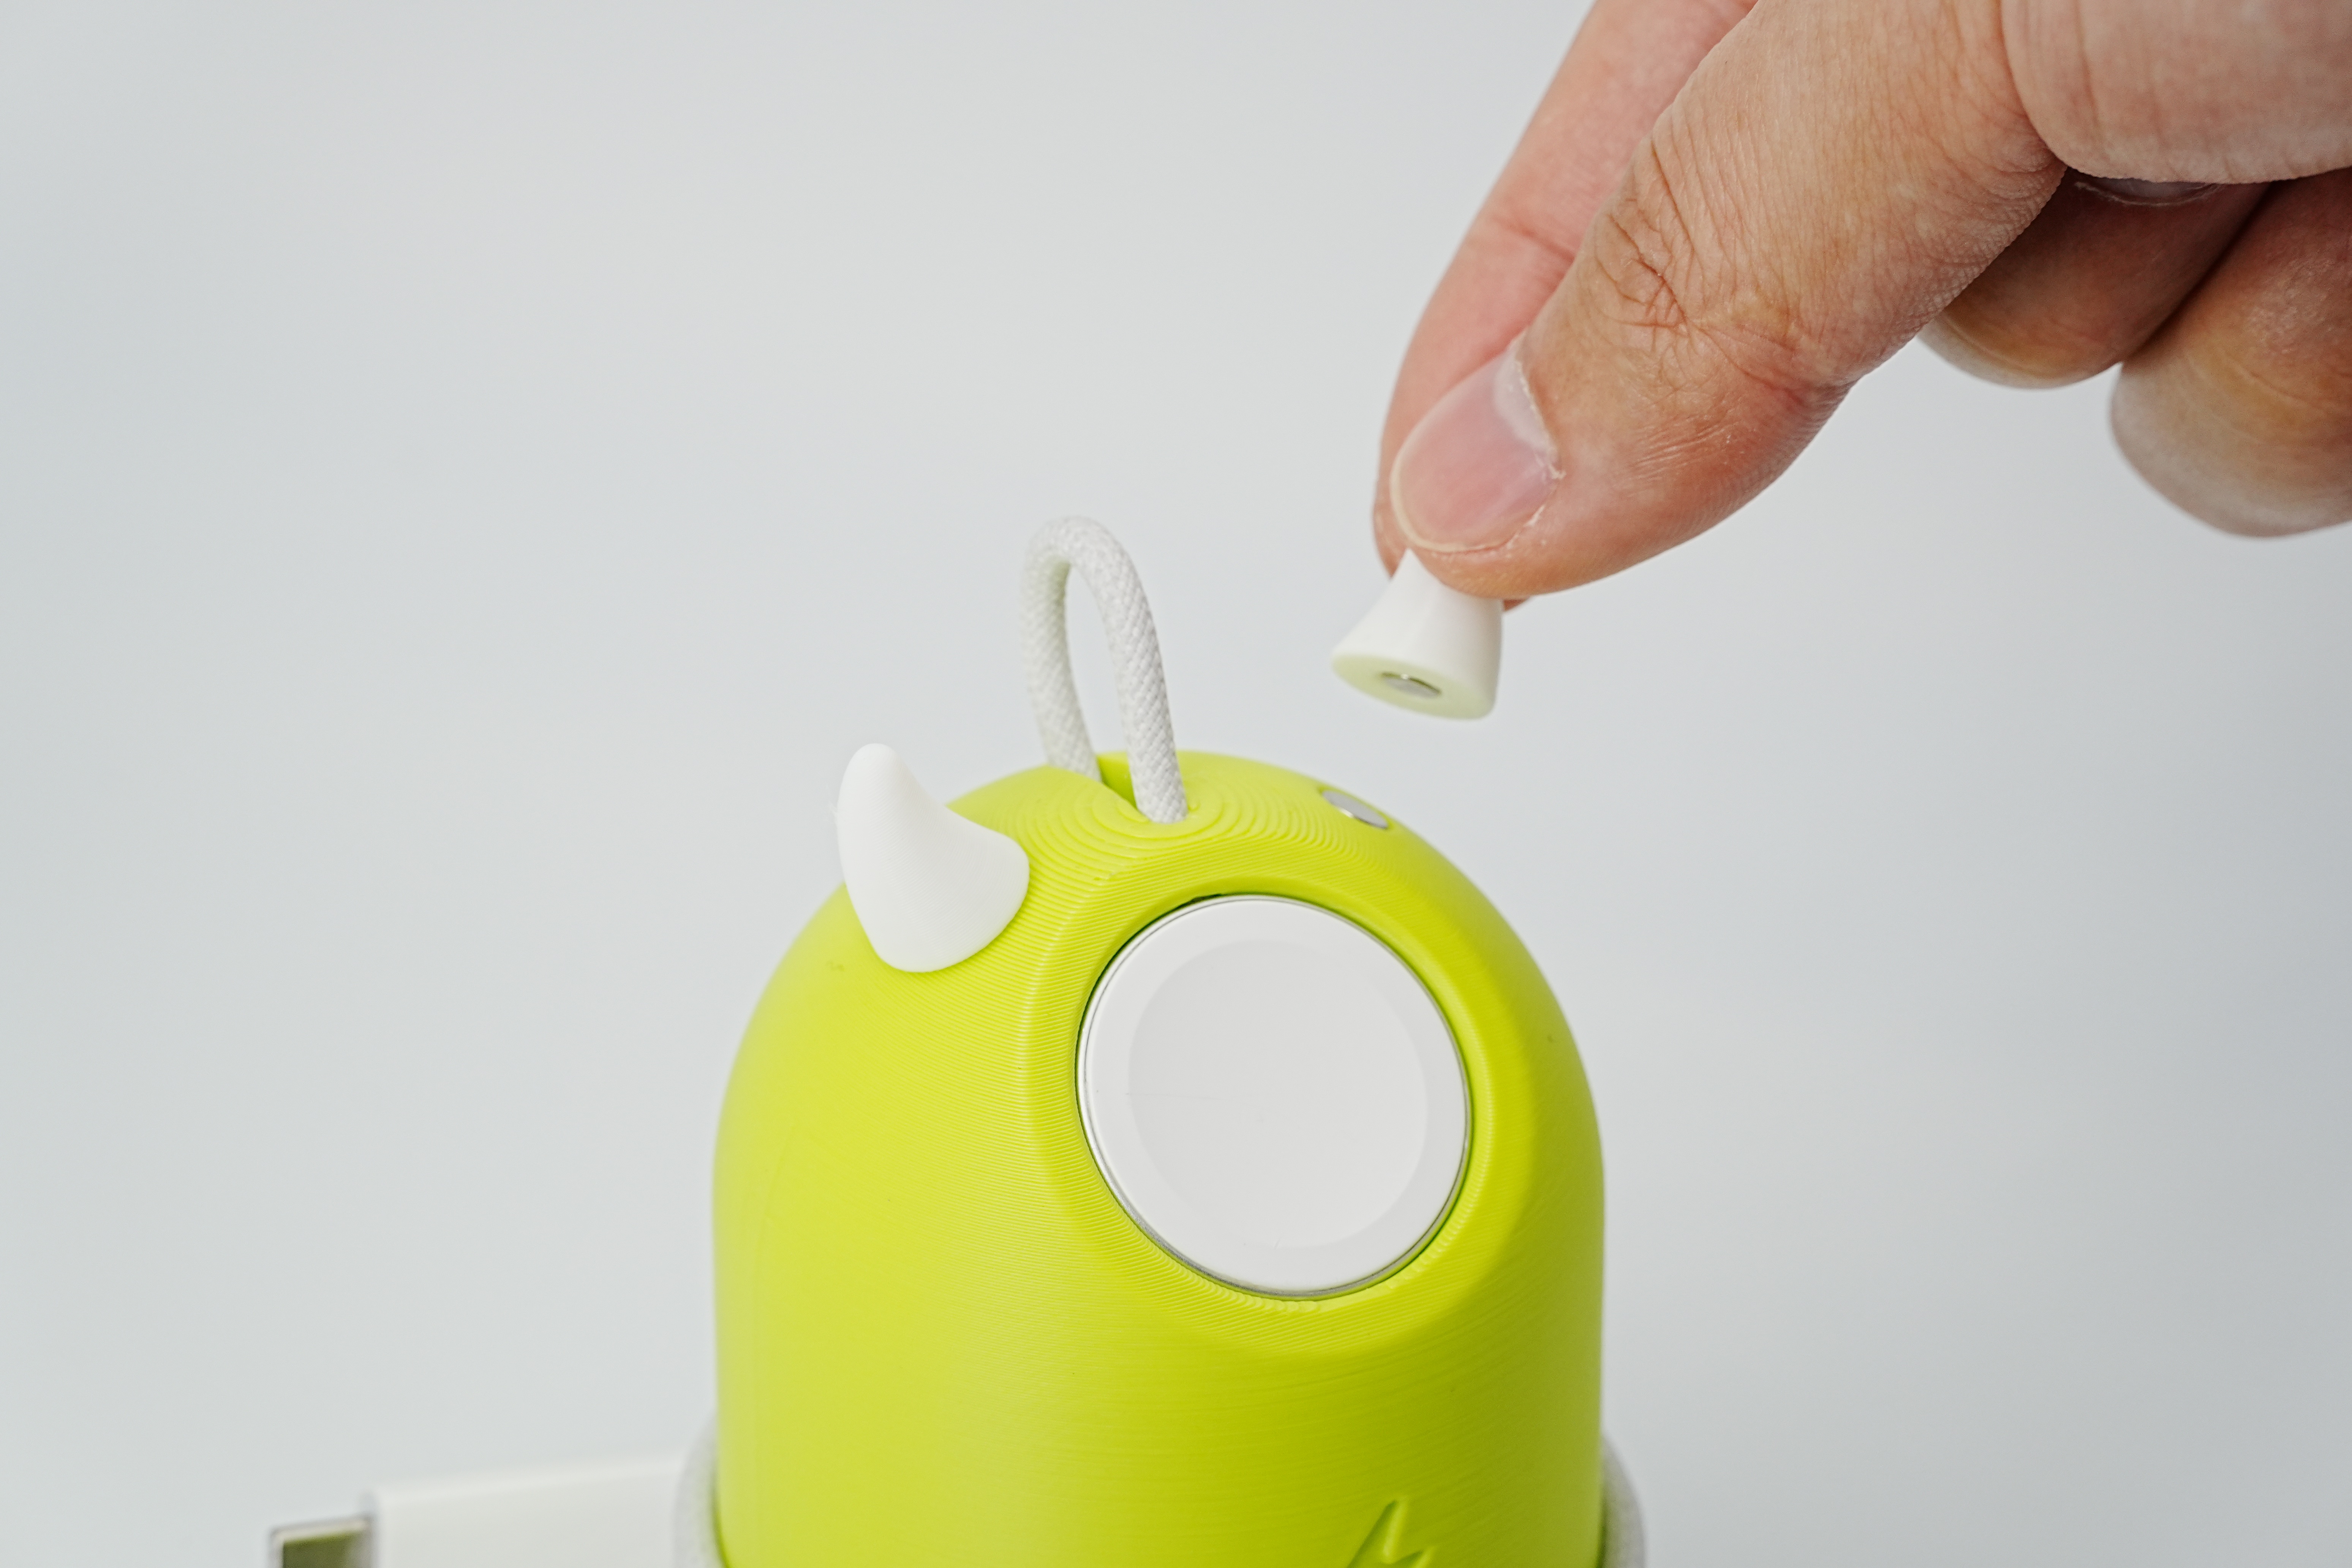
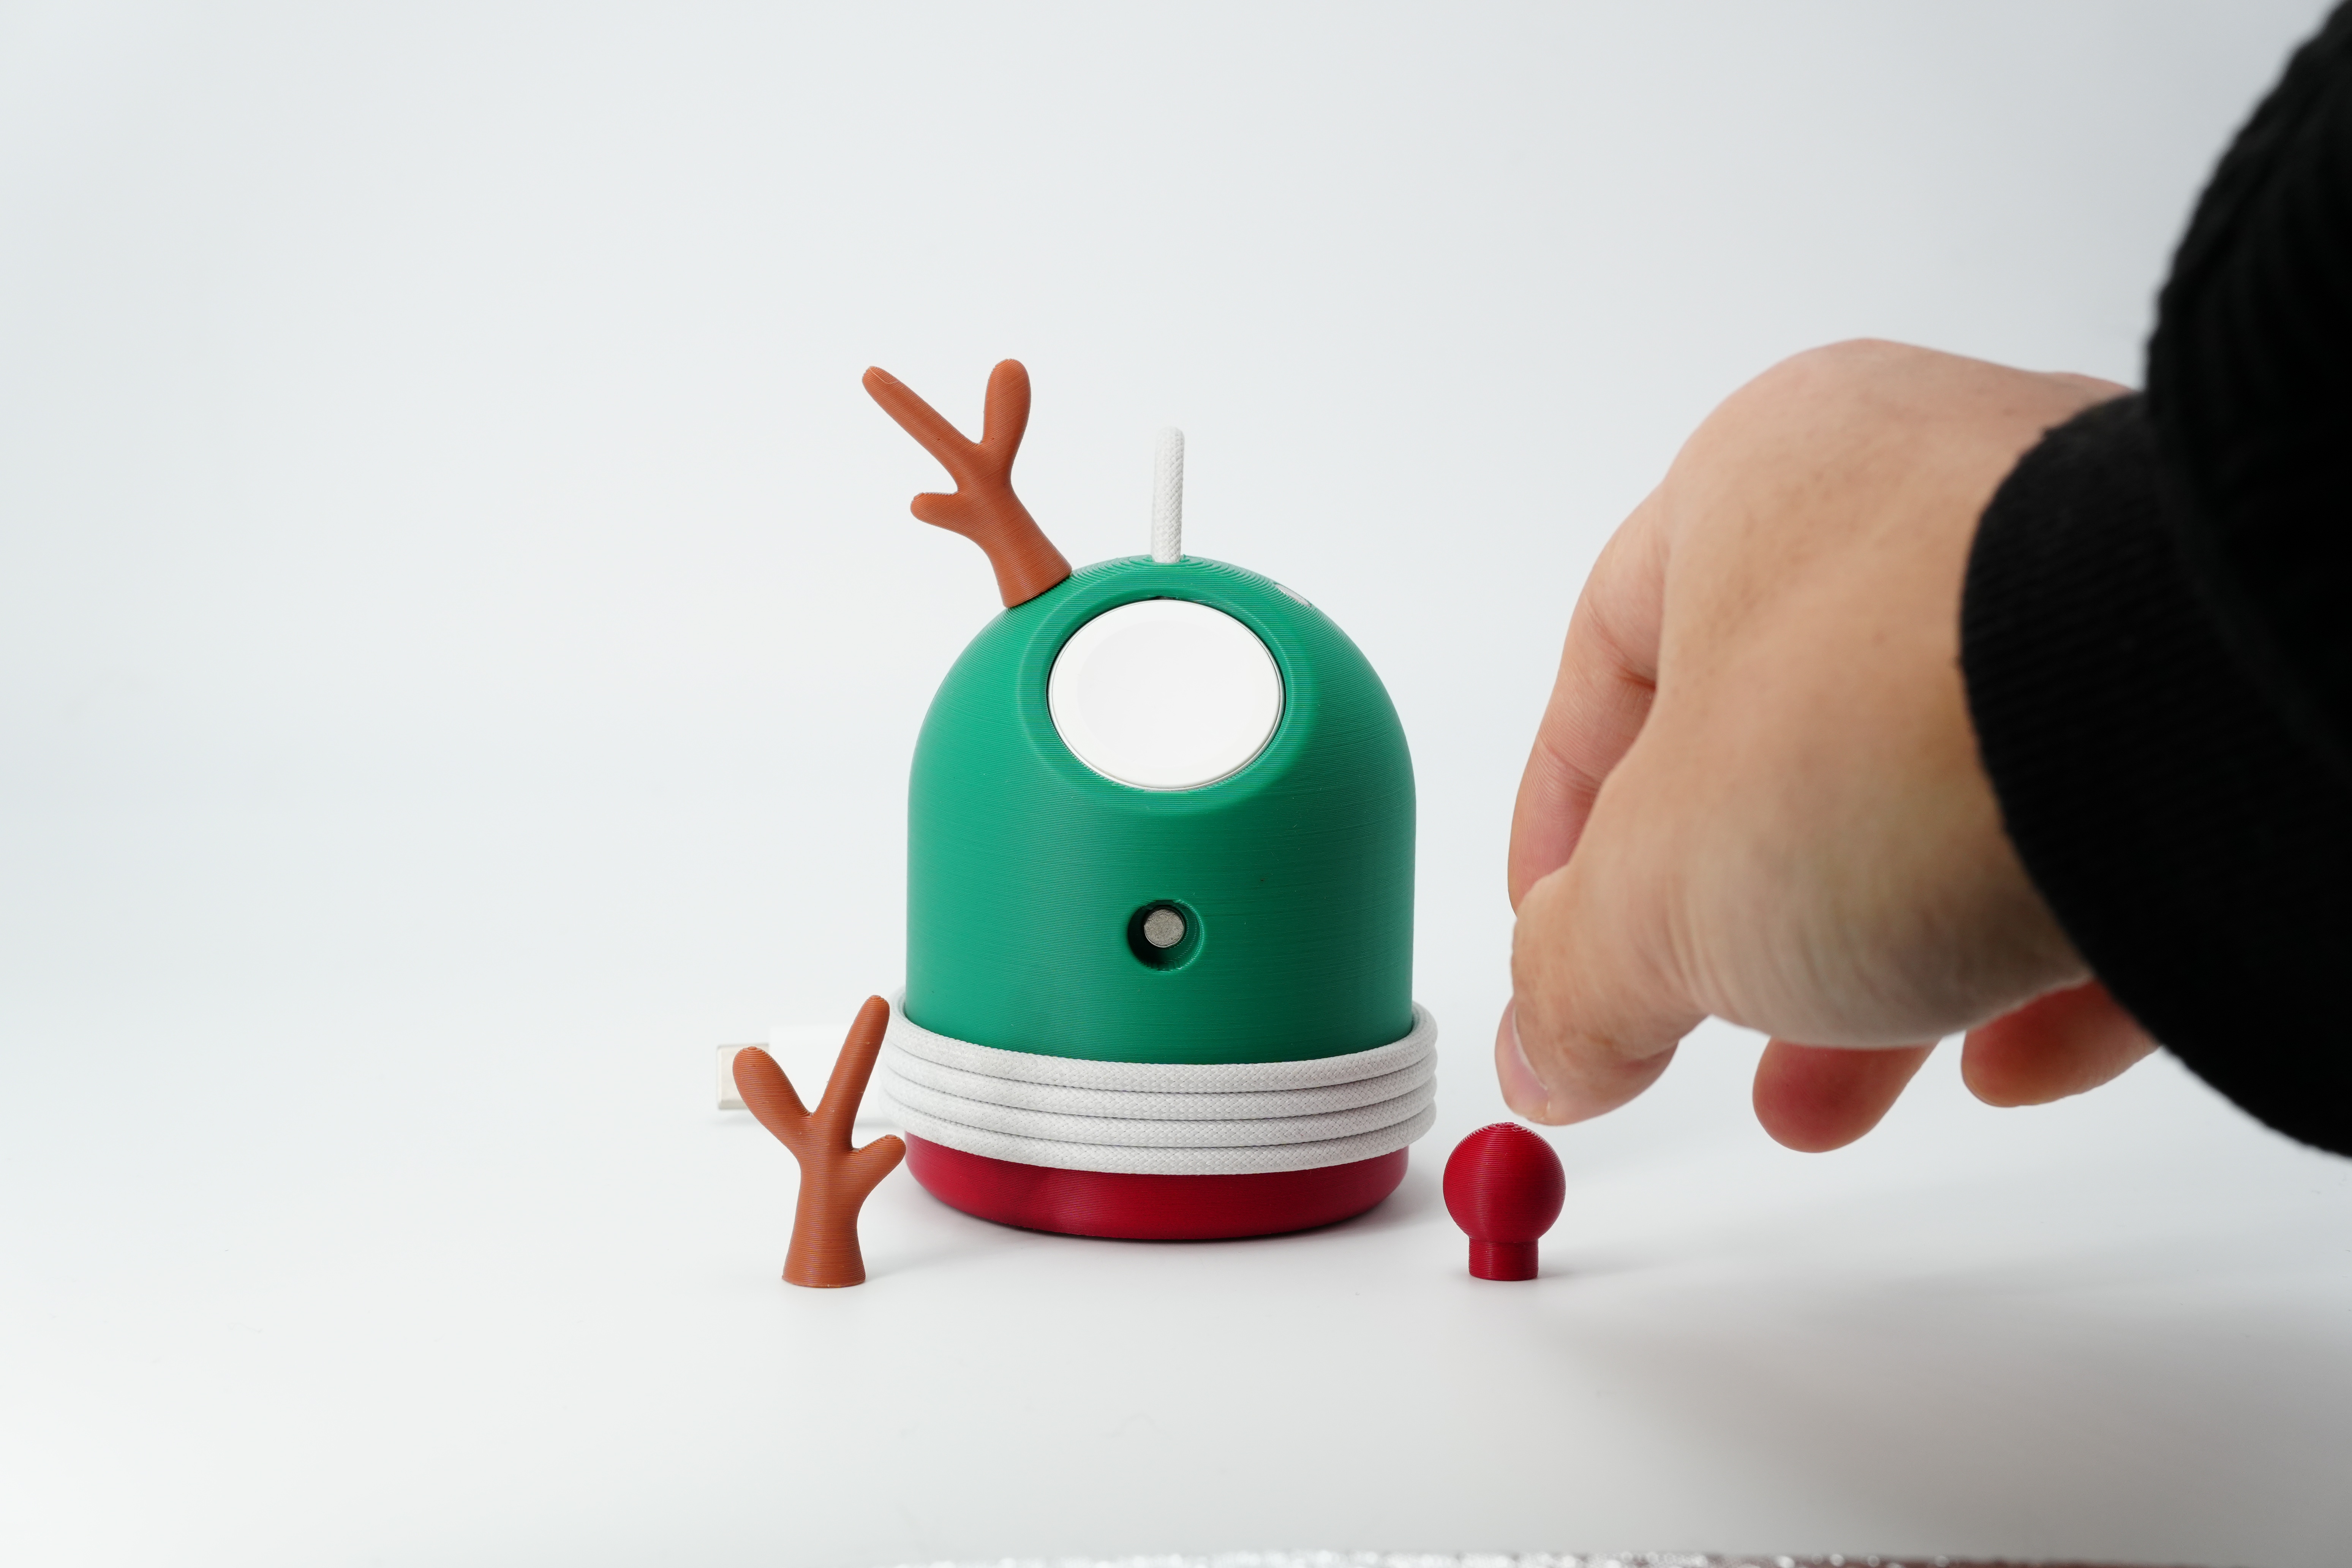
Of course, this small accessory uses magnetic attraction. Originally, it wanted to embed a ball magnet, so it didn't need to be exposed. However, the magnetic pole of the magnet ball is not easy to find and is not very controllable. It still uses a piece of magnet.
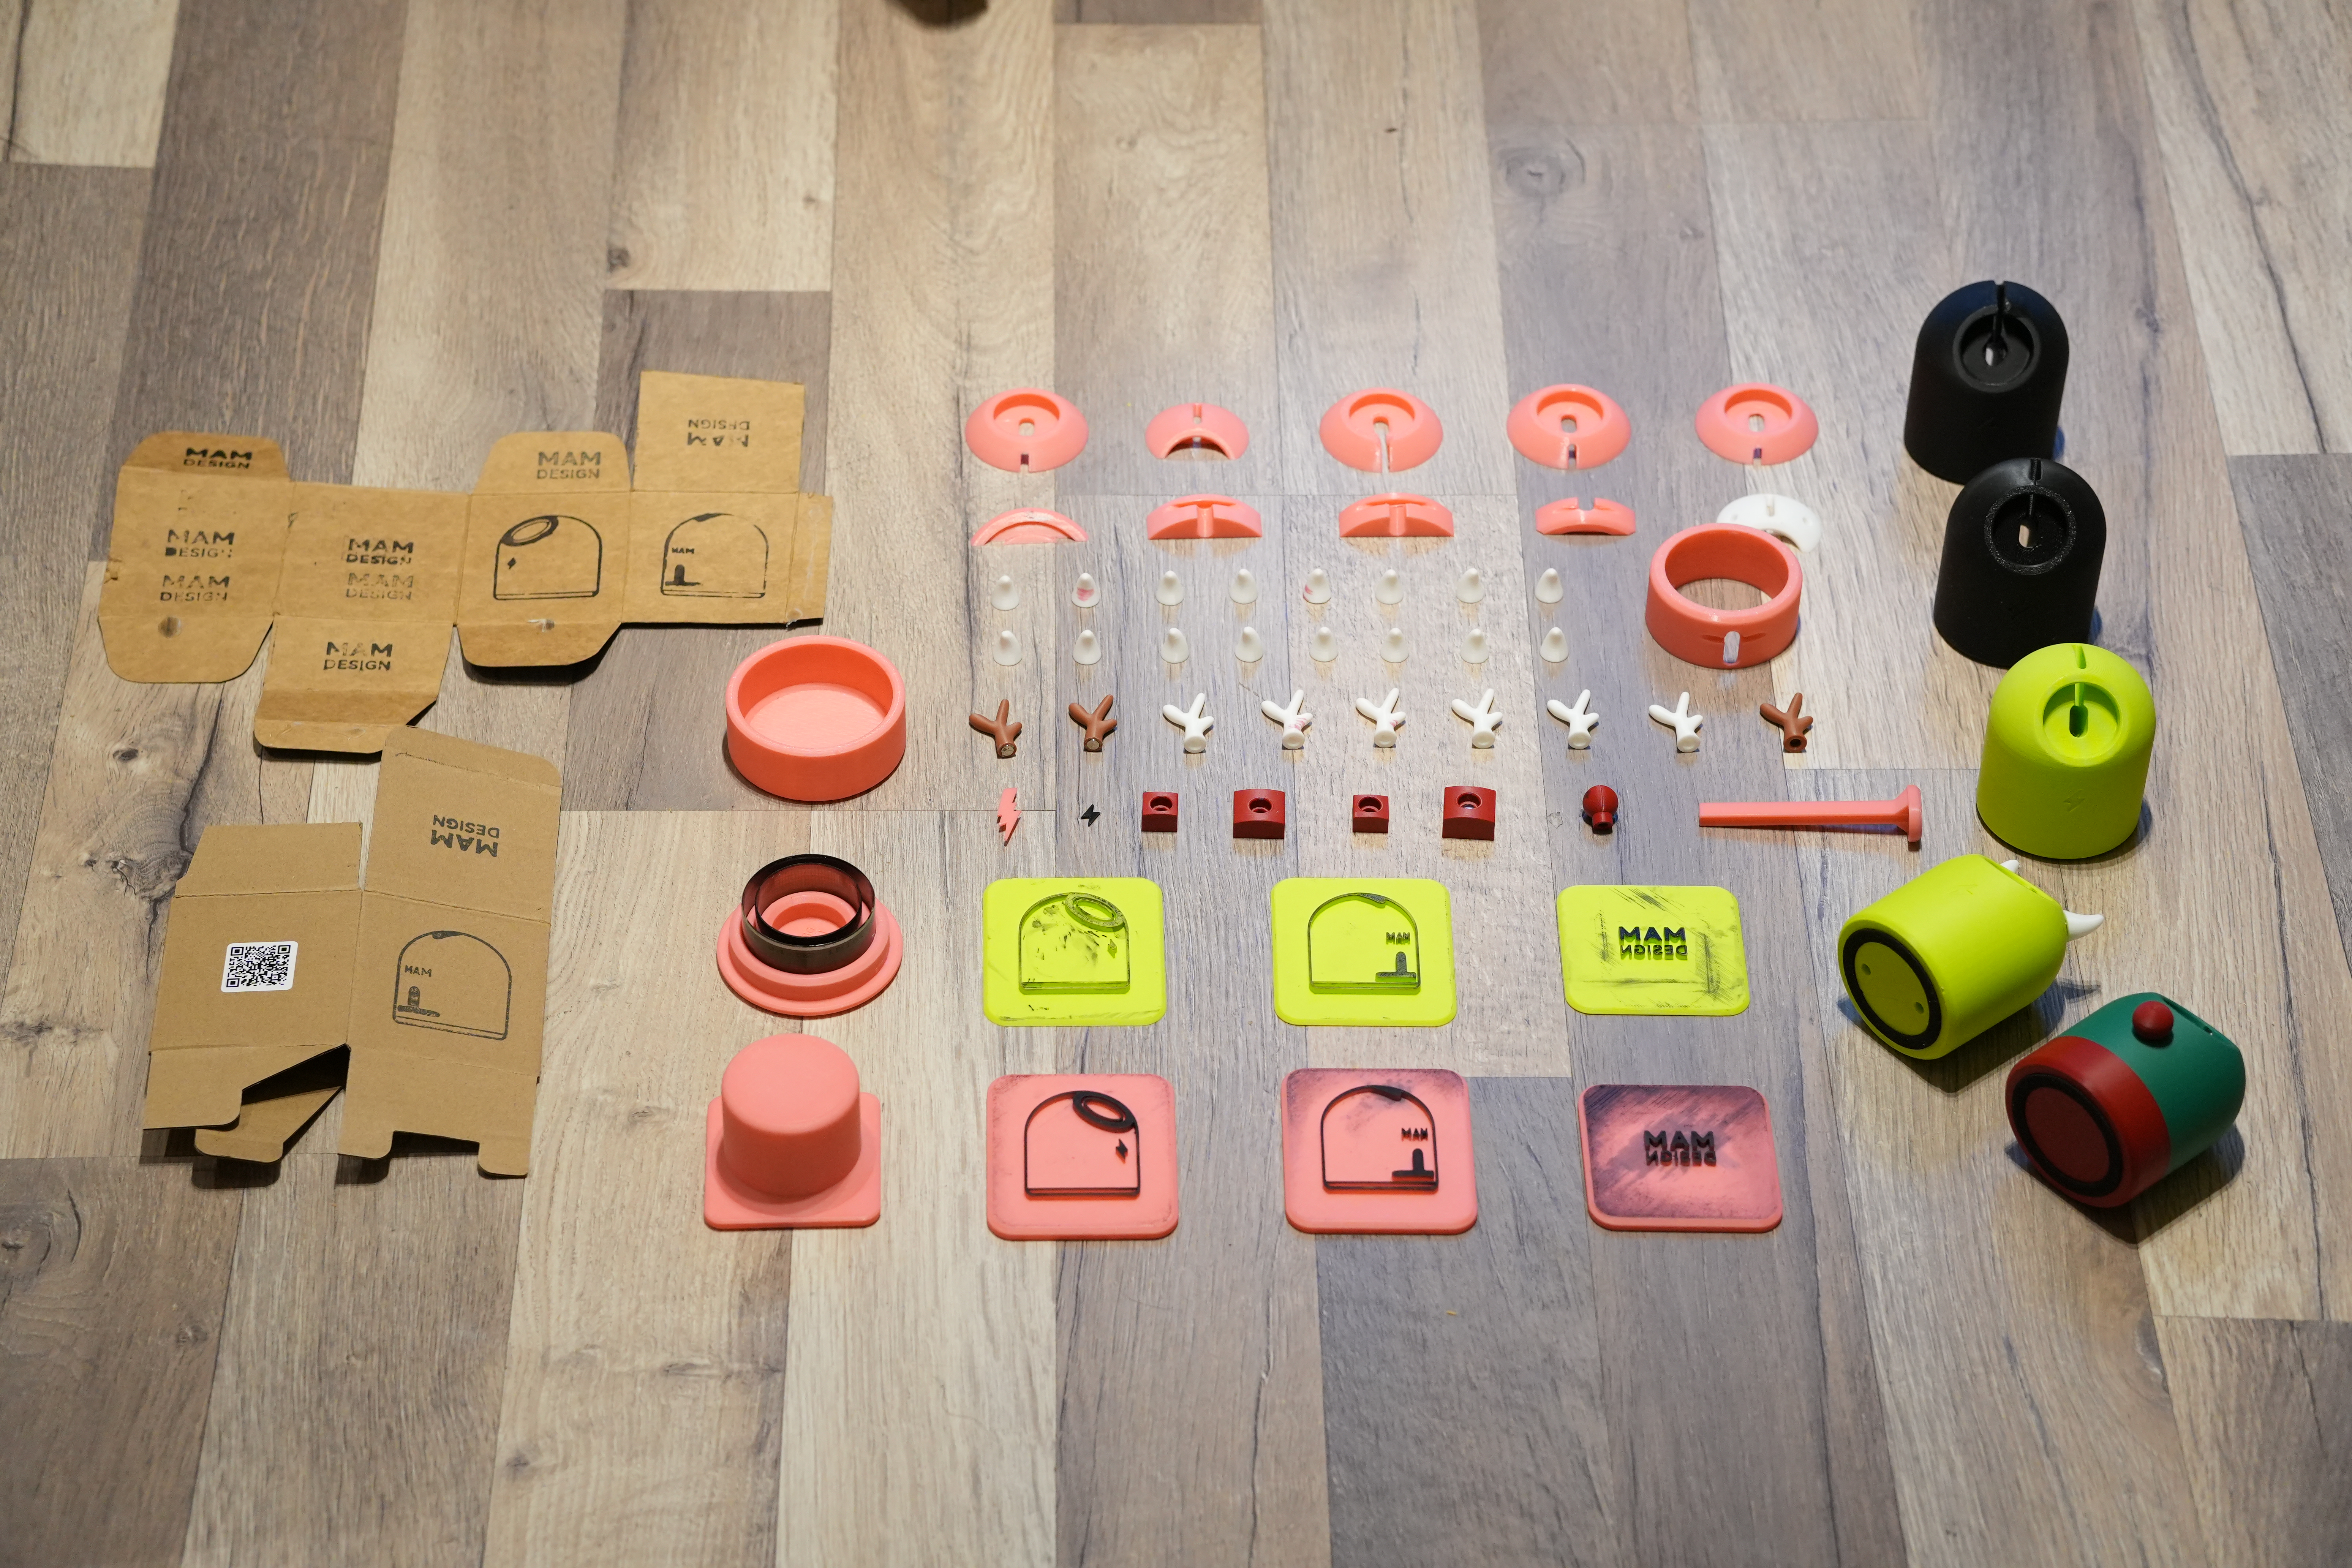
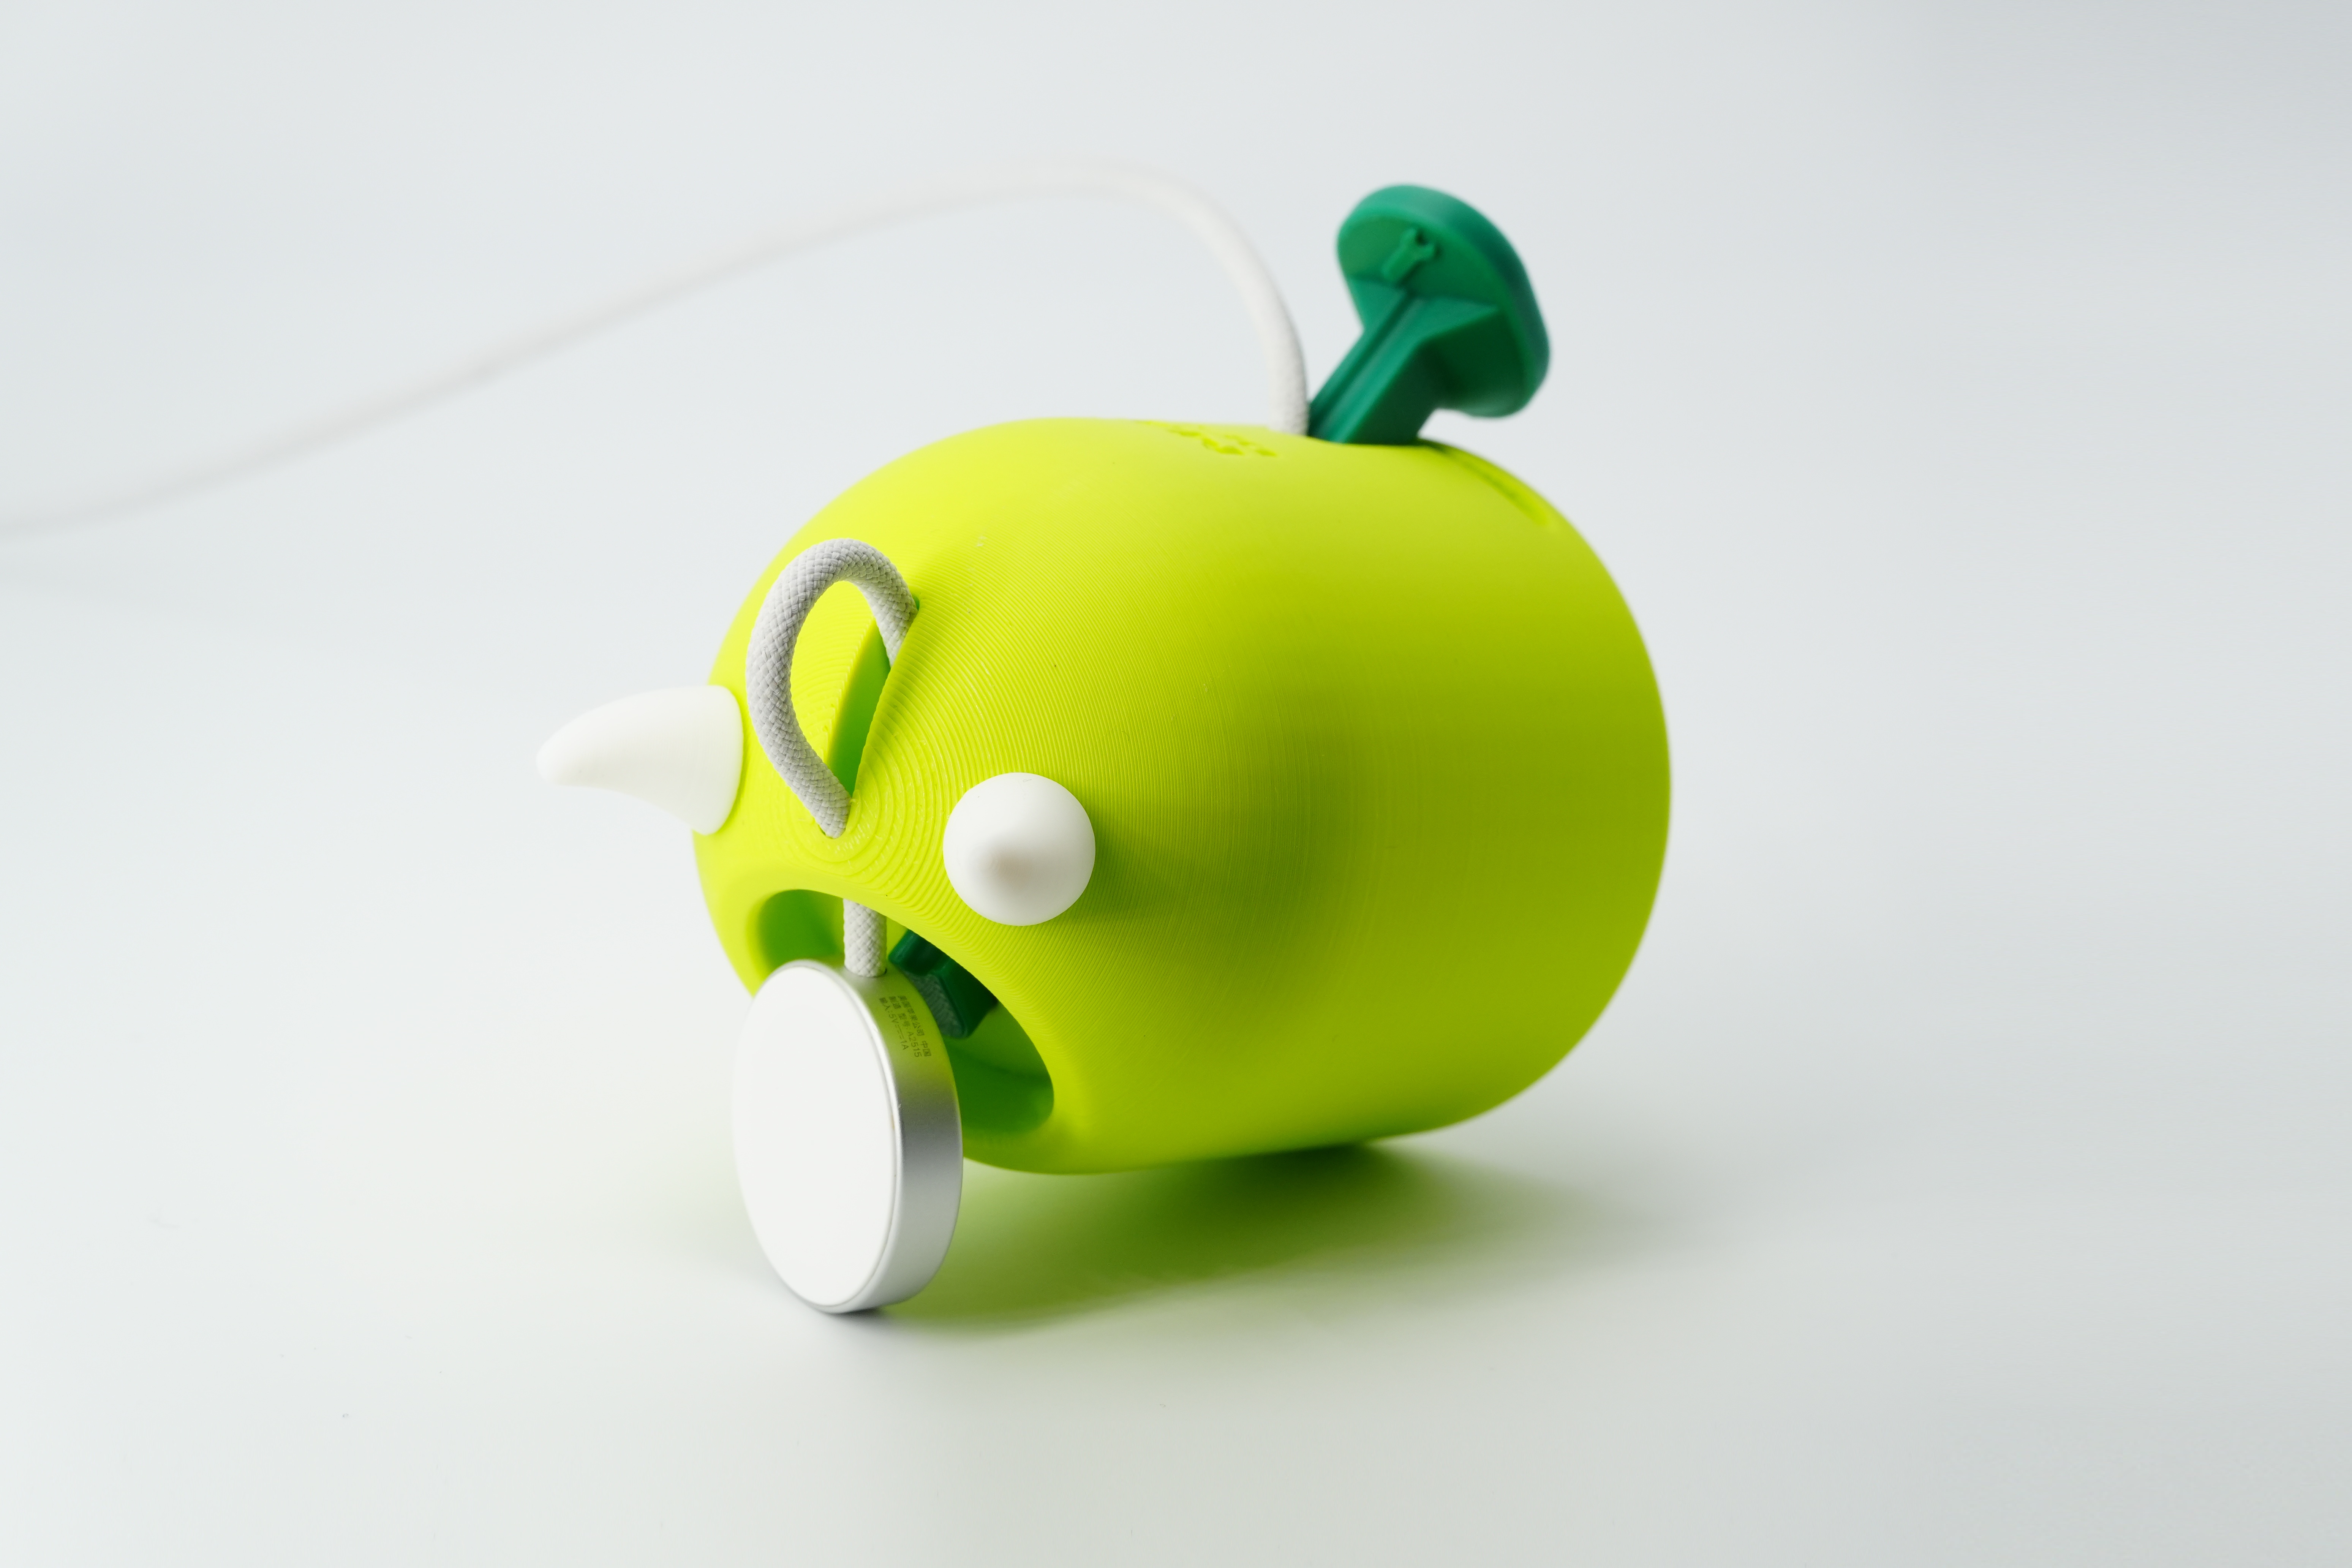
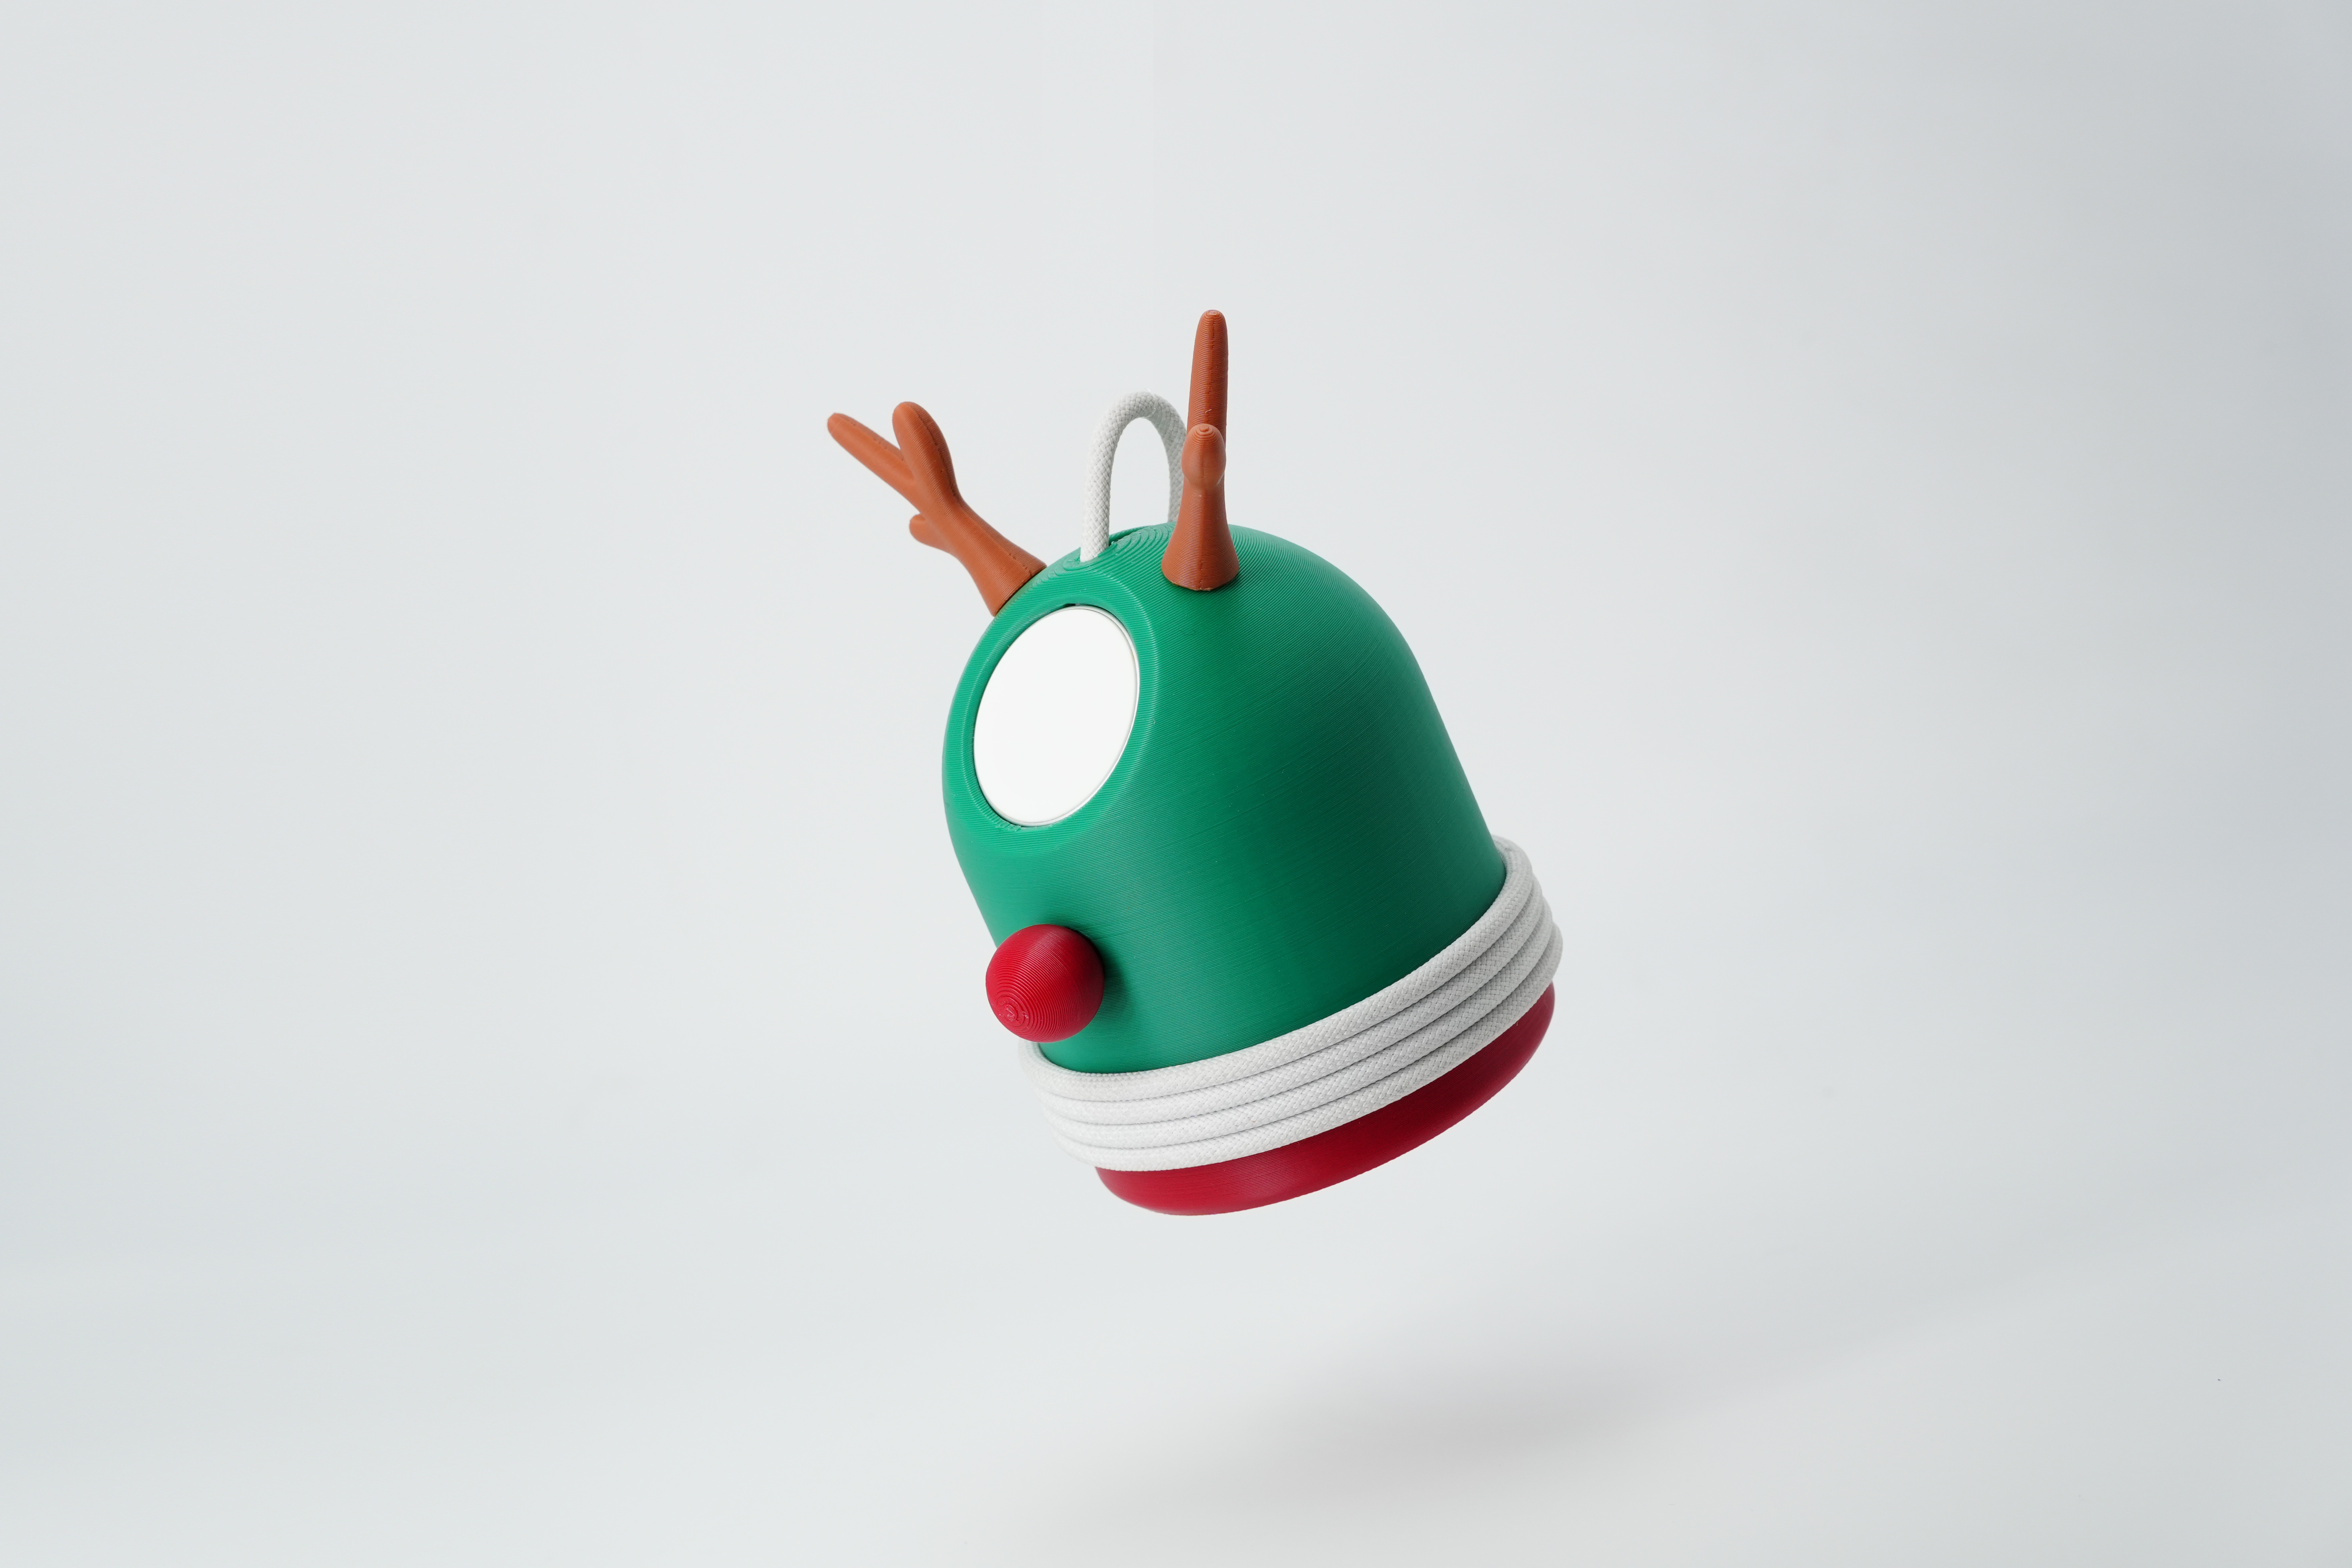
The family photo of the product was followed by the addition of foot pads, and boxes of similar size were purchased for packaging. Start formal photo below


I'll take the sunglasses first, you feel free.


Stop singing, stop singing!
本作品版权归 马啊马 所有,禁止匿名转载及个人使用,任何商业用途均需联系原作者。

新用户?创建账号
登录 重置密码
请输入电子邮件以重置密码。


a little want to buy
I haven't seen anything interesting in a long time.
You this packing box, printing is too smart, learned
Great
It's a little cute
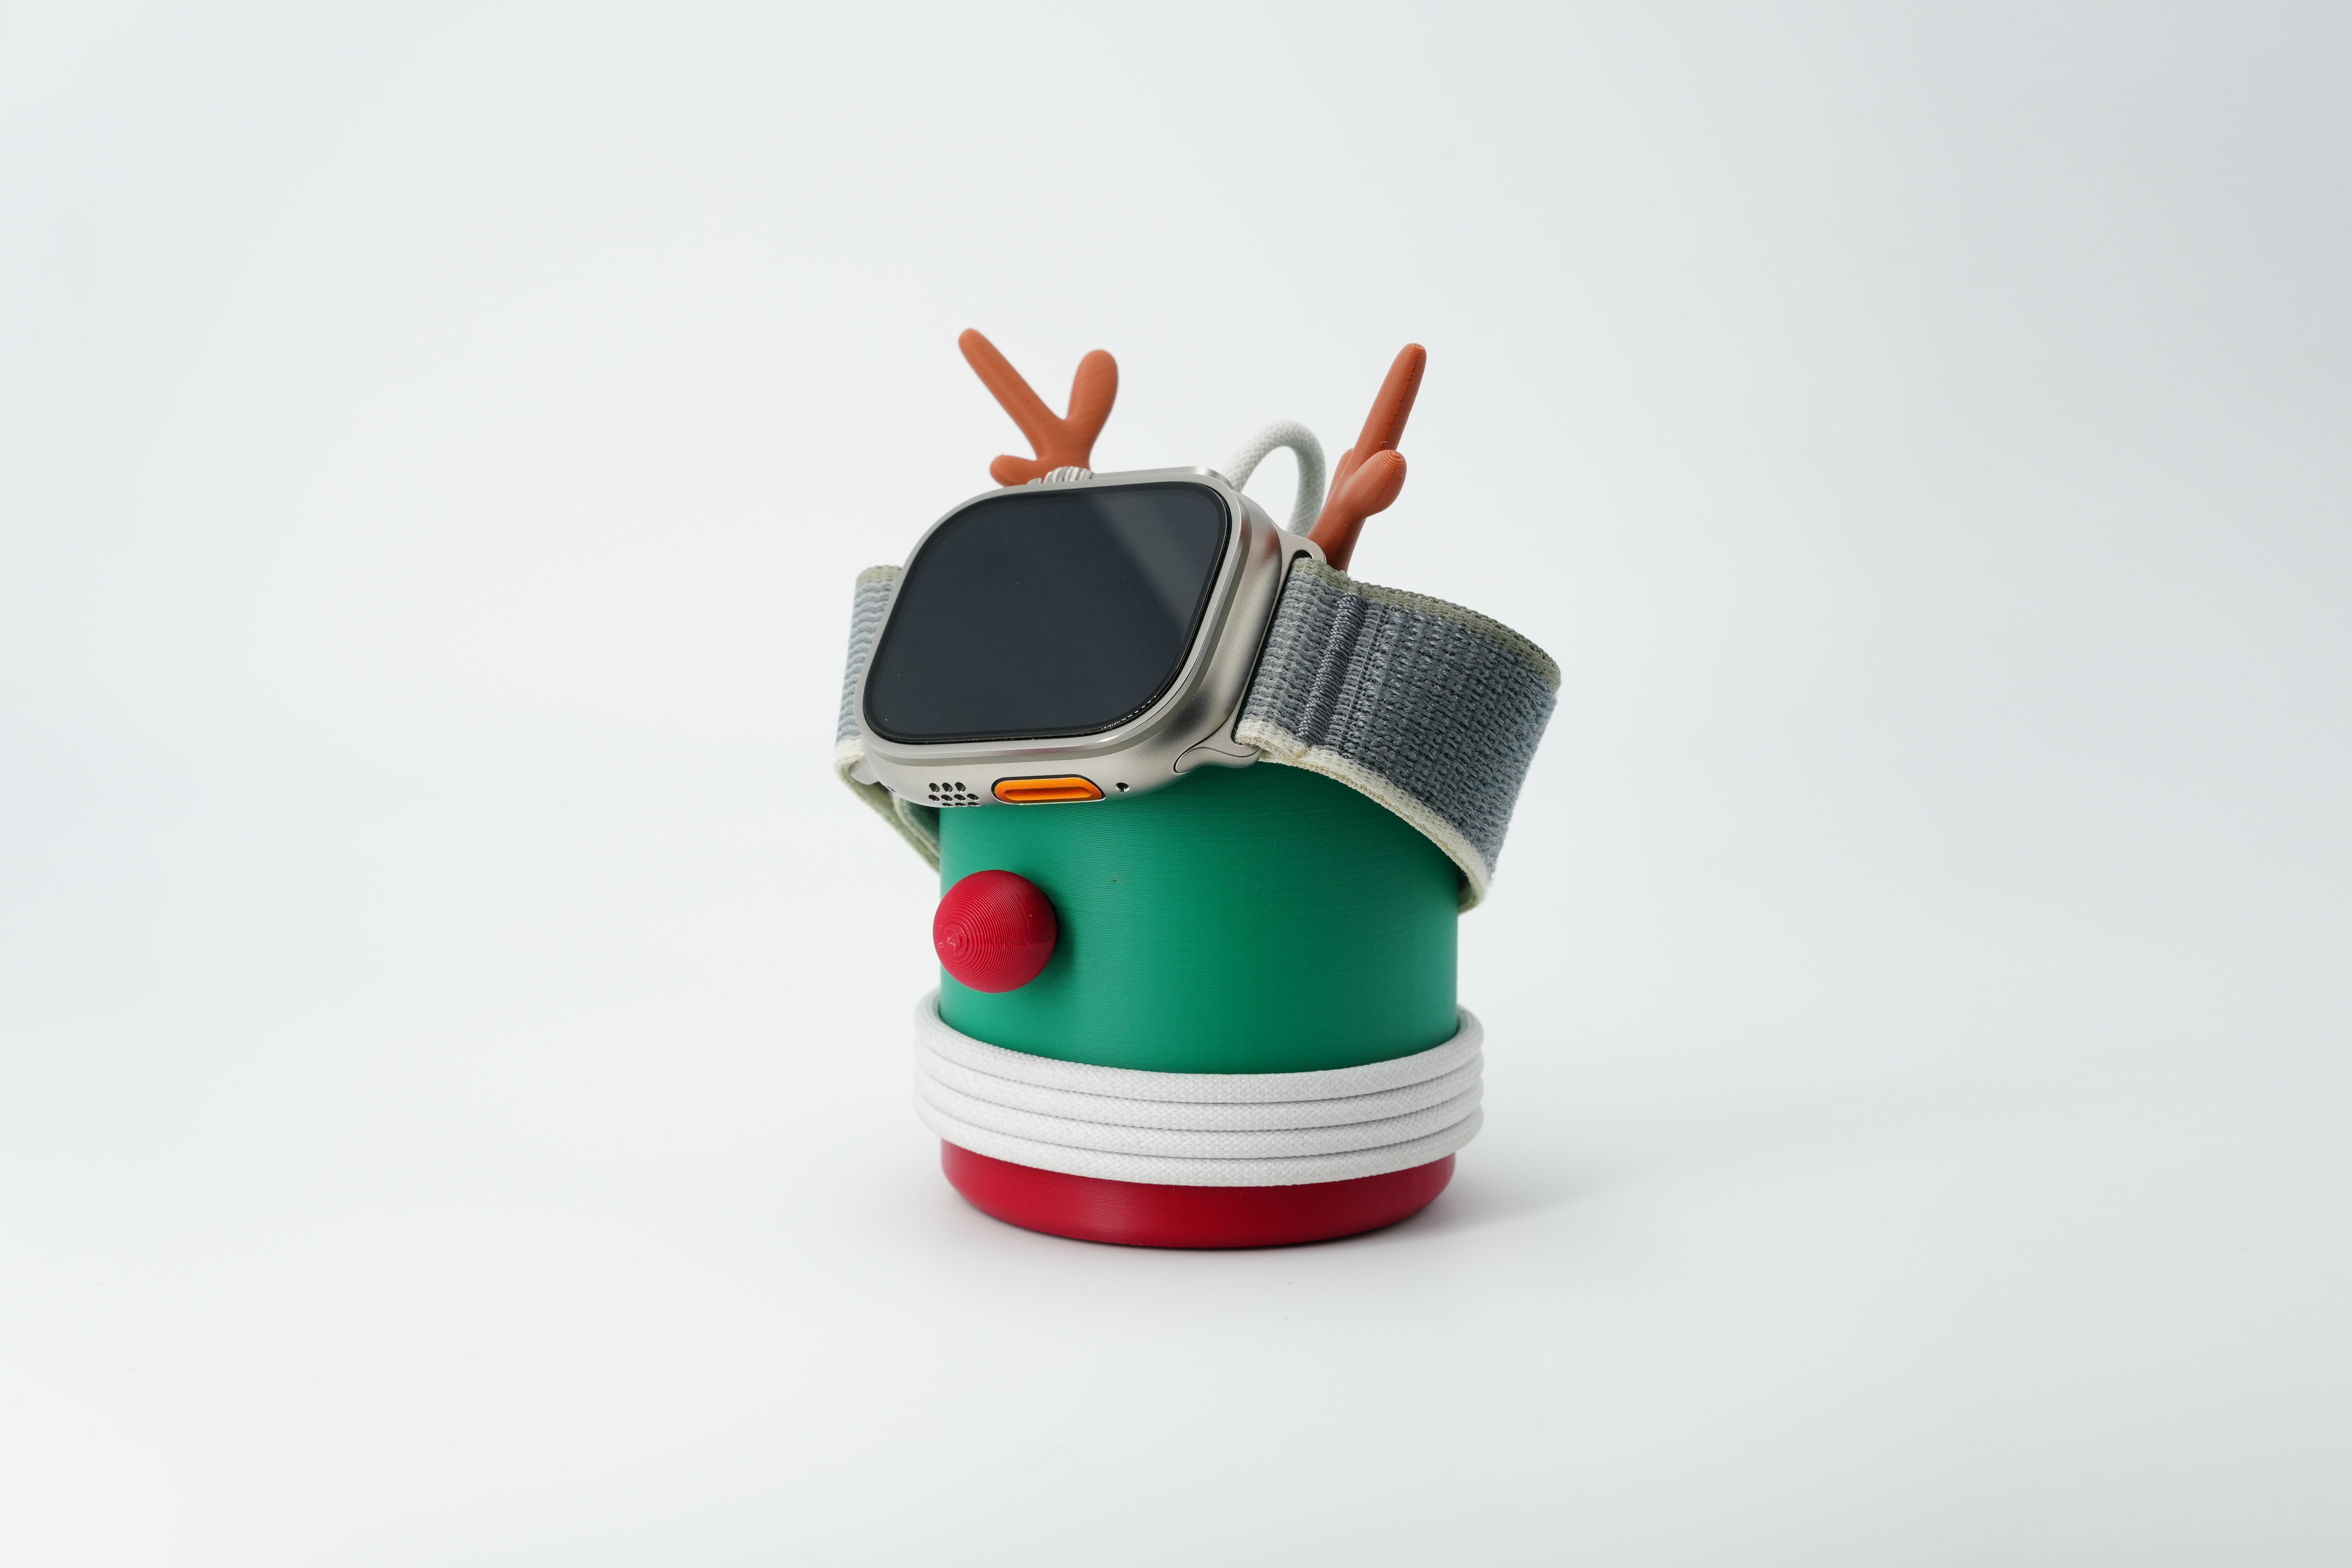
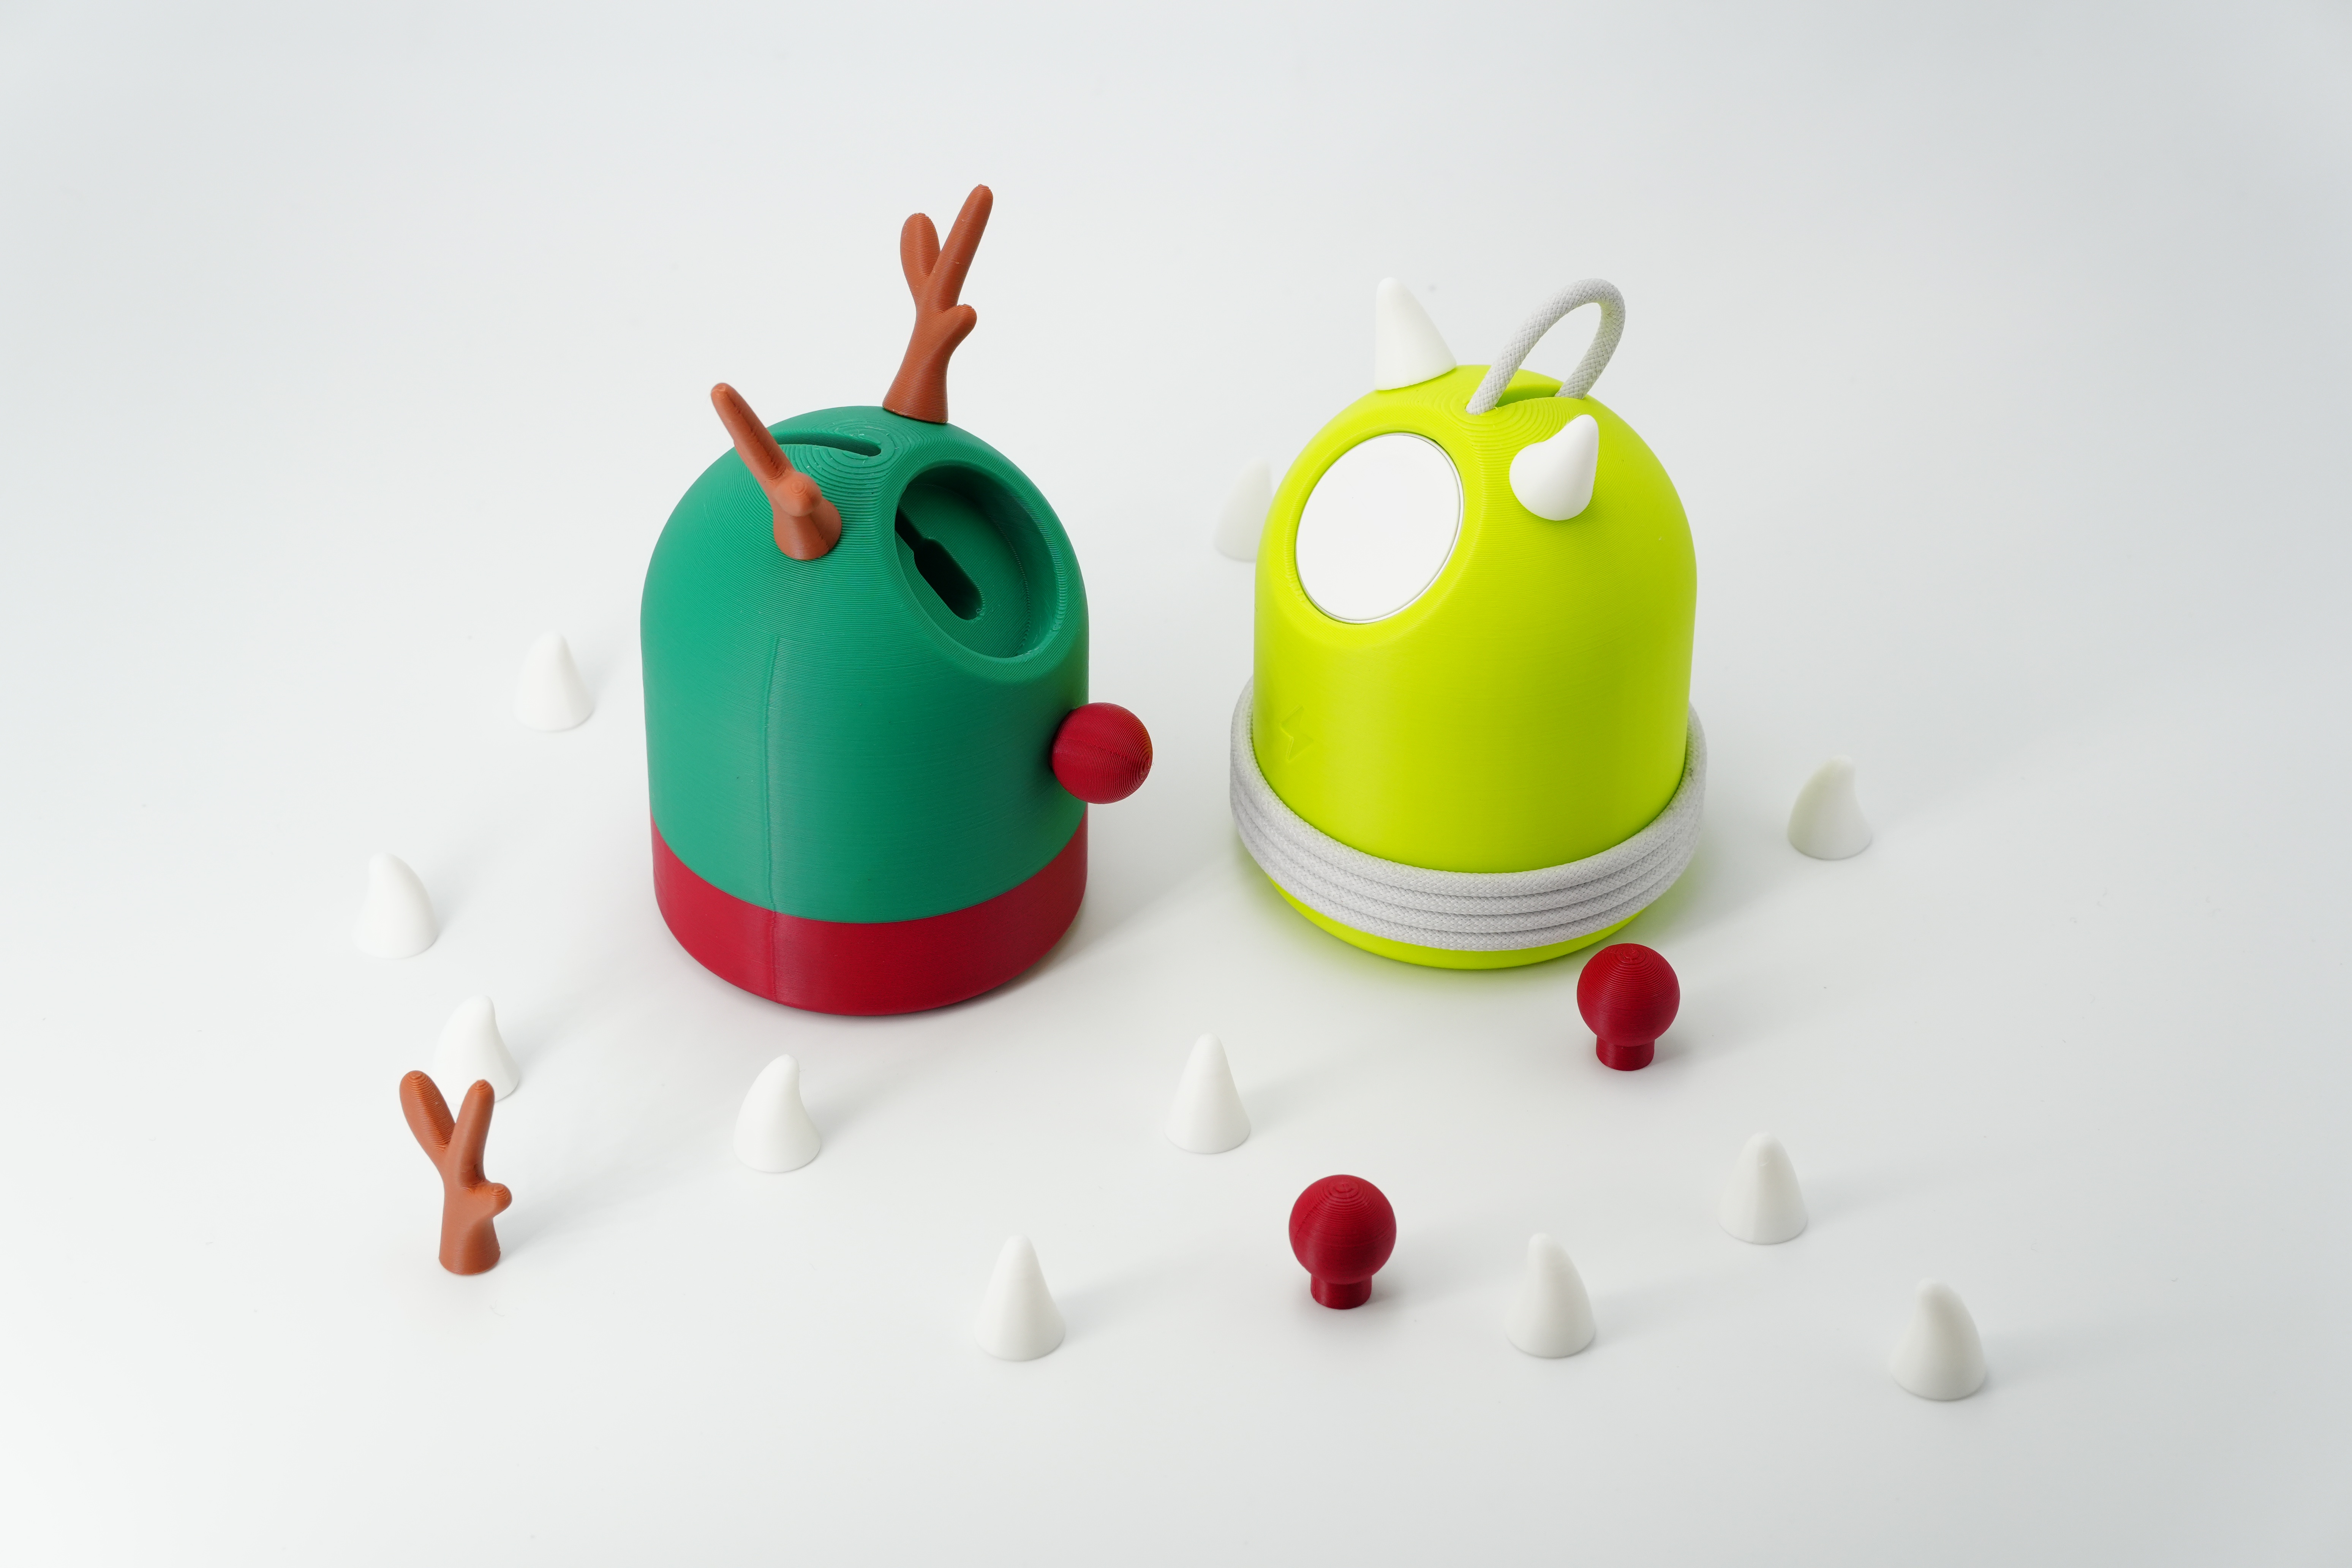
Christmas theme.
Another watch eye theme, eyes blink will definitely look better ~