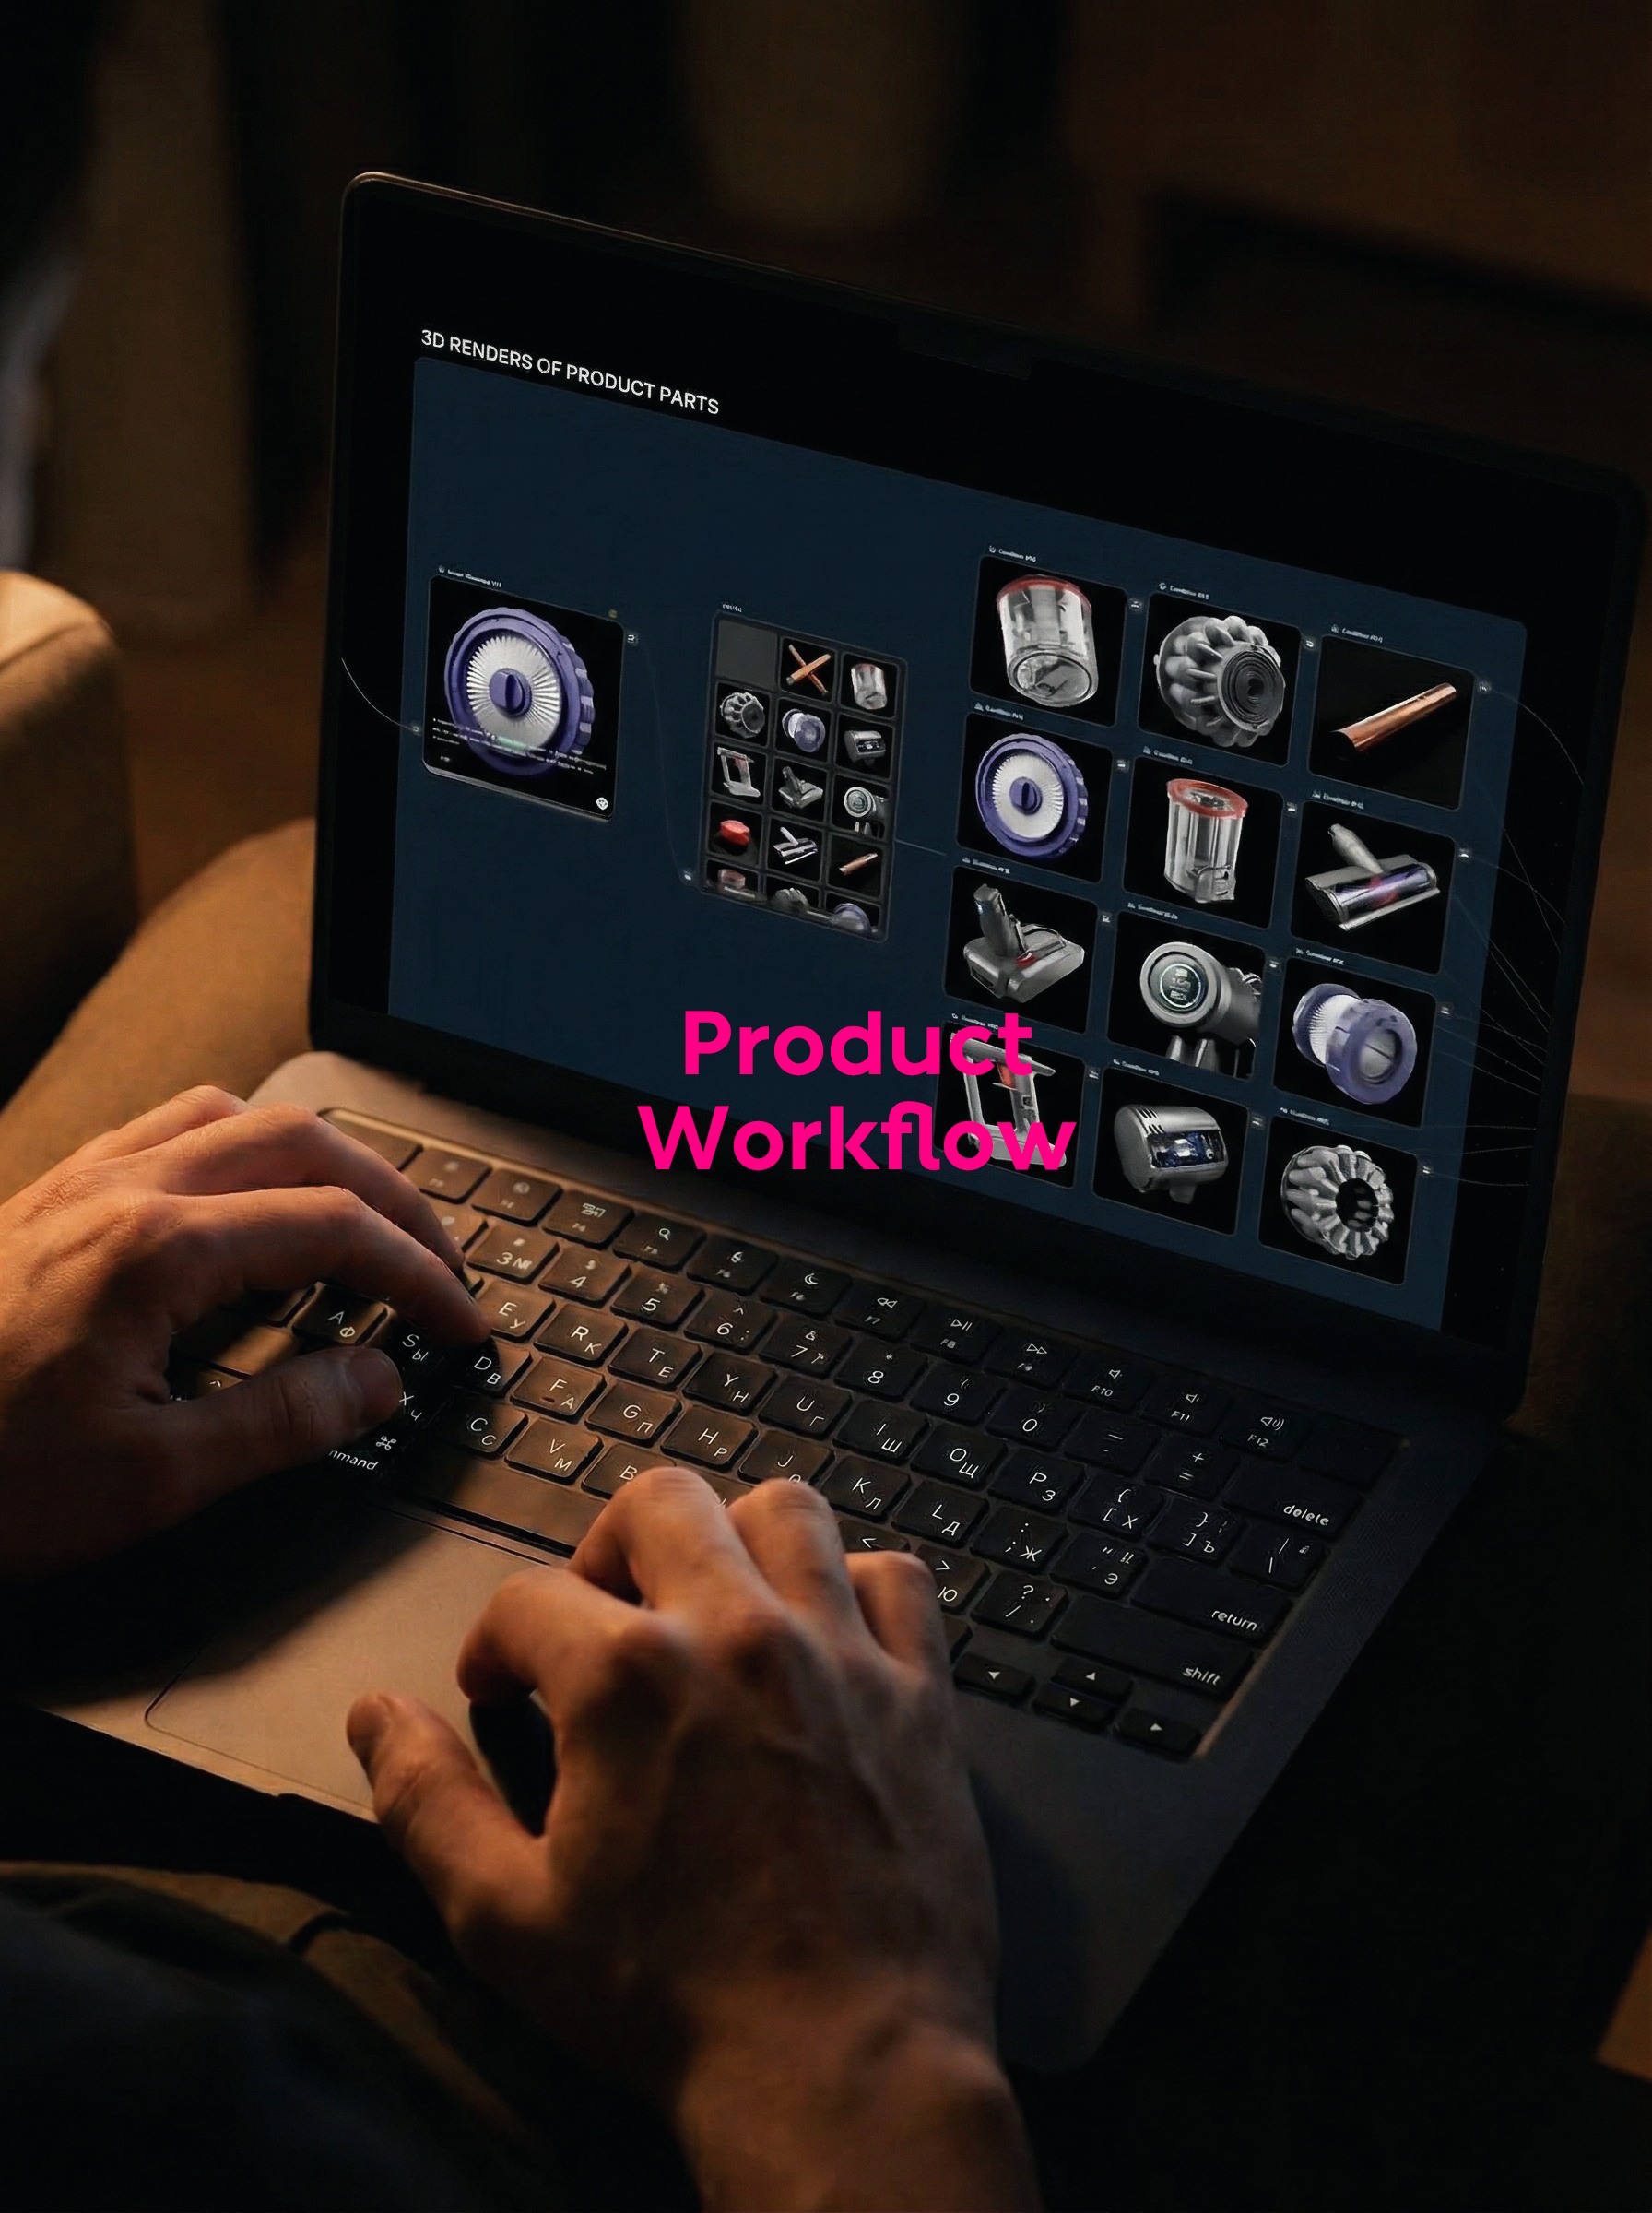
First disassemble the parts and then put them back into use: I used a set of nodes to make a short film of vacuum cleaner products.
From product disassembly, approximate 3D assembly, to character and scene synthesis
When making AI product drawings, I often encounter a very practical problem: a single picture looks valid, and when people or spaces are changed, the product proportion, color and part relationship begin to drift. No matter how long the prompt is written, it is difficult to guarantee that the product in each lens is still the same product.
The practice in this video has changed the order. It does not start with "generating an advertisement map", but first disassembles the product into parts and establishes a set of product bases that can be referenced repeatedly. People, spaces and lenses are put behind as replaceable variables. The following is a description of this method according to the nodes that can be confirmed in the video.
01 First turn the product name into a disassembly task
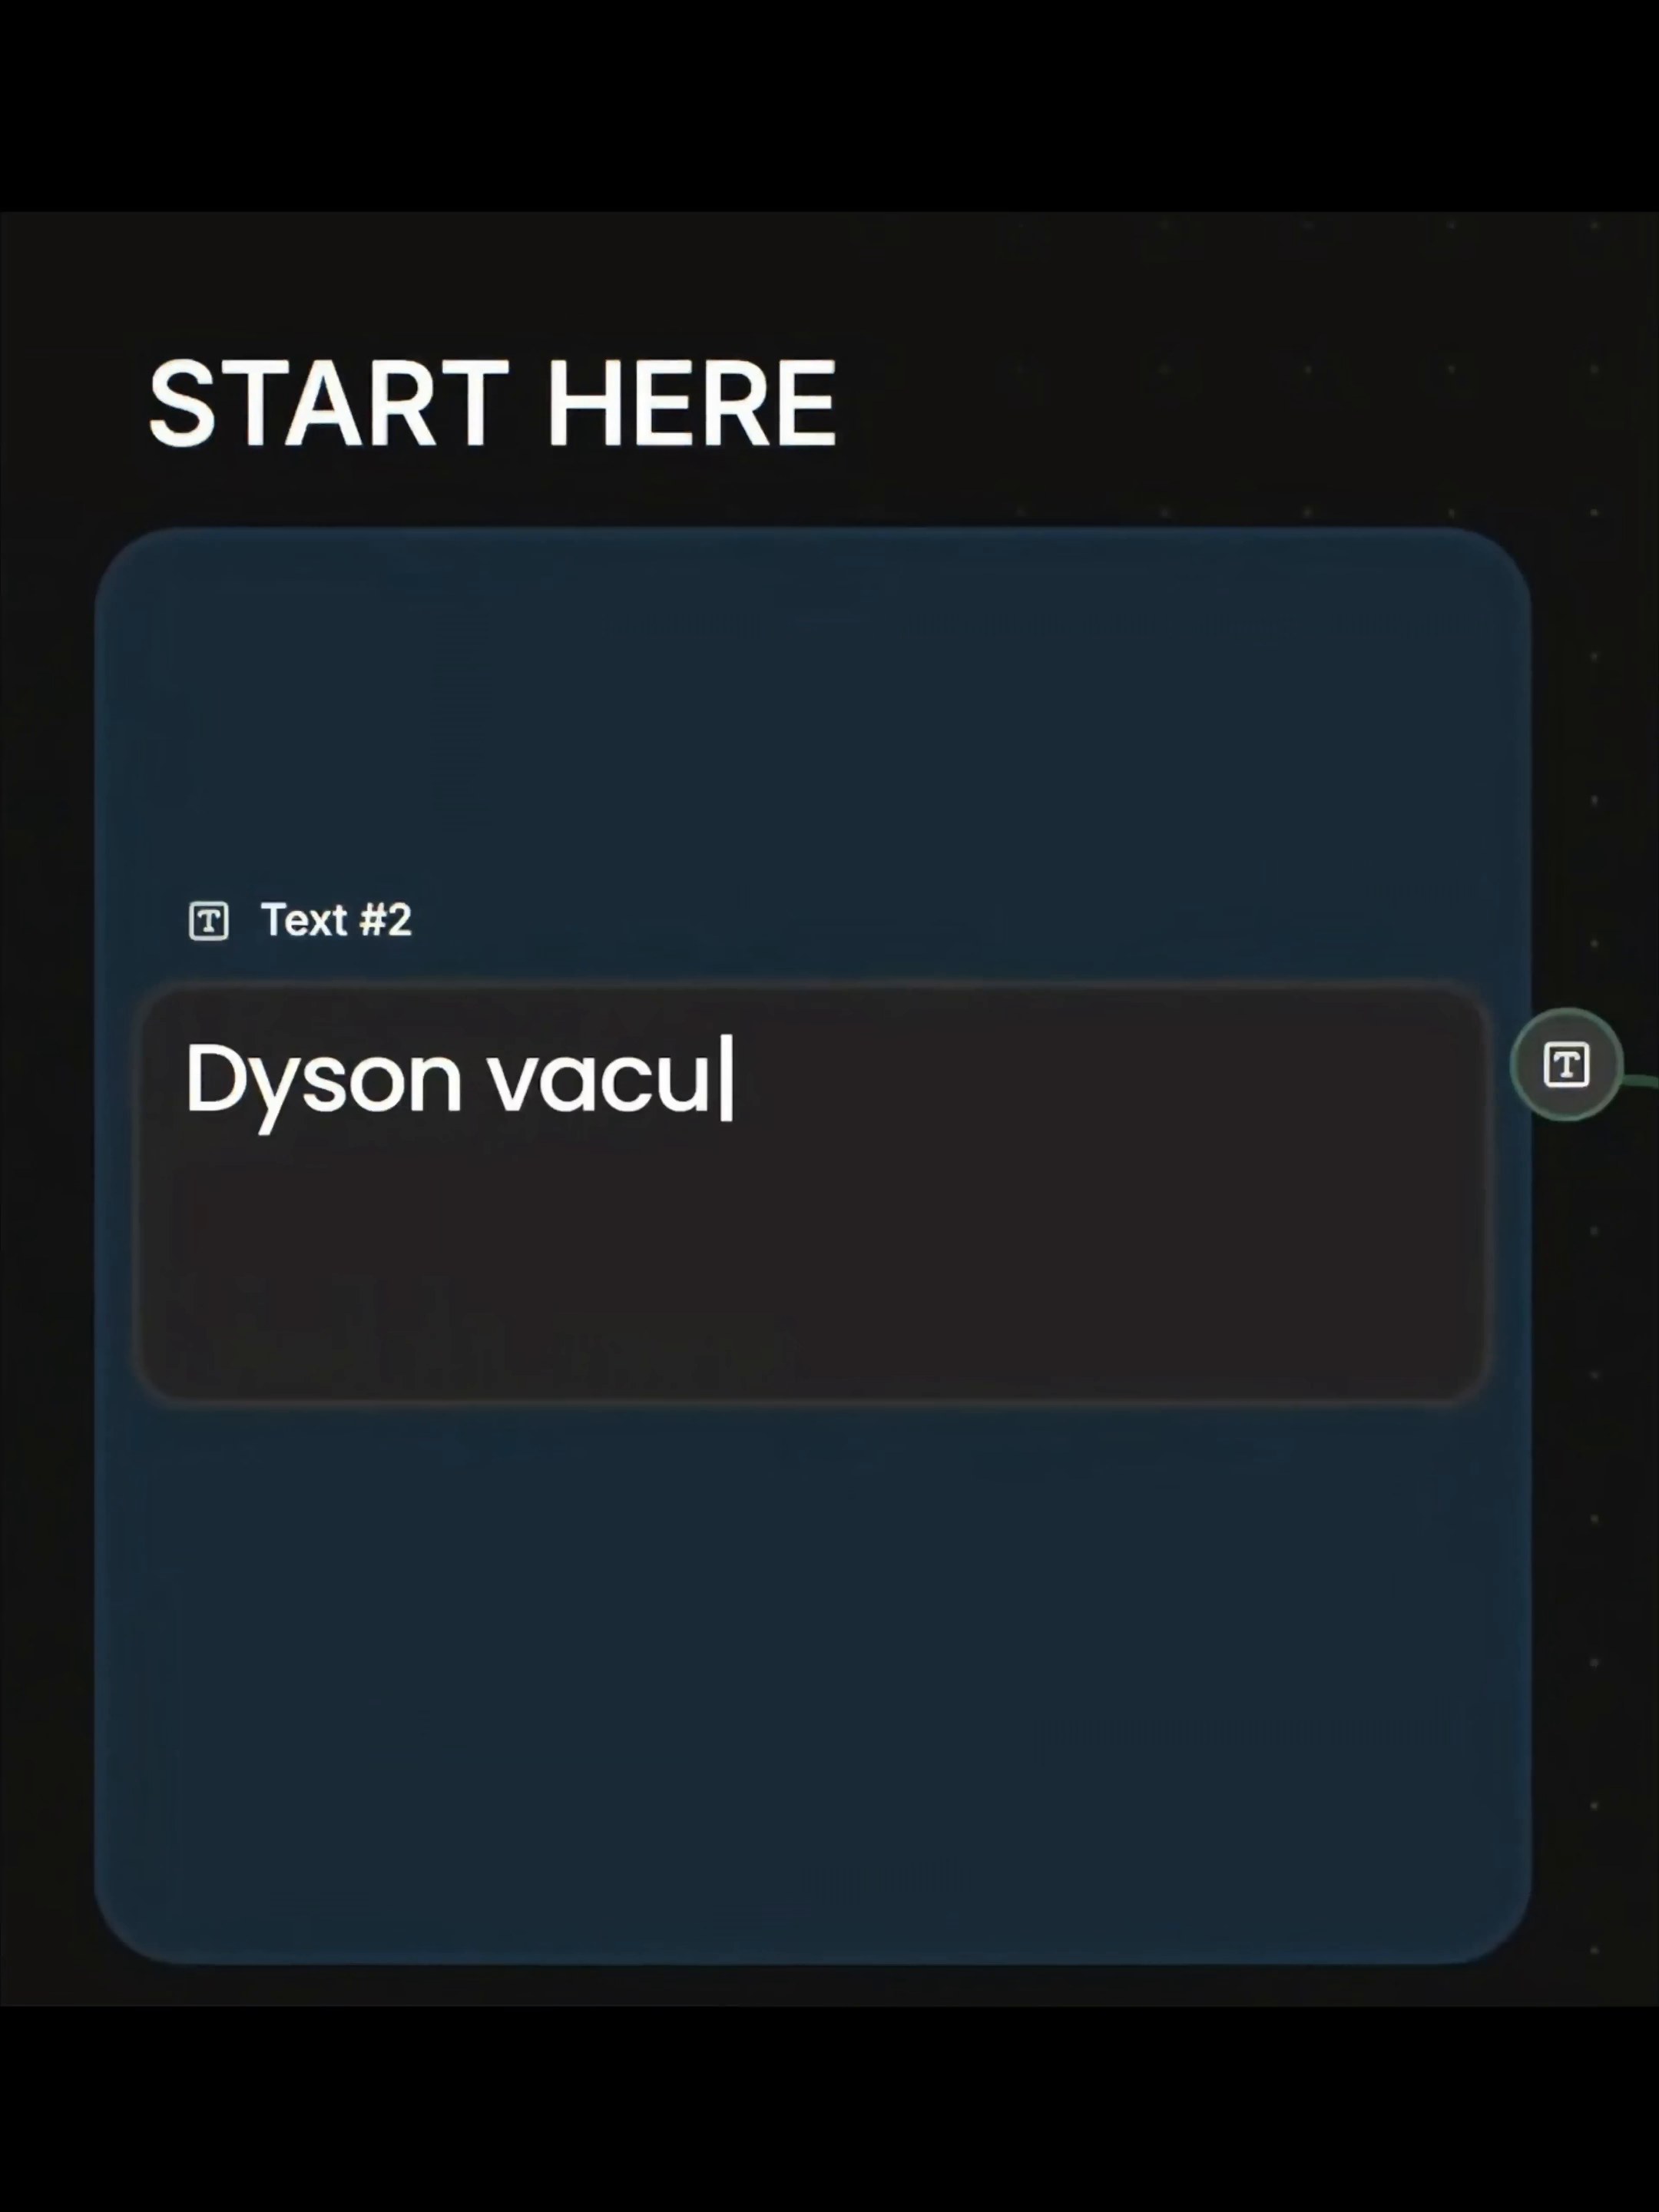
The workflow starts with a Text node and enters the product keyword of the Dyson vacuum cleaner. This input is short, it is only responsible for determining the object, and does not rush to describe the person, the kitchen, the light or the atmosphere of the lens. First, narrow the scope of the task so that the following nodes will not process too many variables at the same time.
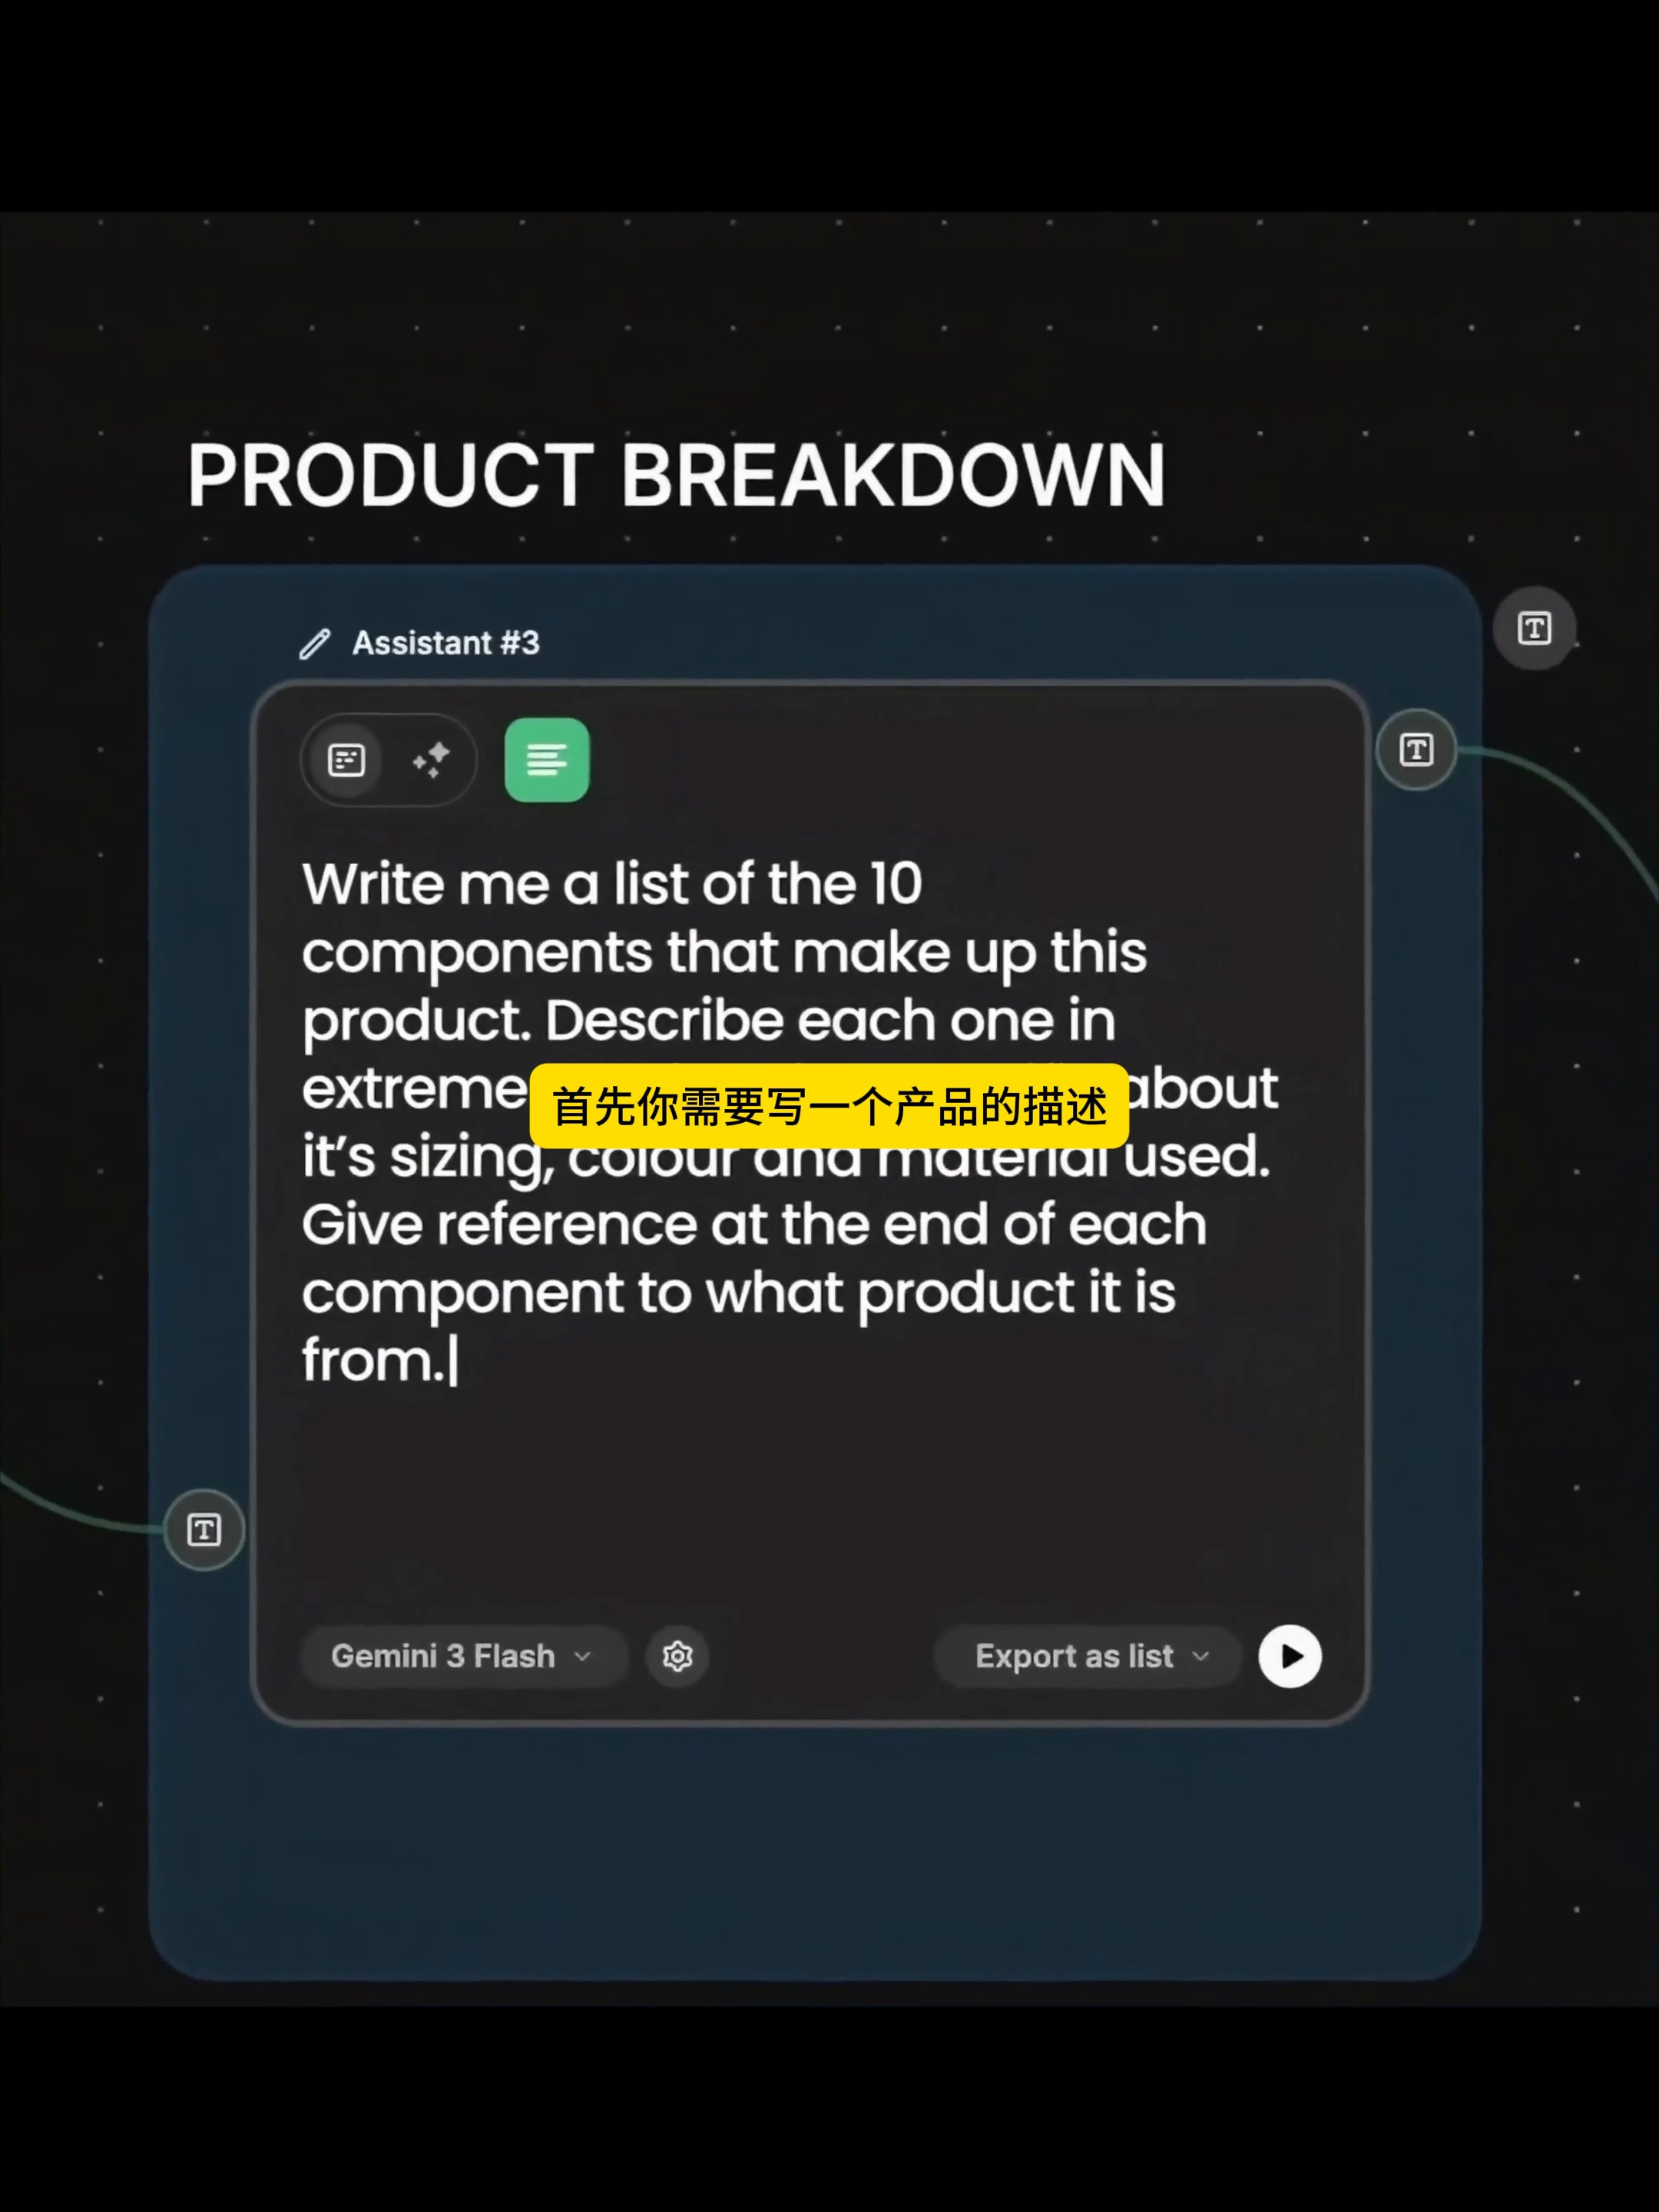
Next, Assistant node uses Gemini 3 Flash to organize the product into 10 components. The requirements in the picture are very specific: each component should describe the size, color and material, and indicate which product it comes from. The value of this node is not to confirm the engineering data for the designer, but to turn the fuzzy object "vacuum cleaner" into a list that can be checked item by item.
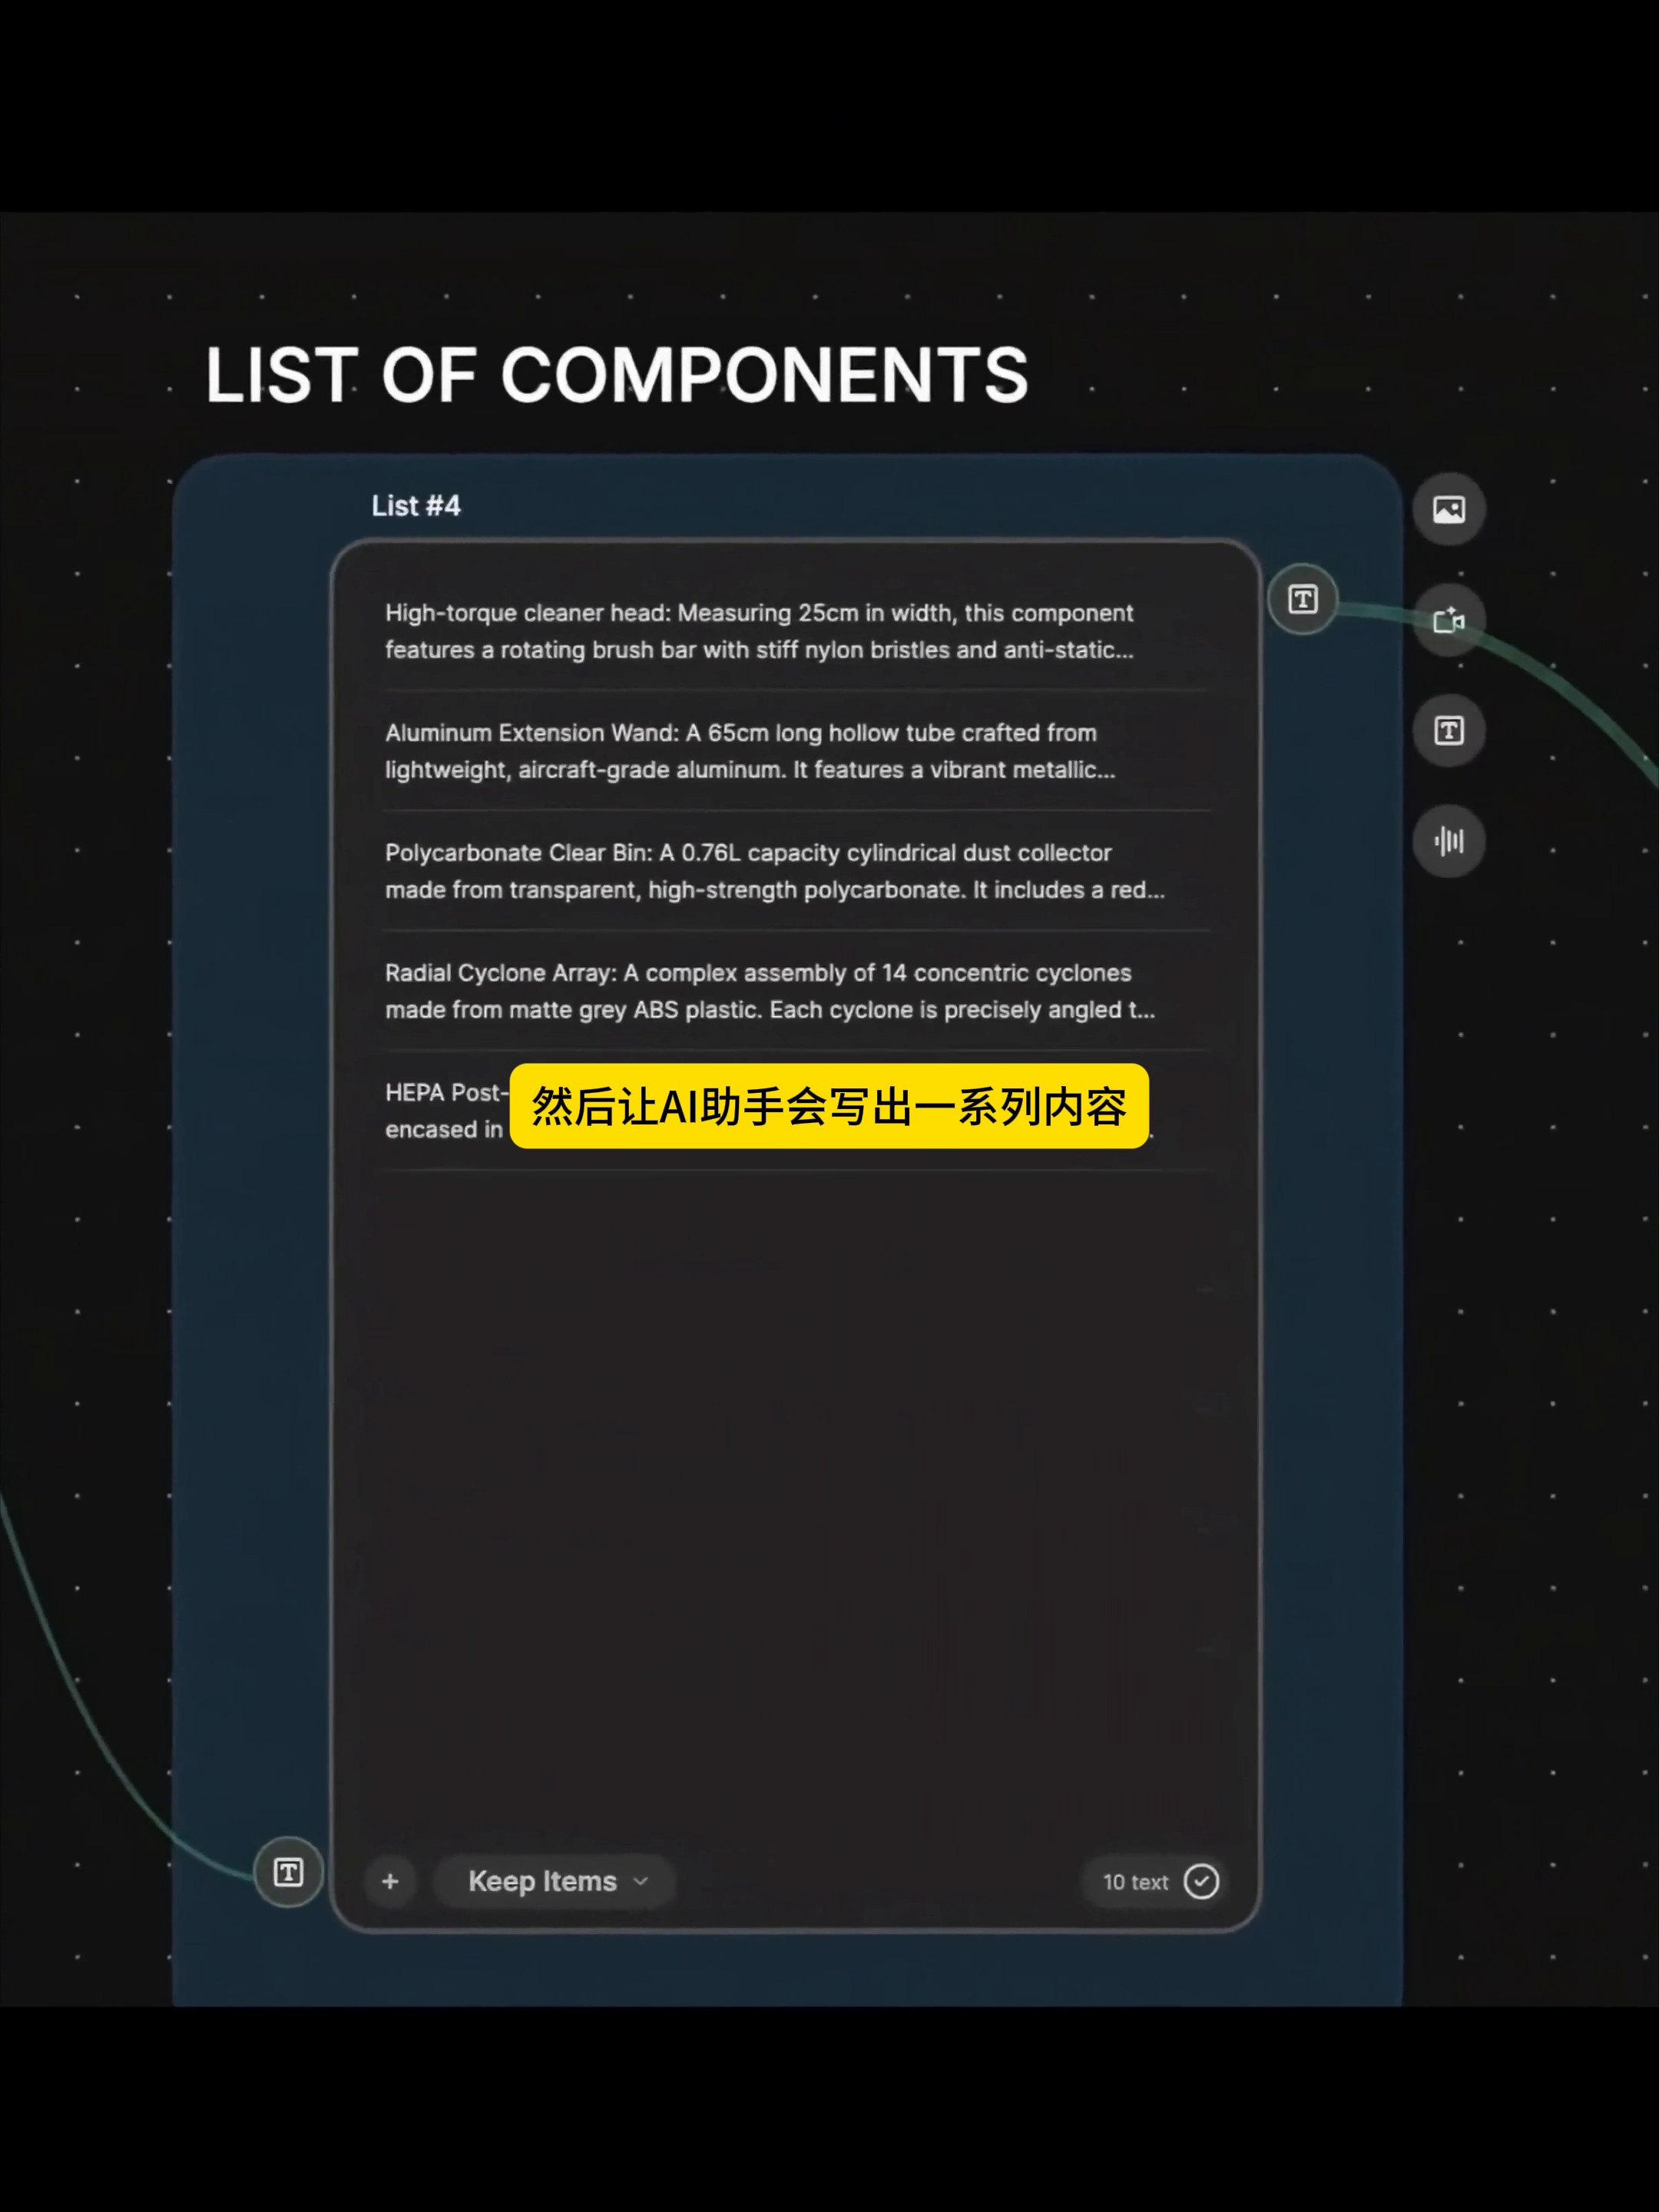
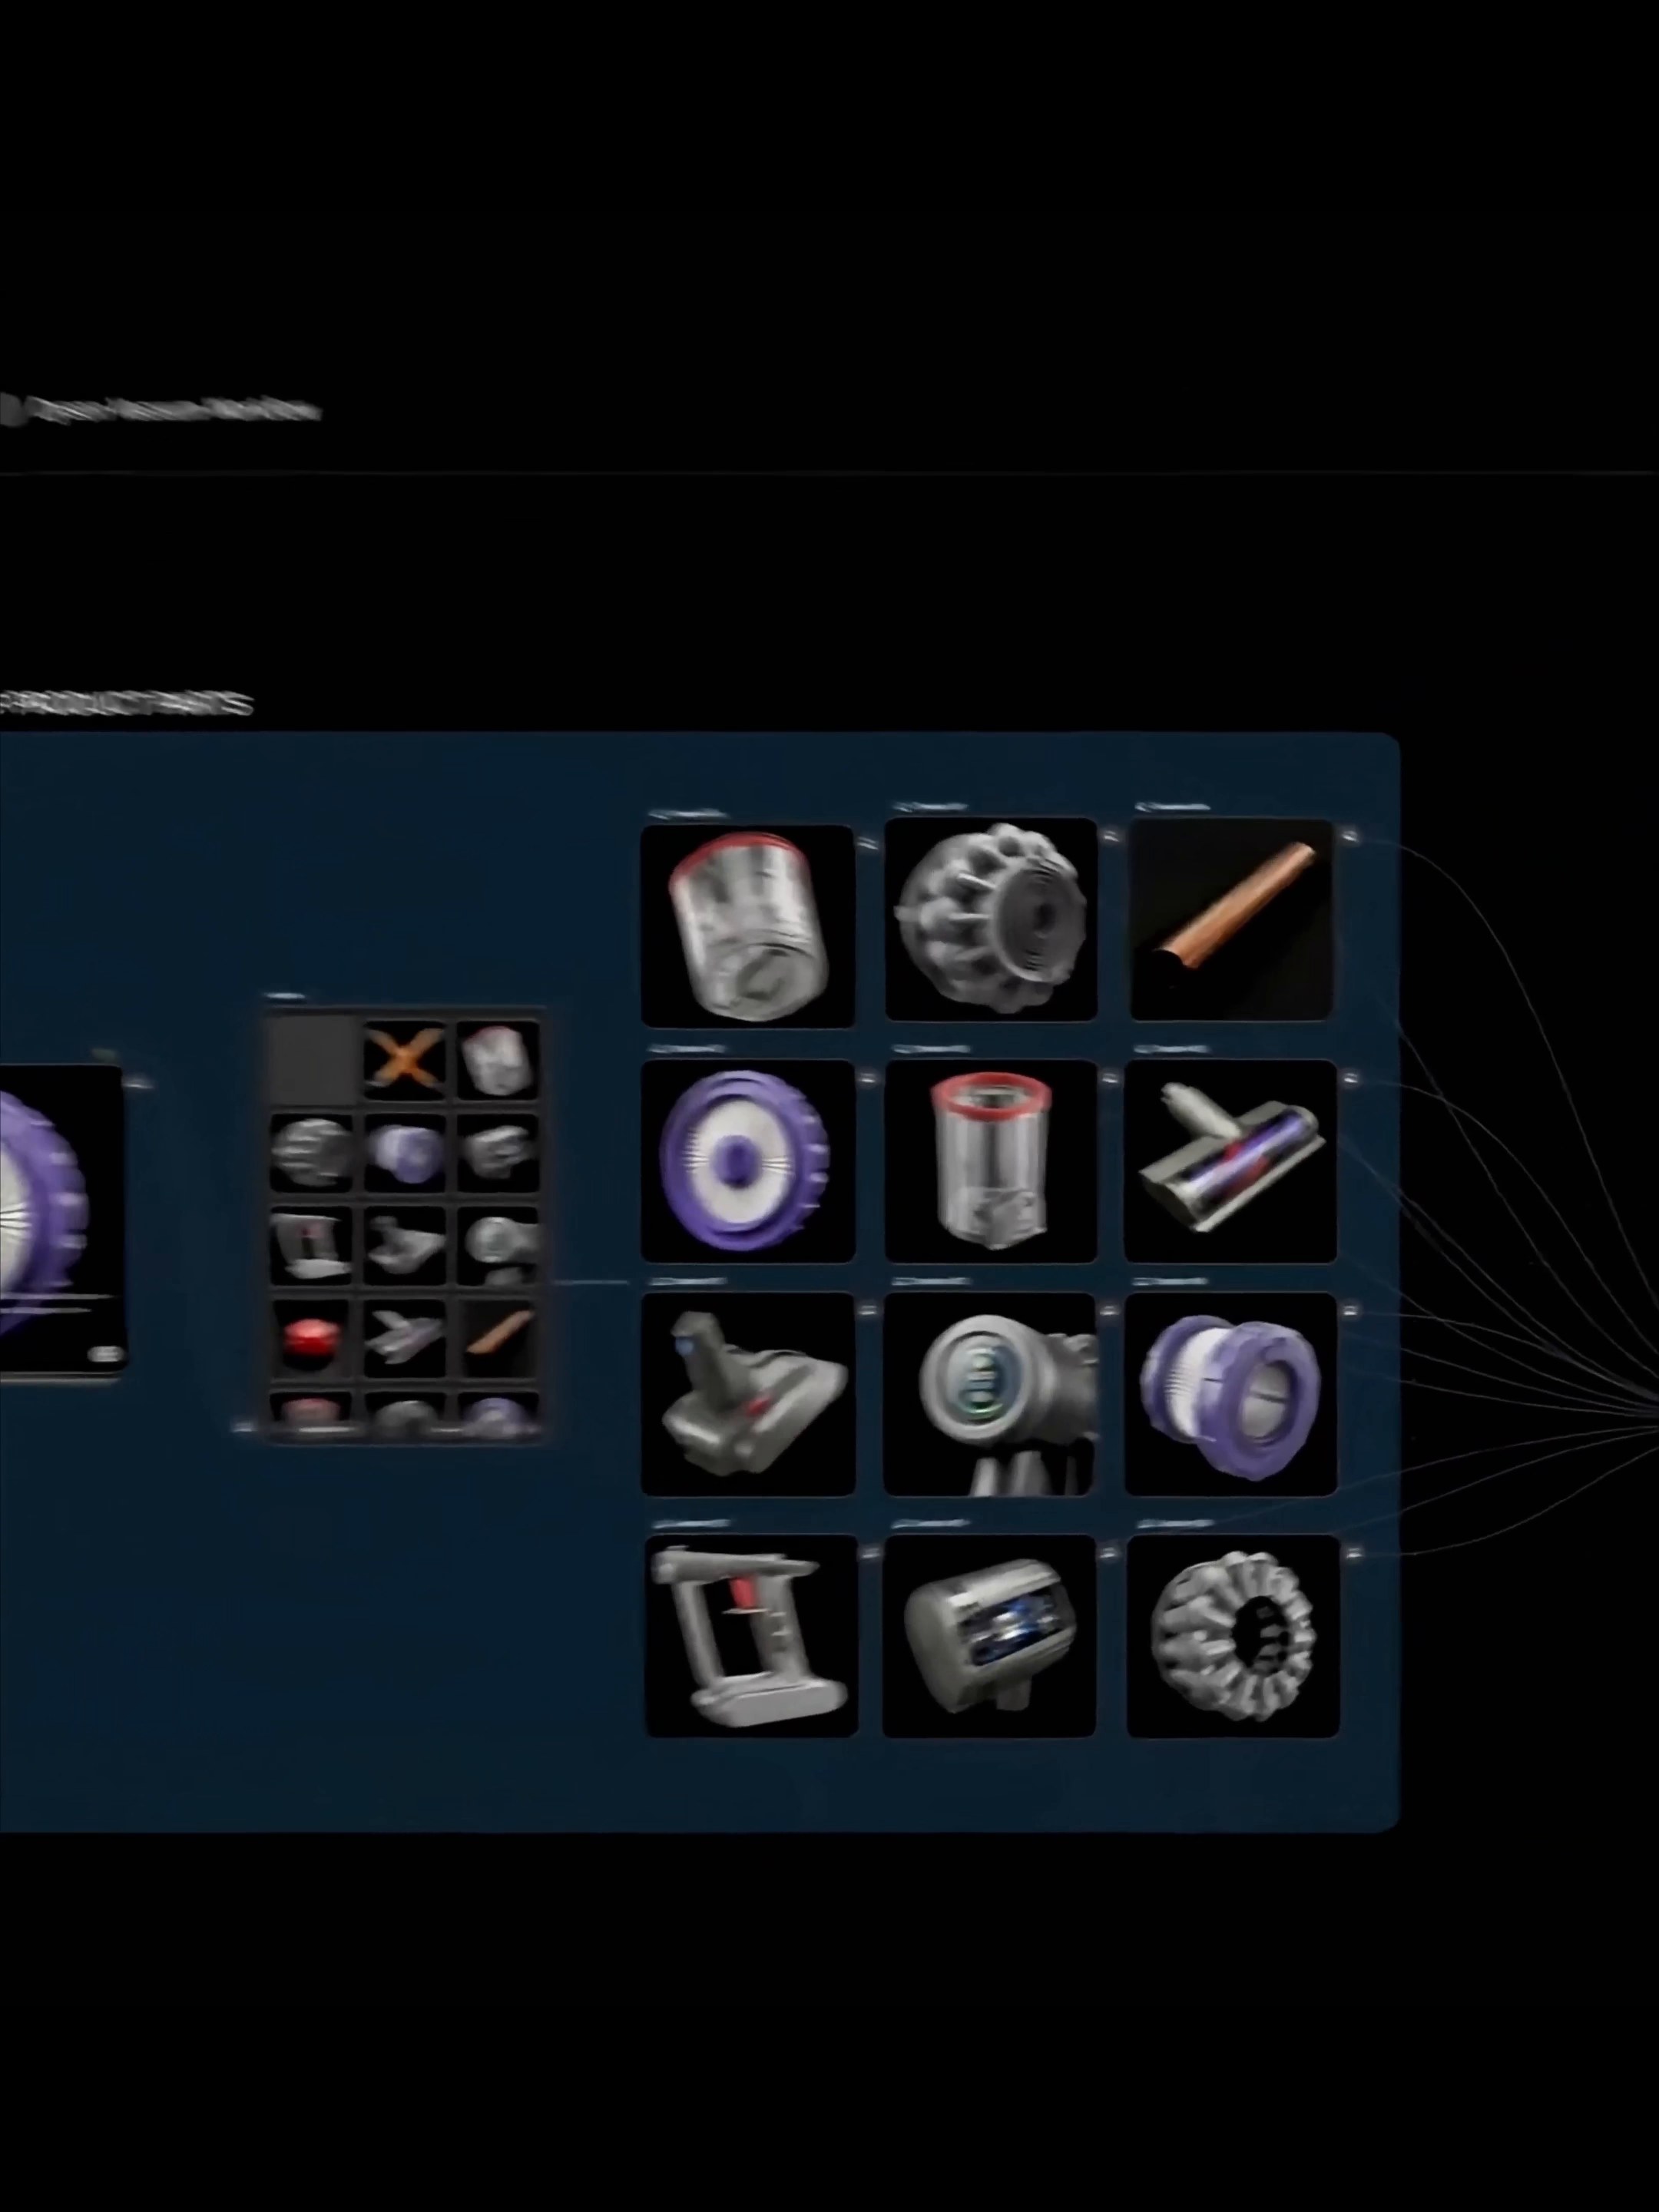
The List node then outputs a list of components. In the video, you can see items such as cleaning head, extension rod, transparent dust collector, cyclone assembly and filter components. Here, I will regard it as a "generation plan" rather than an authoritative material table: the name can help the subsequent sub-drawing, but the scale, interface, color and real material still need to be checked against the product drawing or CAD data.
02 Turn a text list into a parts gallery
With the list, the workflow generates the different parts separately and puts them into the same set of screens. There is an advantage to dealing with parts separately: which form deviates can be directly returned to the corresponding node for adjustment without having to redo the whole product each time.
This step requires the most restraint. It's easy for AI to make "like one part" into "another part that looks reasonable". Designers should focus on the interface direction, the scale between components, the thickness of transparent parts, the material difference between metal and plastic, and the position of brand logo. The structural basis is unstable. The more scene diagrams are done later, the greater the rework range.
03 reassemble the product and do the rotation preview
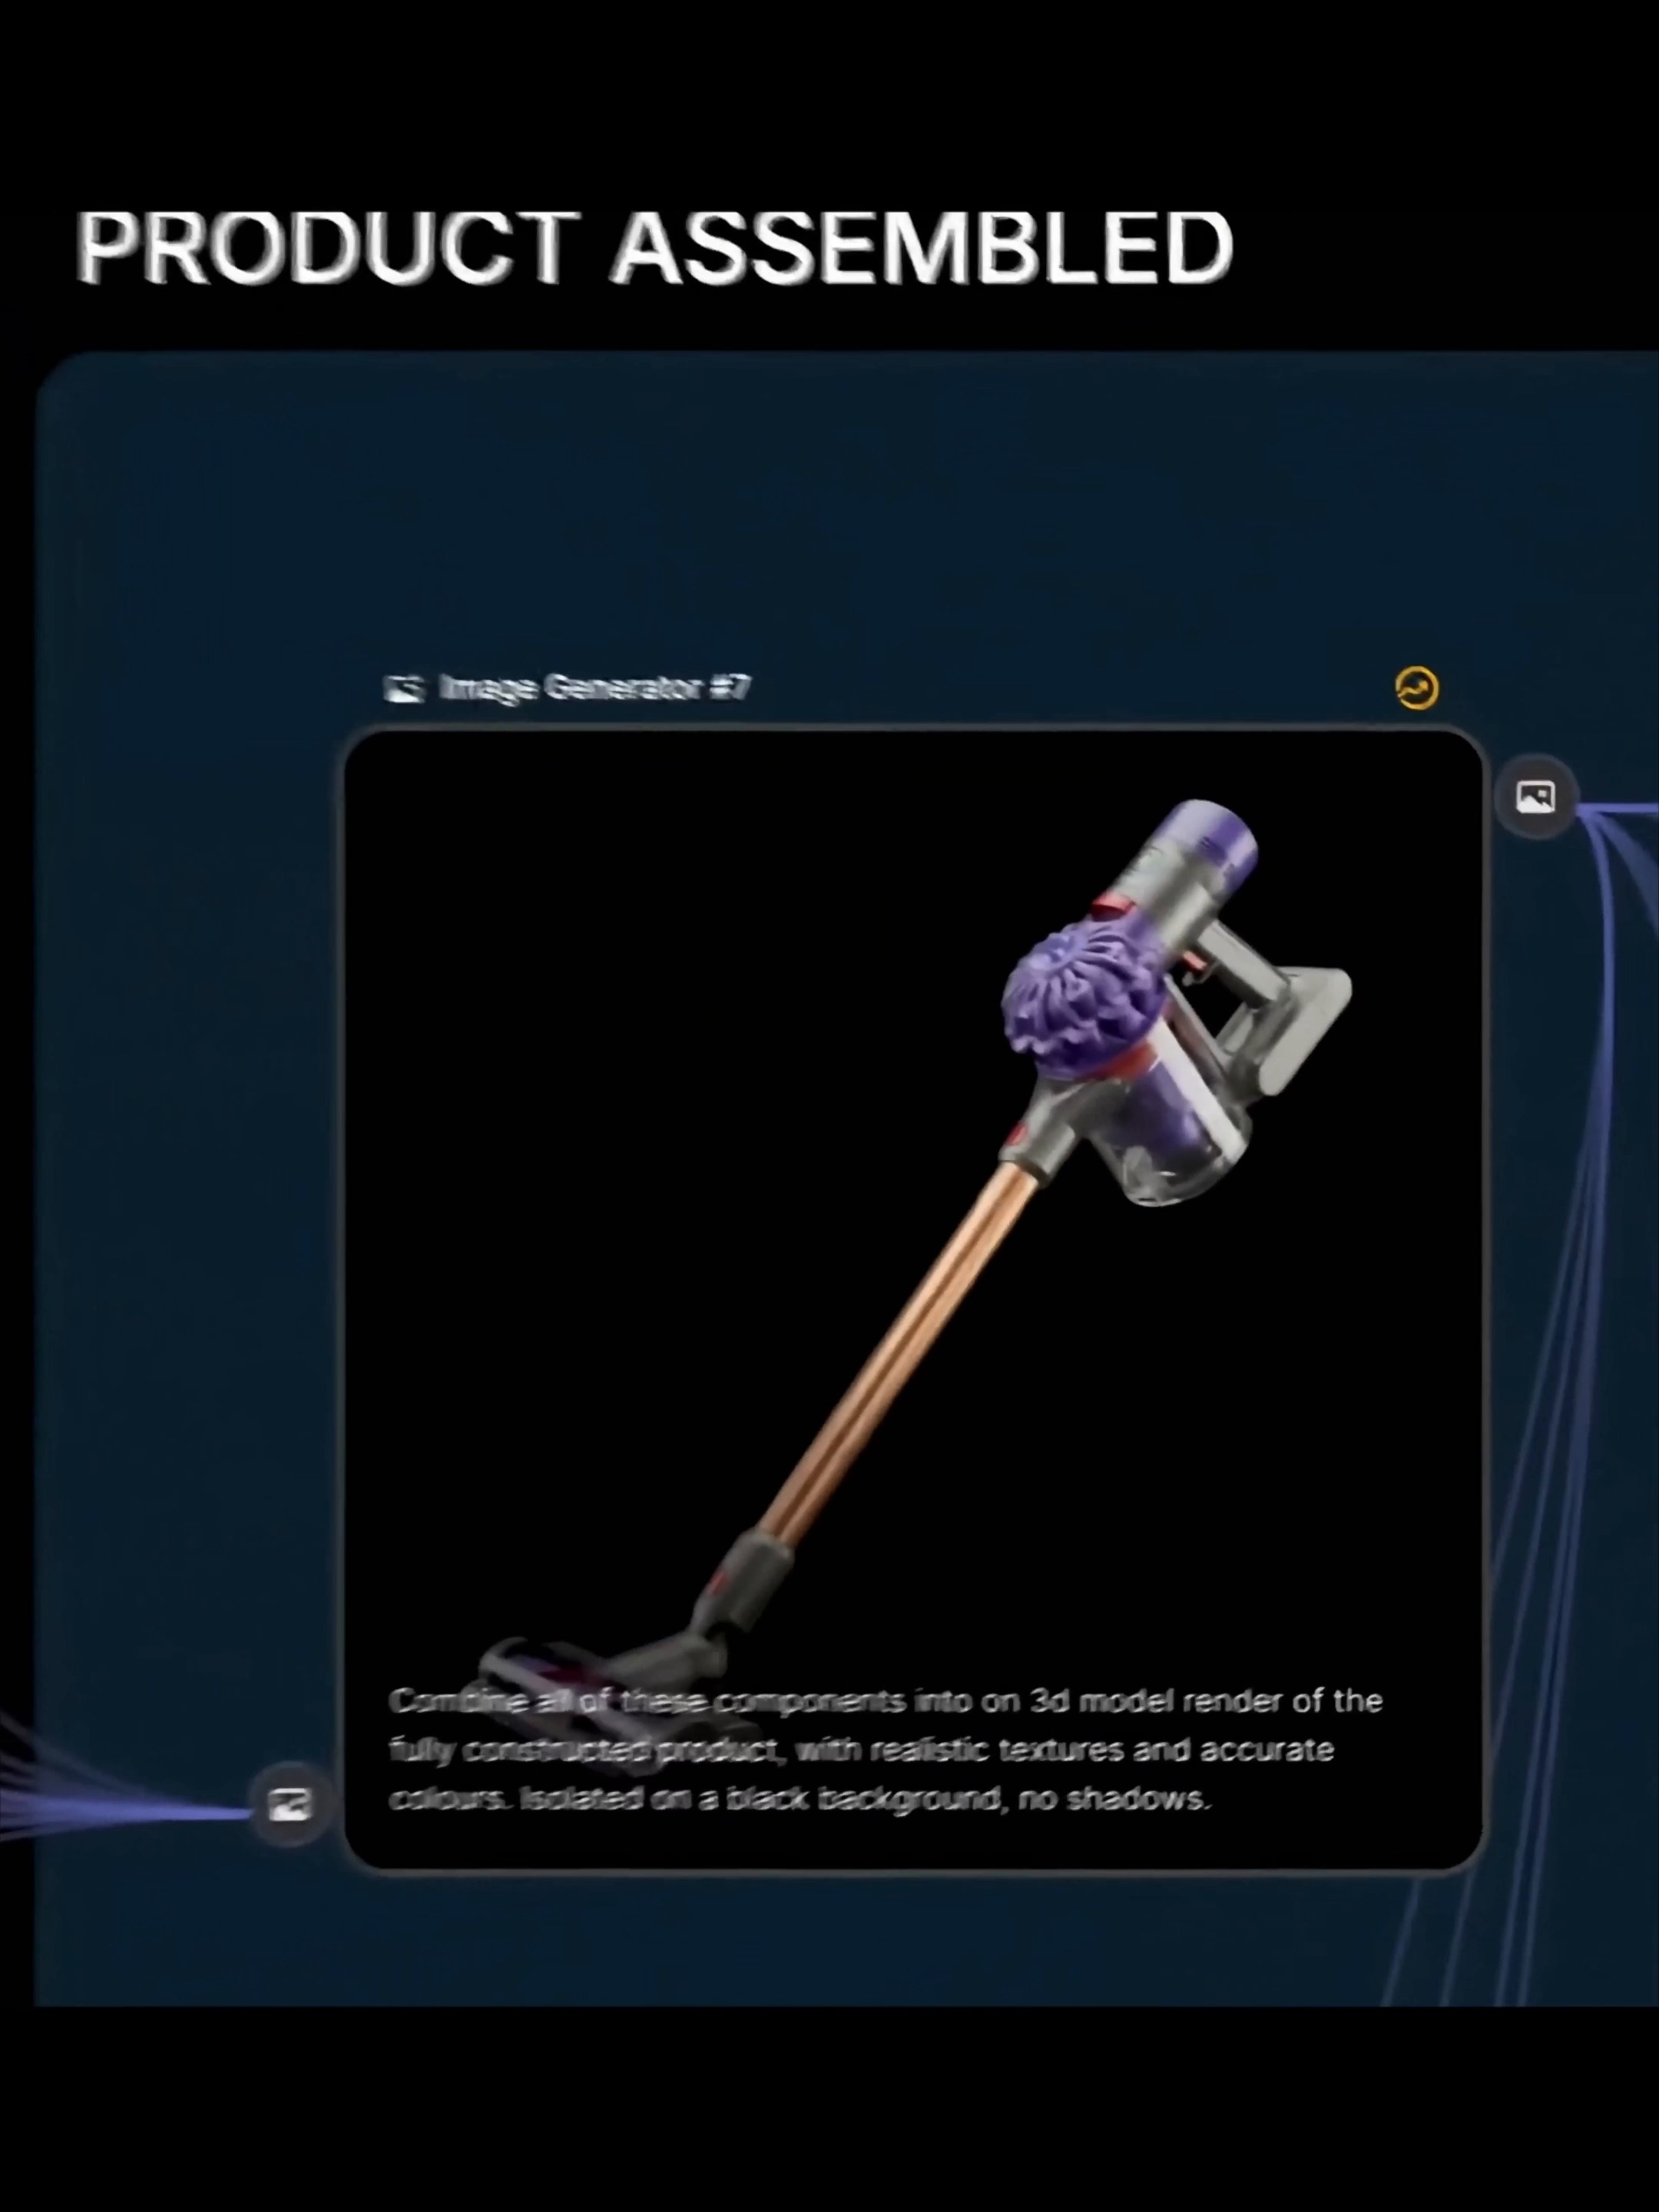
After the part diagram is generated, the Image Generator node combines them into a complete vacuum cleaner. The prompt in the video requires that the true texture and accurate color be preserved, and that the product be placed on a black background and not shaded. Such a picture does not bear the expression of atmosphere, but is mainly used to check whether the outline, color matching and component connection make sense.
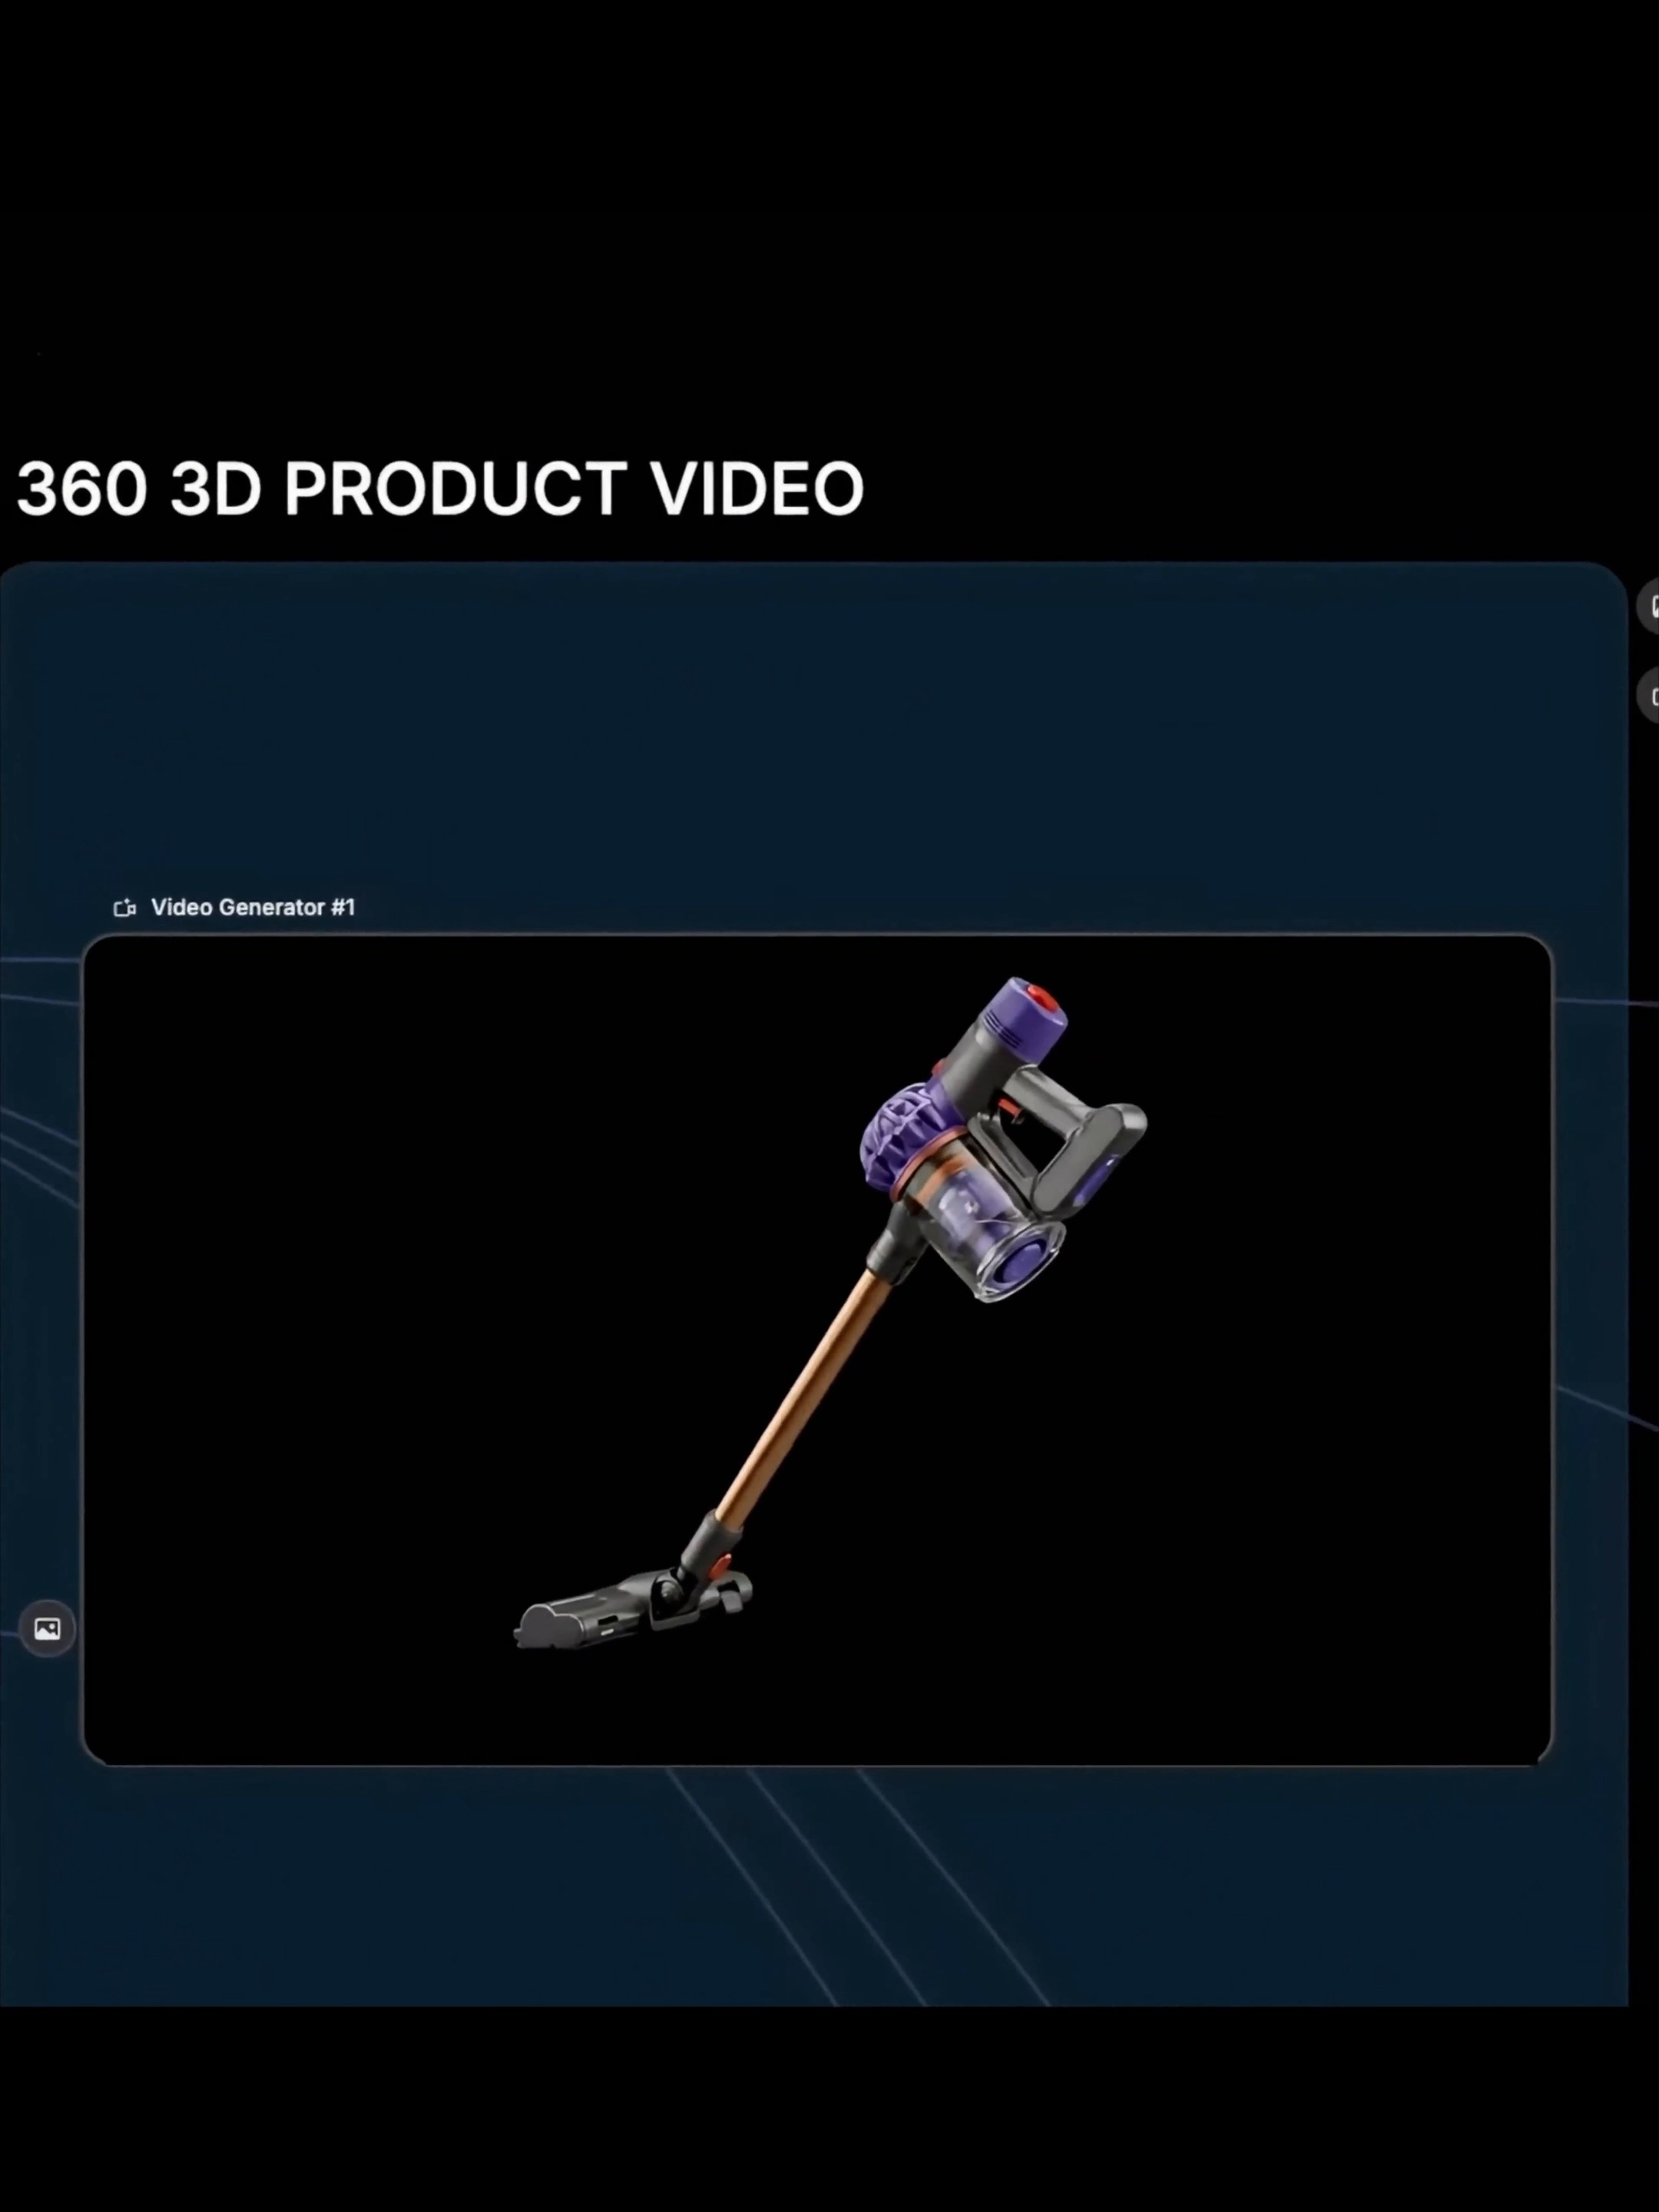
Subsequently, the Video Generator node generates a product rotation screen and uses continuous angles to view the relationship between the side and the back. The video does not show specific models, duration or parameters, so it cannot be written as a fixed operation recipe here. It's more like a quick preview: first discover obvious structural jumps, and then decide whether it's worth entering the character and scene composition.
It should be noted that what is obtained here is a product vision that approximates 3D rendering, not an engineering model that can be directly produced. It is suitable for concept demonstration, lens rehearsal and marketing direction test; when it comes to real size, assembly relationship or function expression, it is still necessary to return to reliable product data.
04 Character and Space Separate Selection
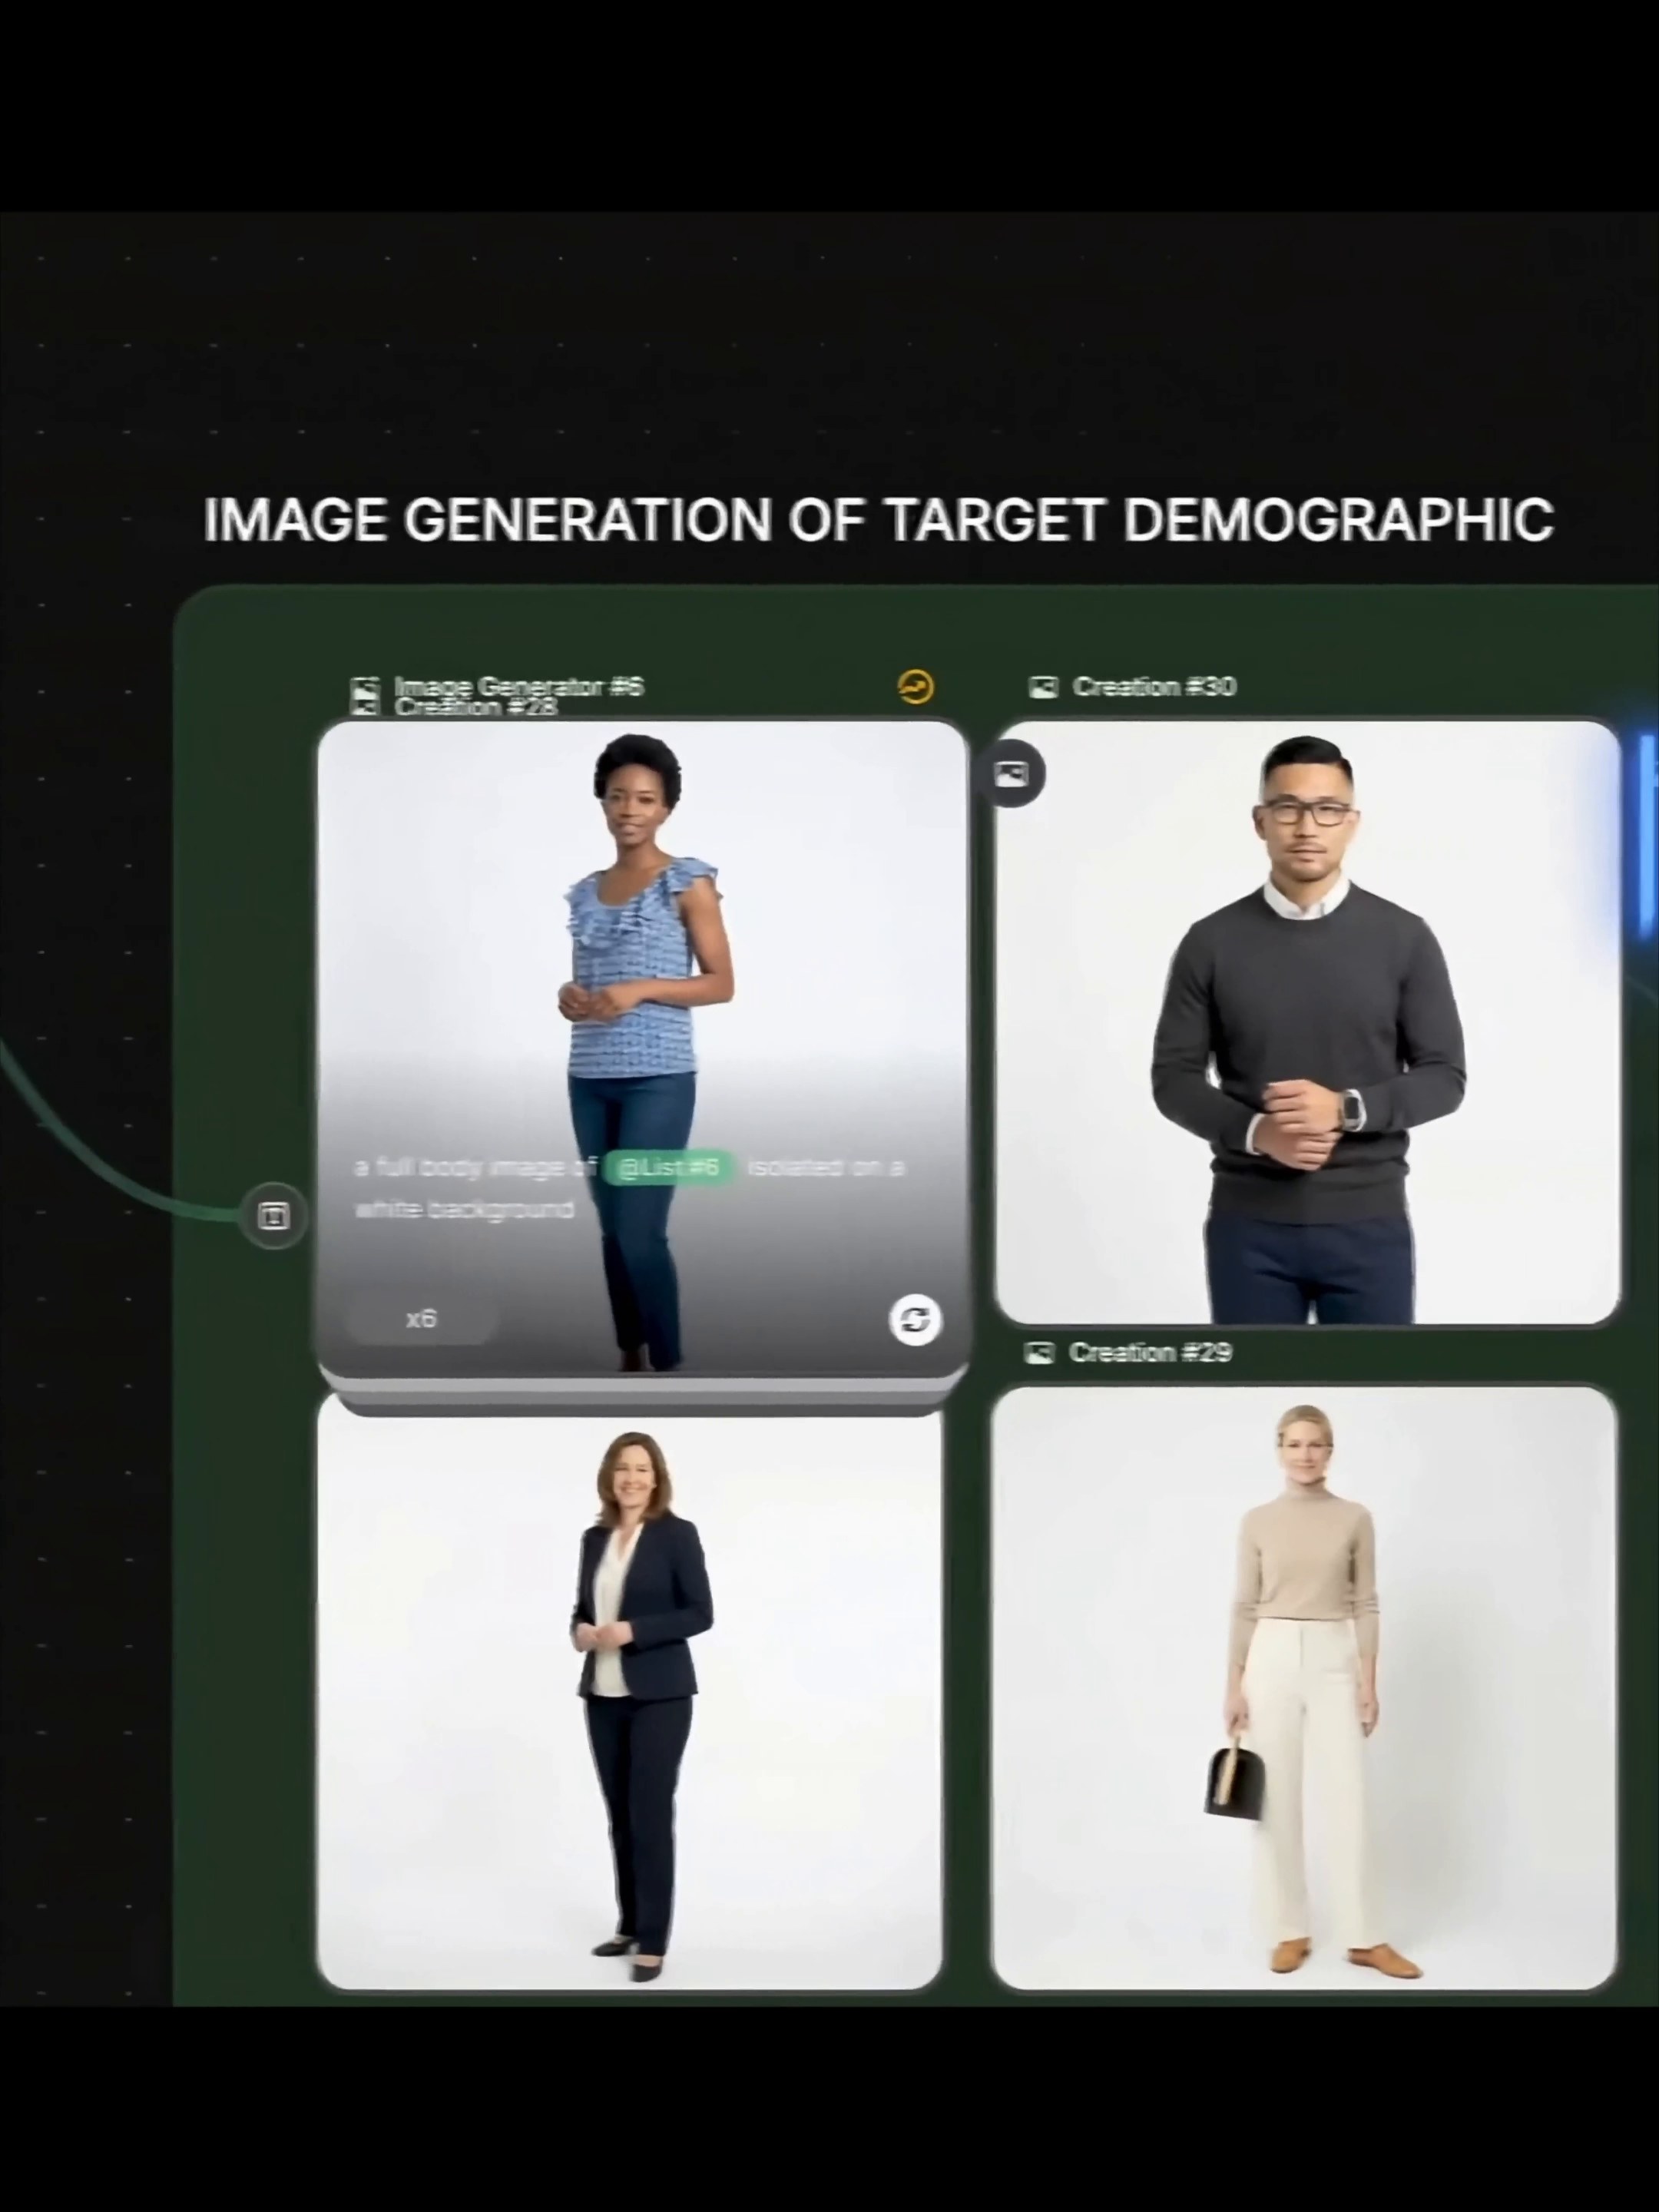
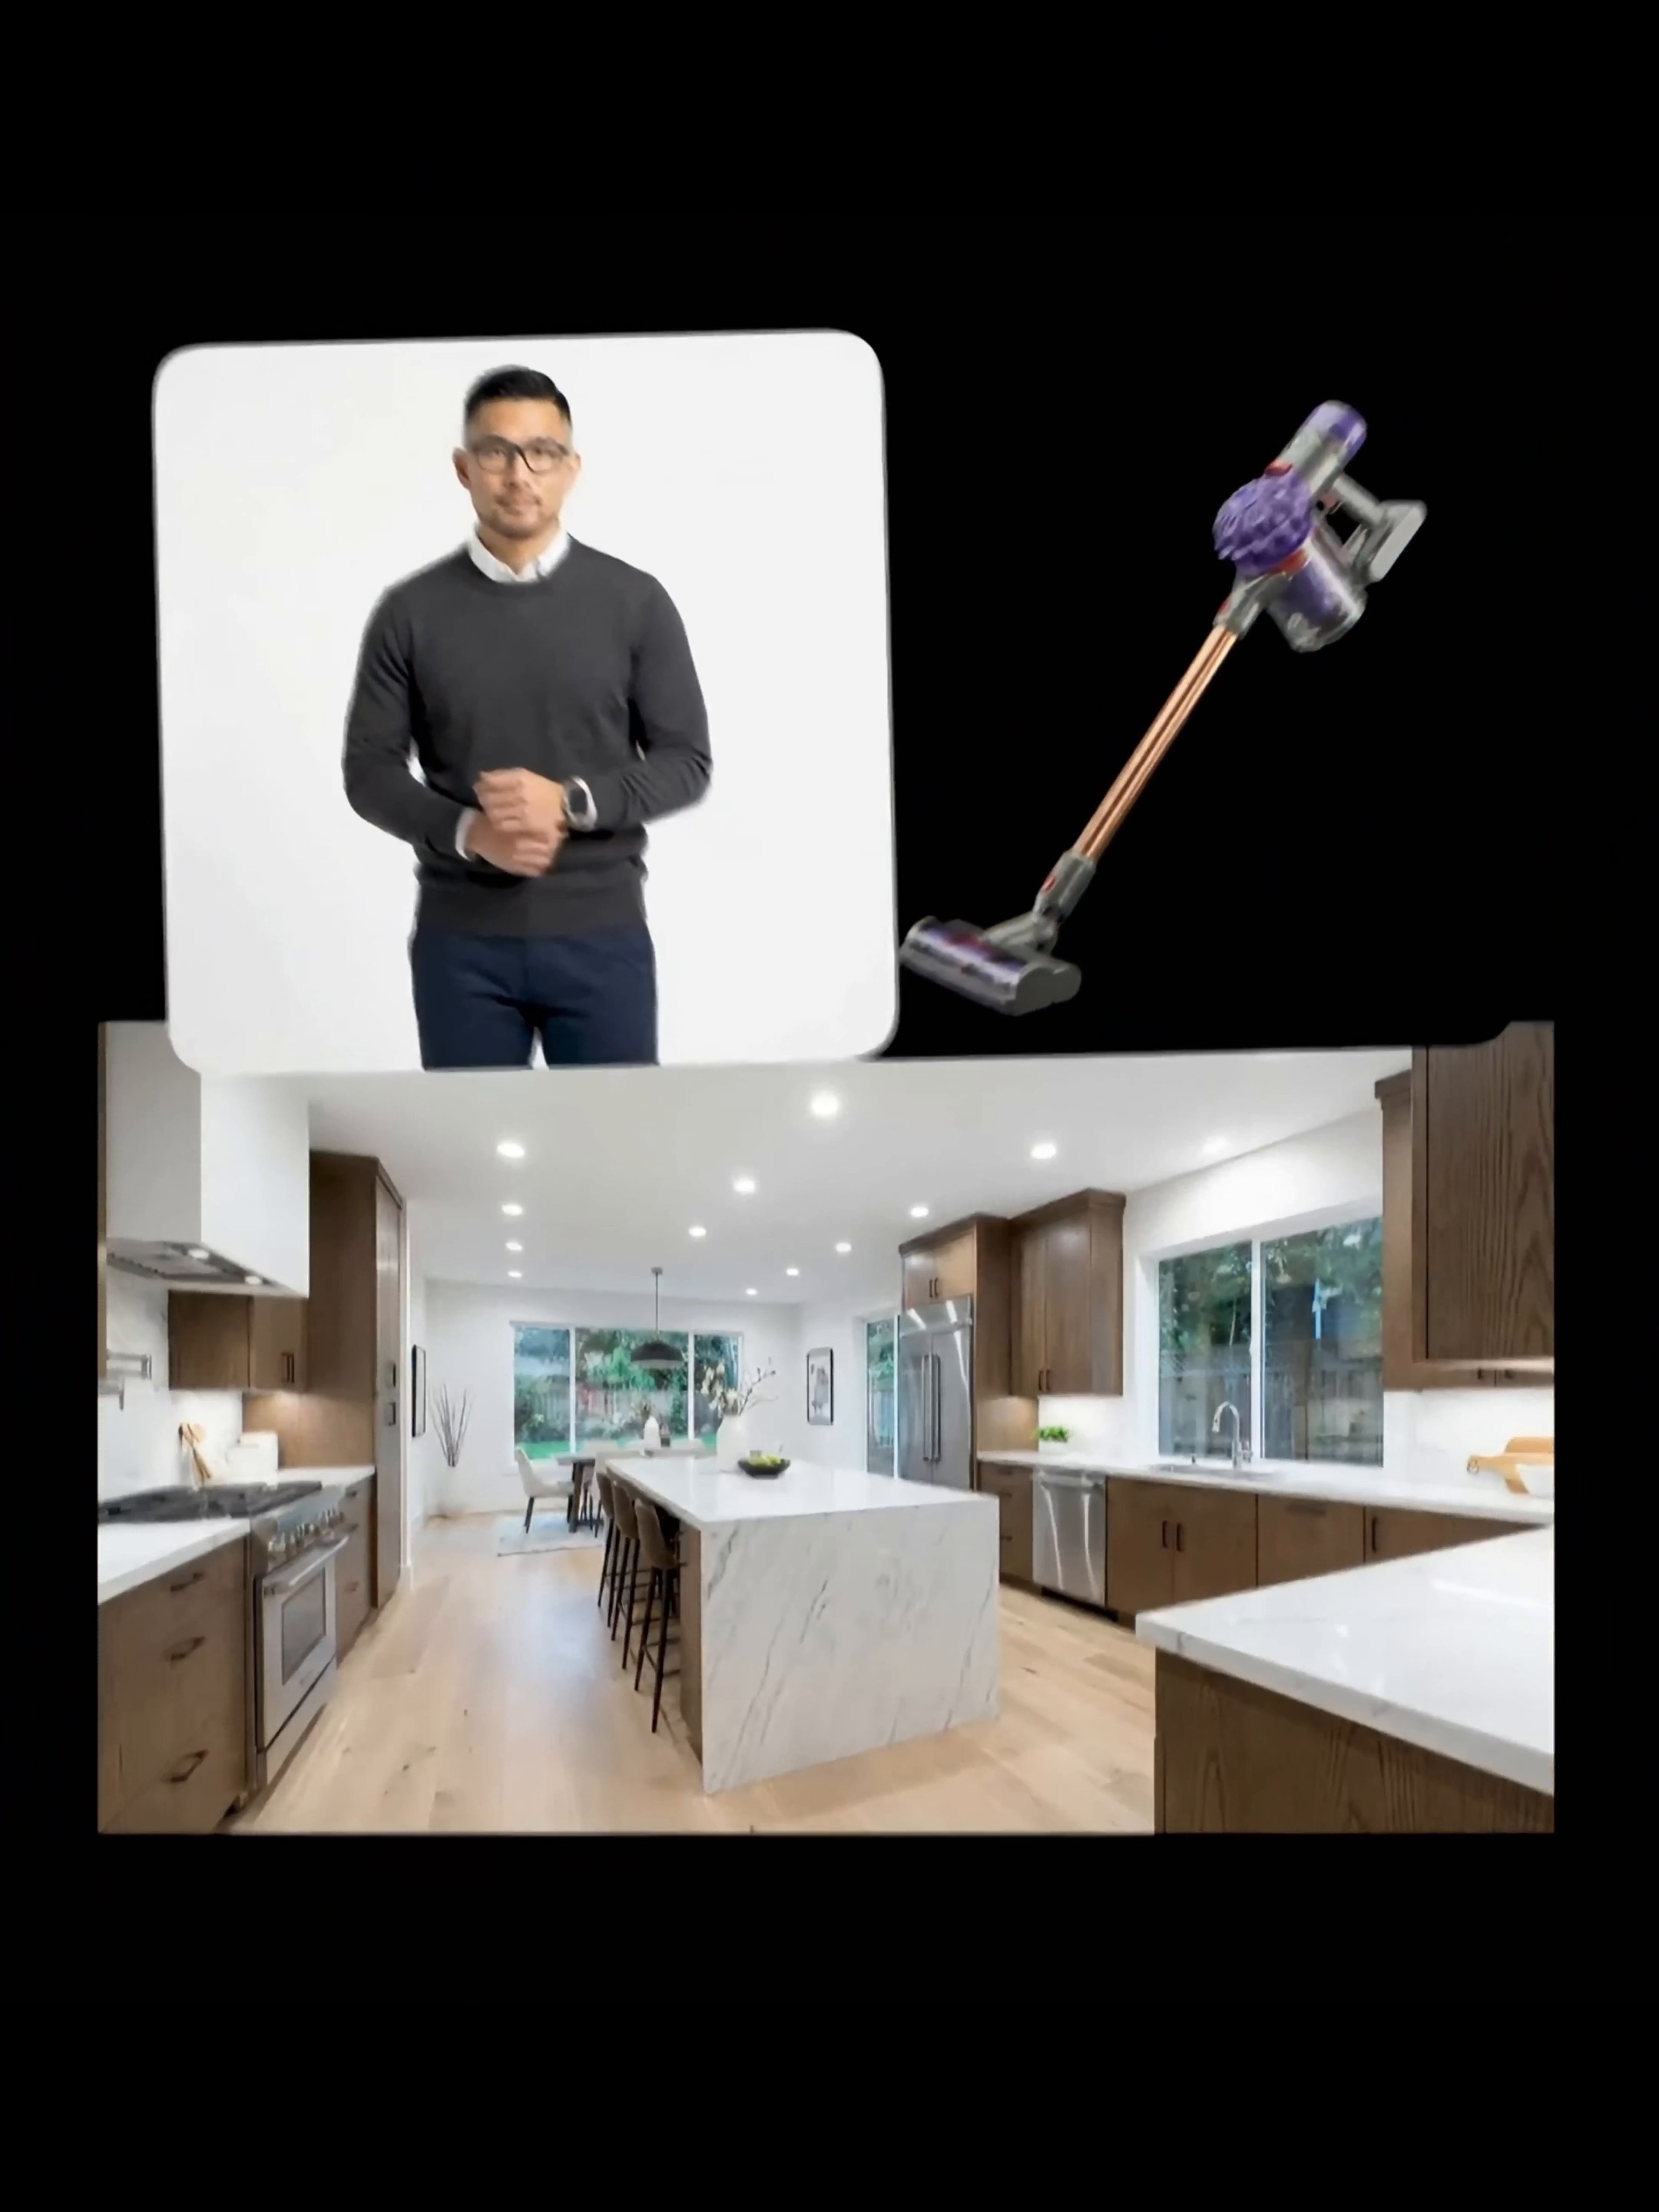
After the product is identified, the process begins to deal with the target population. The List node sorts out the character direction first, and the Image Generator generates multiple character candidates. The final choice in the video is an adult male wearing glasses and a black coat. Characters are variables here, and substitutions should not change the structure and color of the vacuum cleaner incidentally.
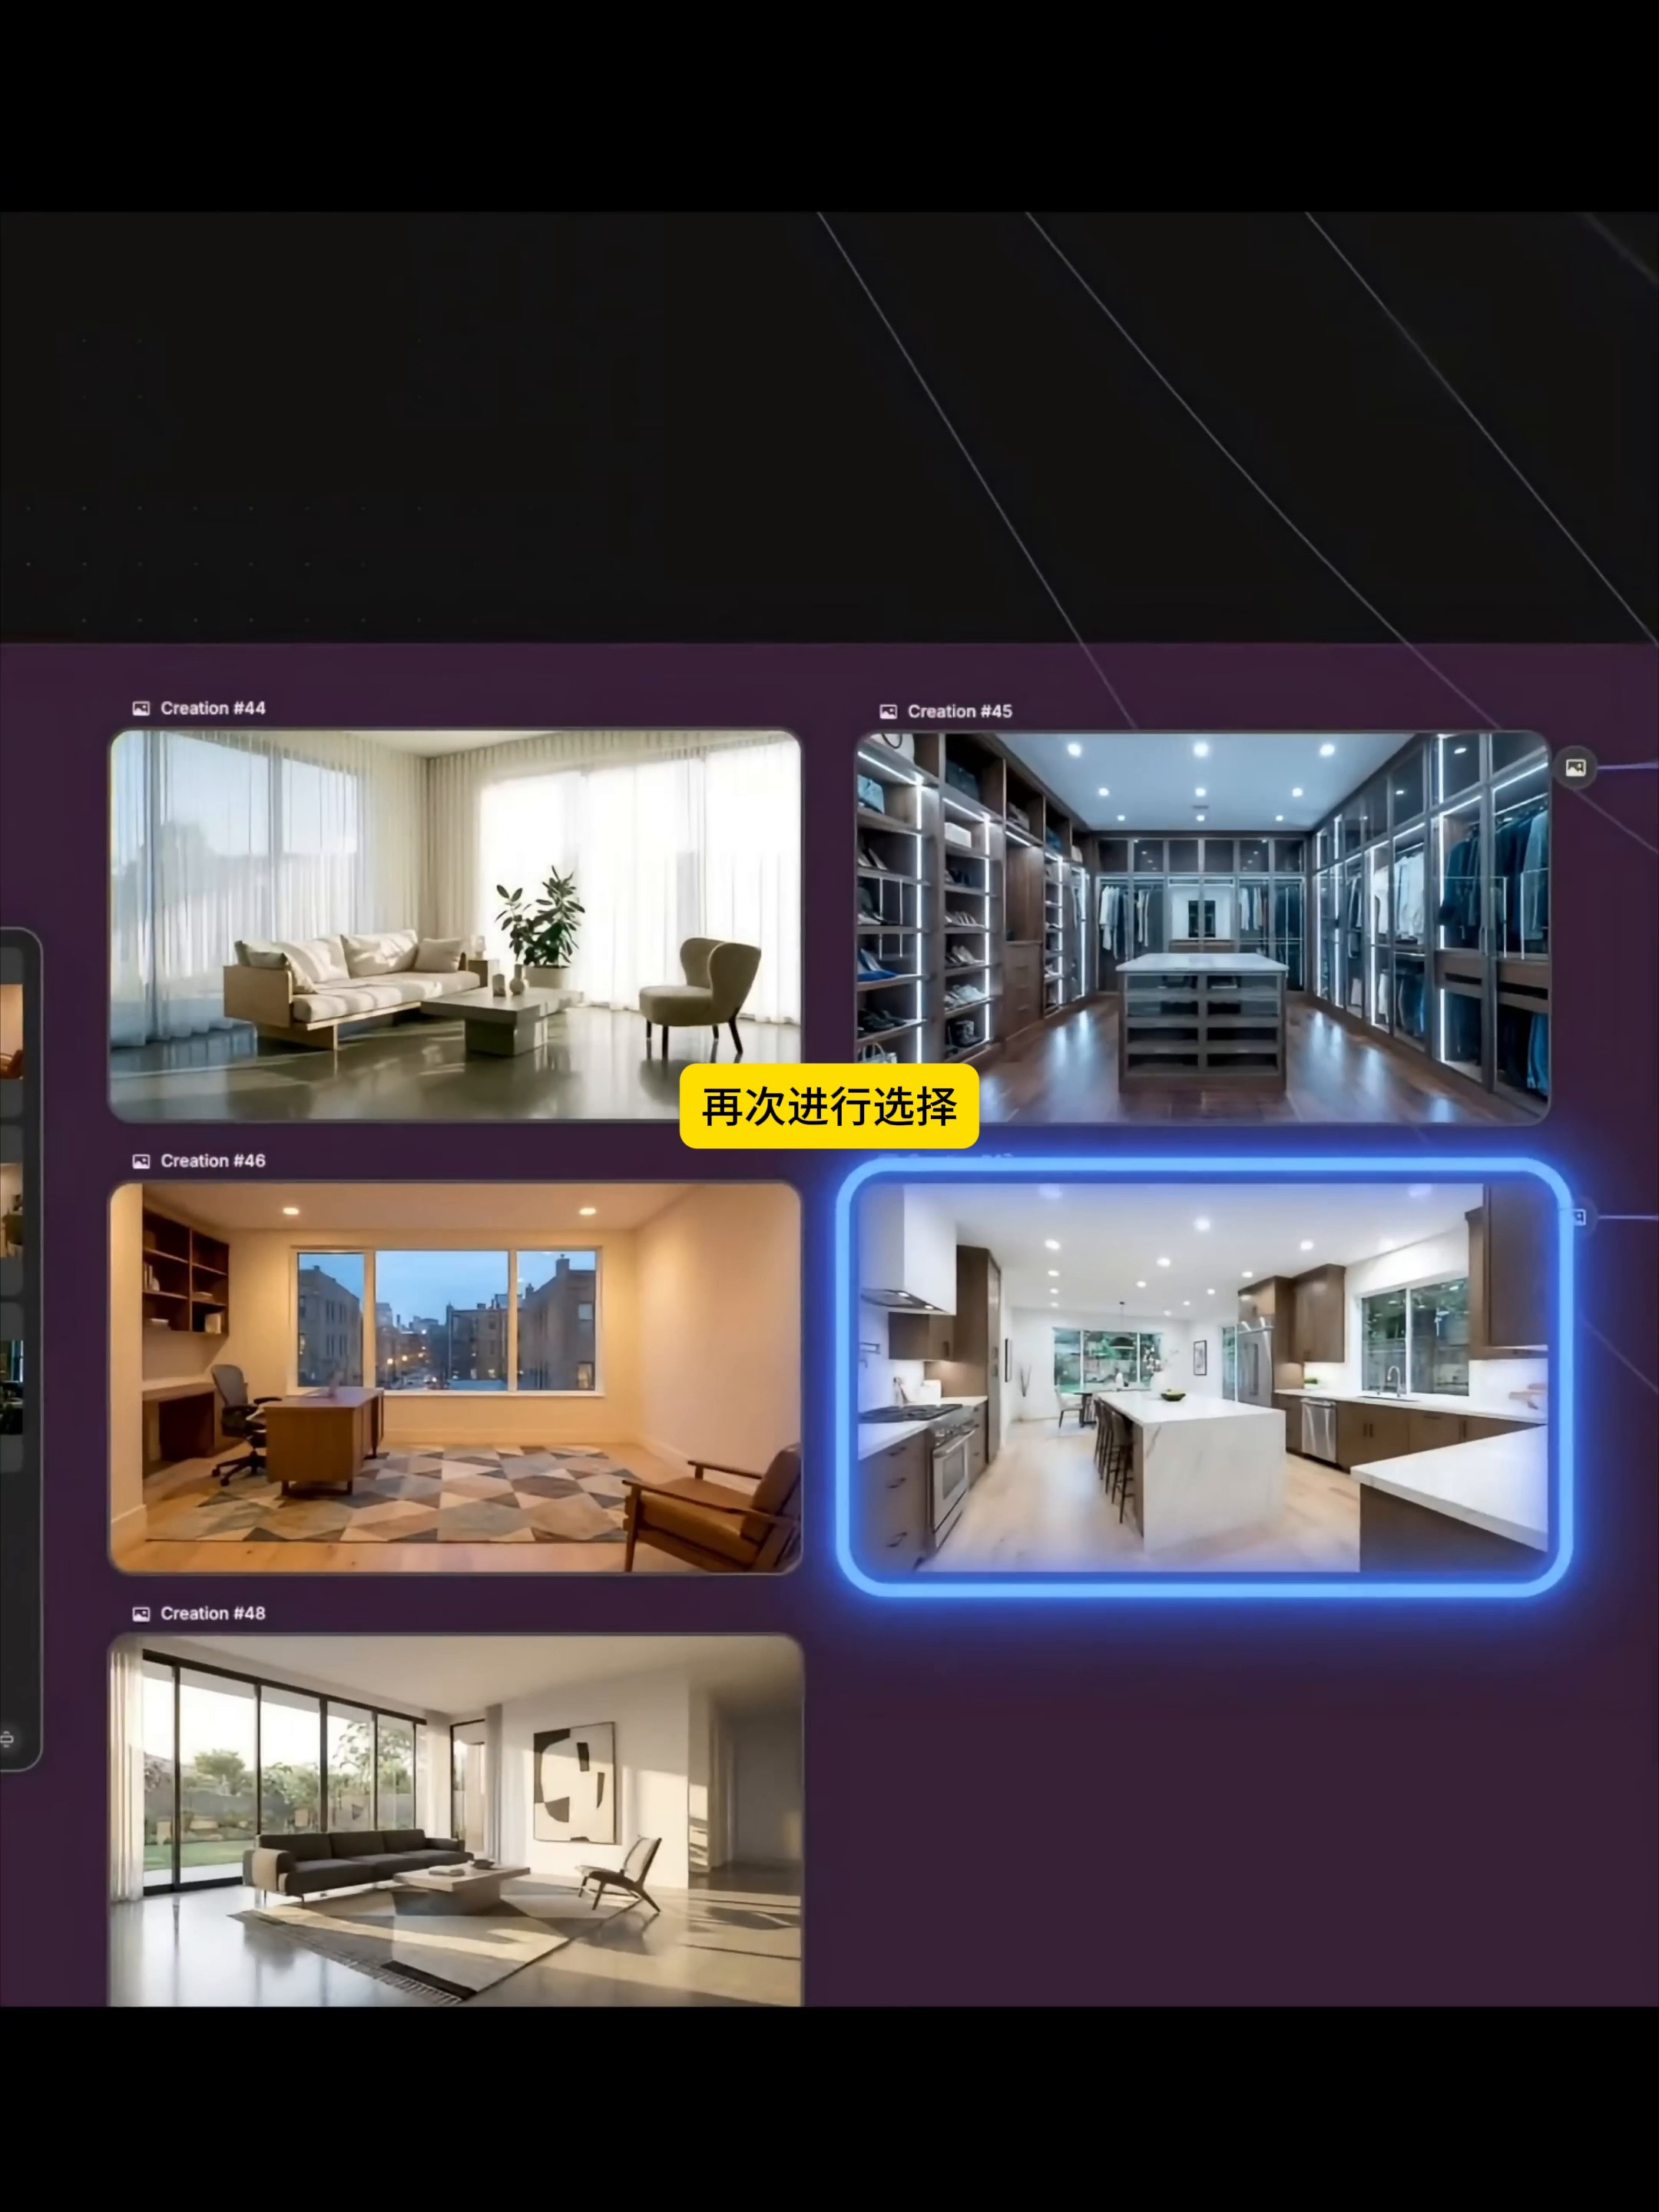
Scenarios use the same approach. The workflow first lists the places to use such as living room, cloakroom, home office area and modern kitchen, and then selects the bright kitchen from the scene gallery. For vacuum cleaners, the floor area, furniture spacing and light direction will affect whether the product is easy to read. Choosing the kitchen is not only for "high-level sense", but also because it can clearly explain the cleaning action.
There is also a practical benefit of generating characters and space separately: it is easier to determine where the problem comes from when adjusting. If the character is not suitable, change the character, if the space does not match, change the space, and the product reference will remain unchanged. The nodes appear to be more, but the modification path is shorter.
05 combination of three types of reference, and then fill the lens
When finally entering the composition node, the picture references three types of material at the same time: selected characters, reassembled vacuum cleaners, and kitchen environments. The three reference maps each undertake a task, and the model no longer has to guess the whole content from a long cue.
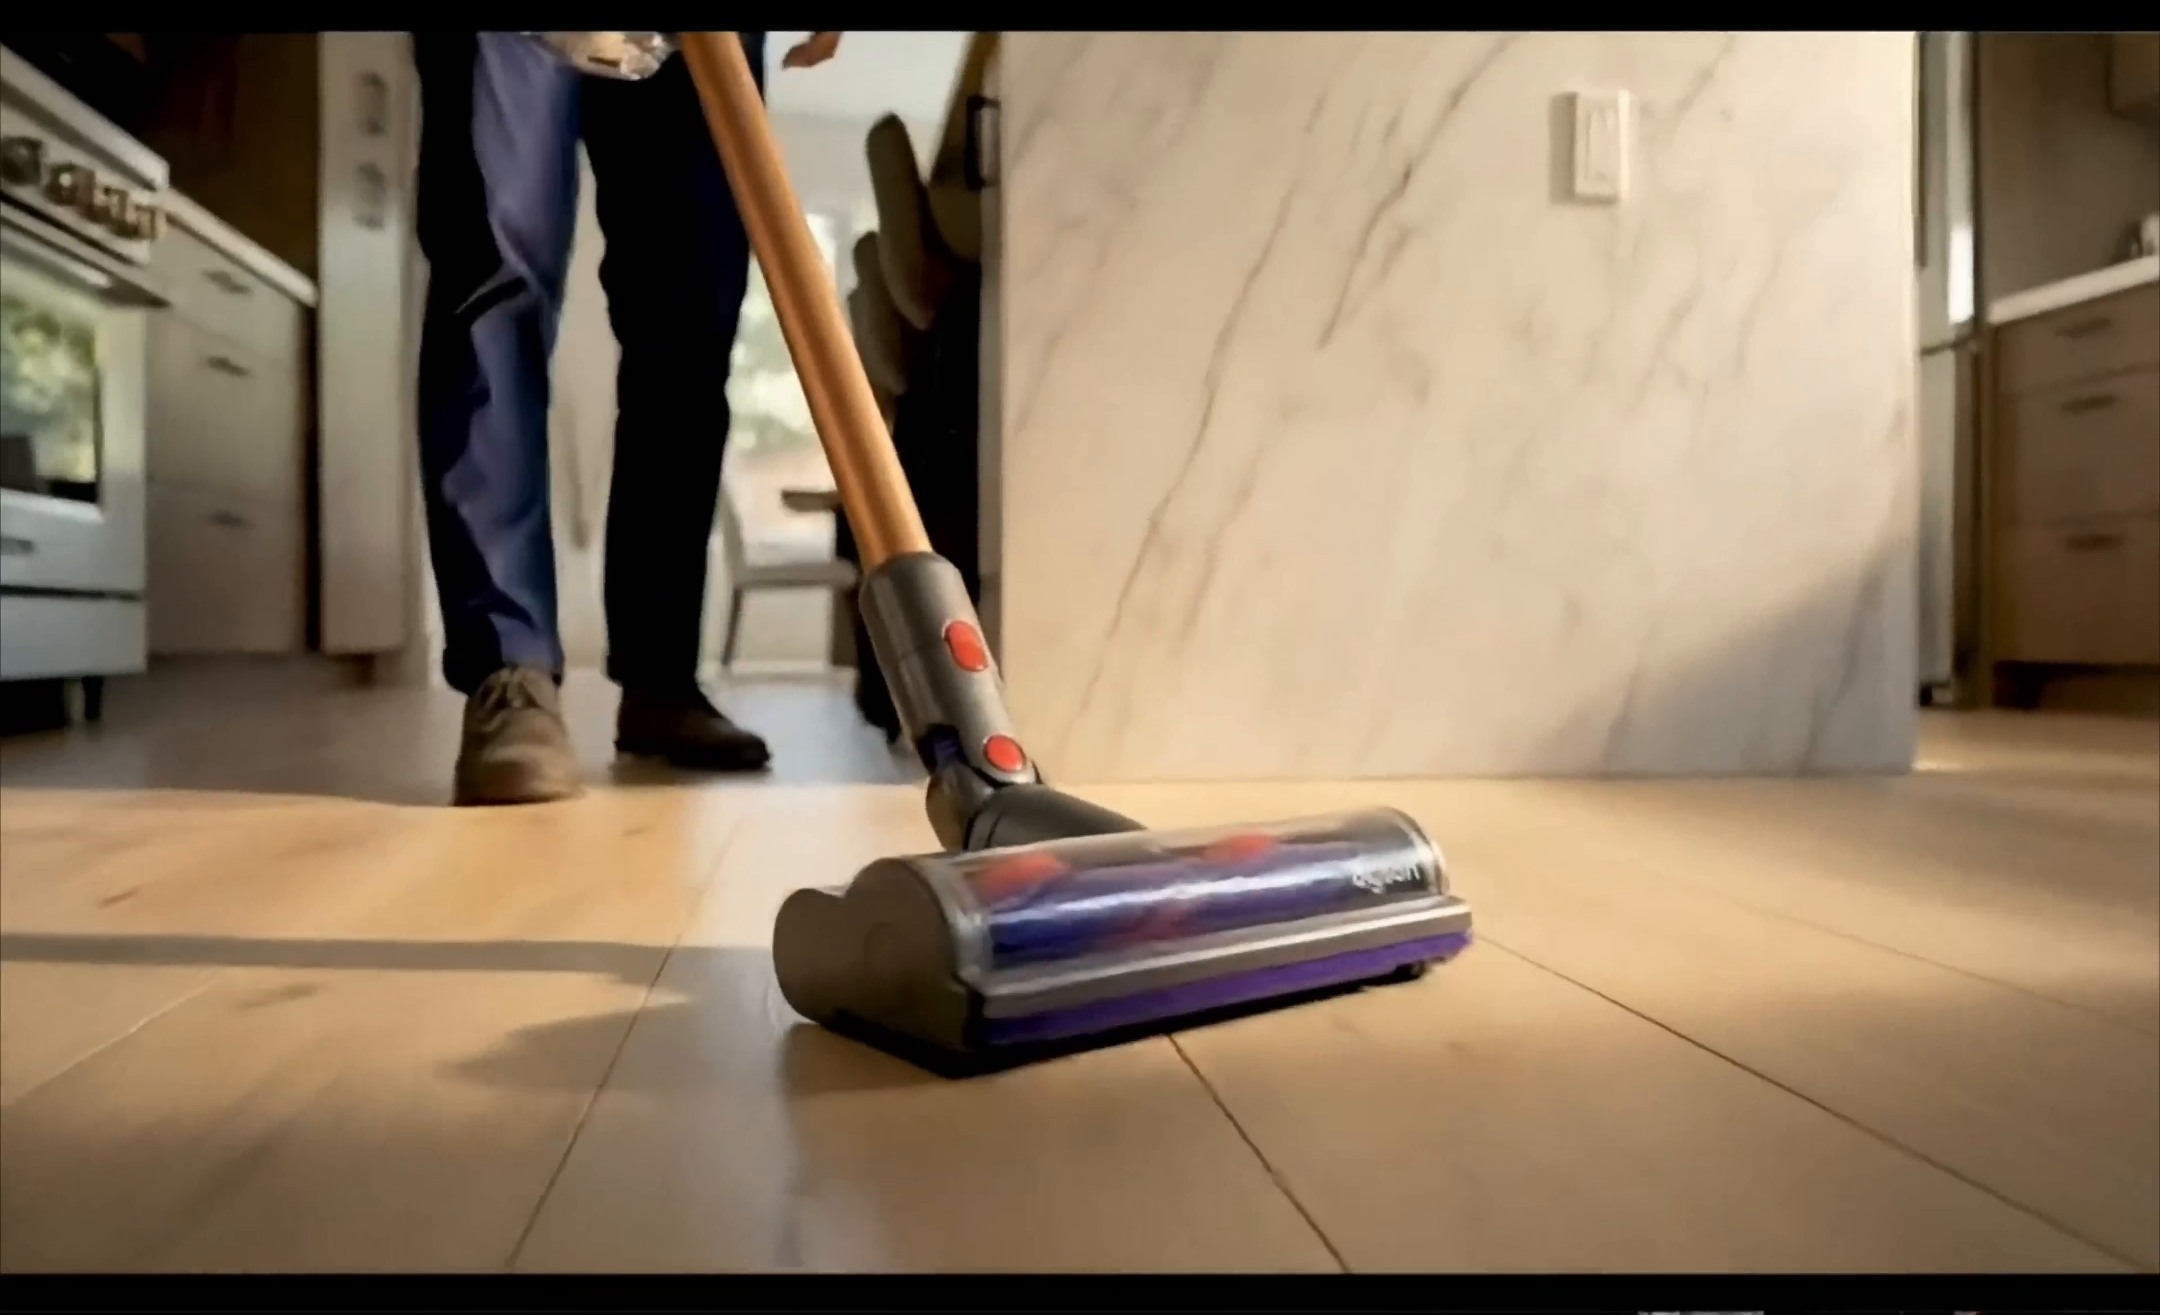
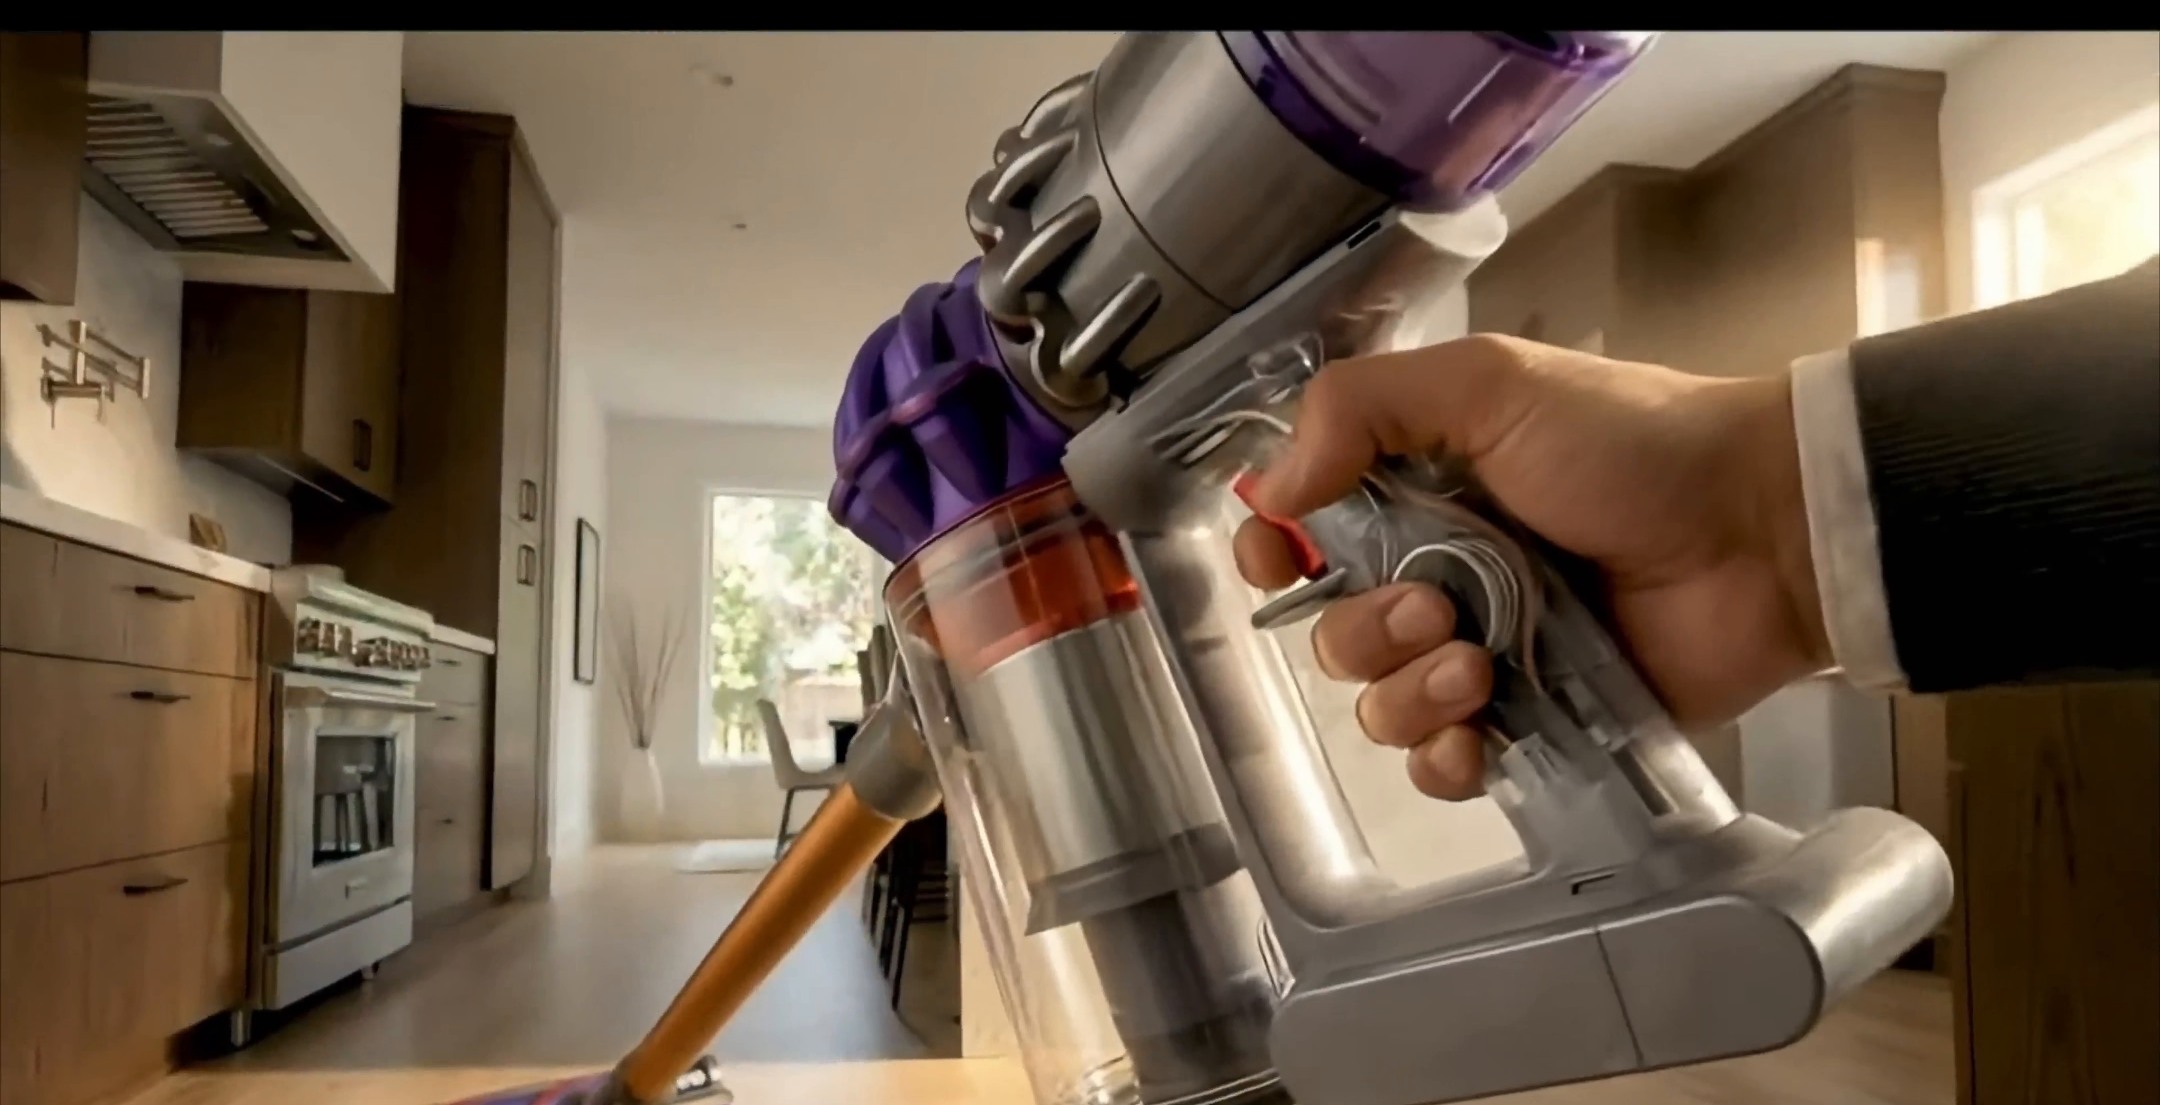
In the film, there is a panoramic view of the figure pushing the vacuum cleaner to clean the kitchen floor, and then a close-up view of the fuselage, hand-held position and cleaning head is added. The panorama explains the scale of people and products, while the close-up view makes the structure and operation easier to see. Organizing the shots in this way is more useful than generating a batch of similar images in succession, because each scene answers different questions.
The completion of the composition does not equal the end of the check. I will see one by one whether the length of the product has changed, whether the cleaning head is on the ground, whether the fingers pass through the handle, whether the characters are consistent, and whether the ambient light really falls on the product. Logo, seams, transparent materials and copper parts are also easily rewritten by the model, which cannot be passed by just looking at the picture.
06 This method is suitable for solving what problems
The truly reusable part of this workflow is the splitting of fixed items and variables. Fixed items are the parts, proportions, materials, and colors of the product; variables are people, spaces, actions, and scenes. Hold on to the fixed items first, then test the variables. It is not easy to lose the basis of judgment if there are more than one version.
It is more suitable for home appliances, tools and other products with clear structure, which are used for concept sub-mirror, marketing lens draft or preliminary visual test. It does not replace product modeling, nor does it automatically guarantee structural accuracy. Designers still have to take real product drawings, dimensional data or CAD documents for final proofreading.
If you just want to get an atmosphere map as soon as possible, it will certainly save more steps to generate it directly. However, as long as the target becomes a set of product images that can be used continuously, it will be easier to find errors and locate which node to change if the parts are disassembled first, then assembled, and finally put into characters and spaces.








Magical
AI can really do any job.